Showing posts with label Holidays. Show all posts

Sunday, June 15, 2014

Dad's Day

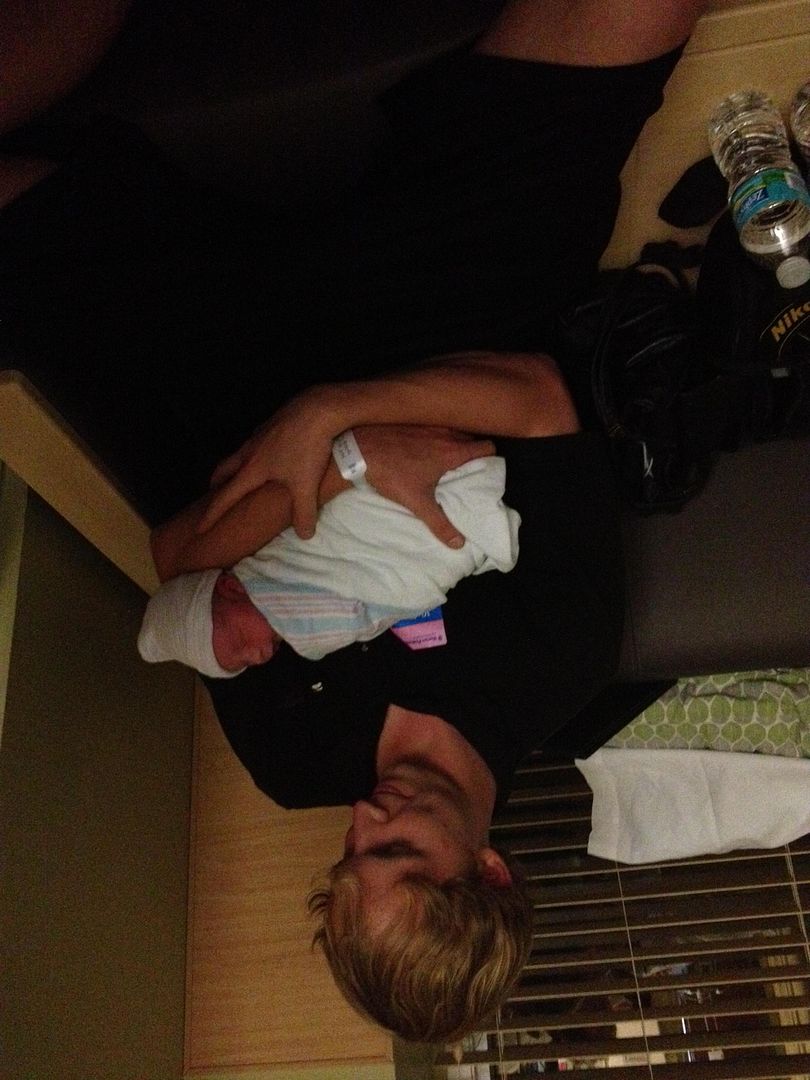
He wrapped her in his long arms, so tight and trembling that I think the world shook a little. She squealed the tiniest of squeals while she was being passed, but the very millisecond that she rested her tiny head against his heartbeat, the storm passed.
The whole storm passed. 
The next few days he was tested. He was terrified, but calm. The first night was easy, but the second night was a doozie. Her cries could have broke down the strongest of people, but not him. He scooped her up into his long arms and made a song from the wild ramblings in his head. 
The whole storm passed.
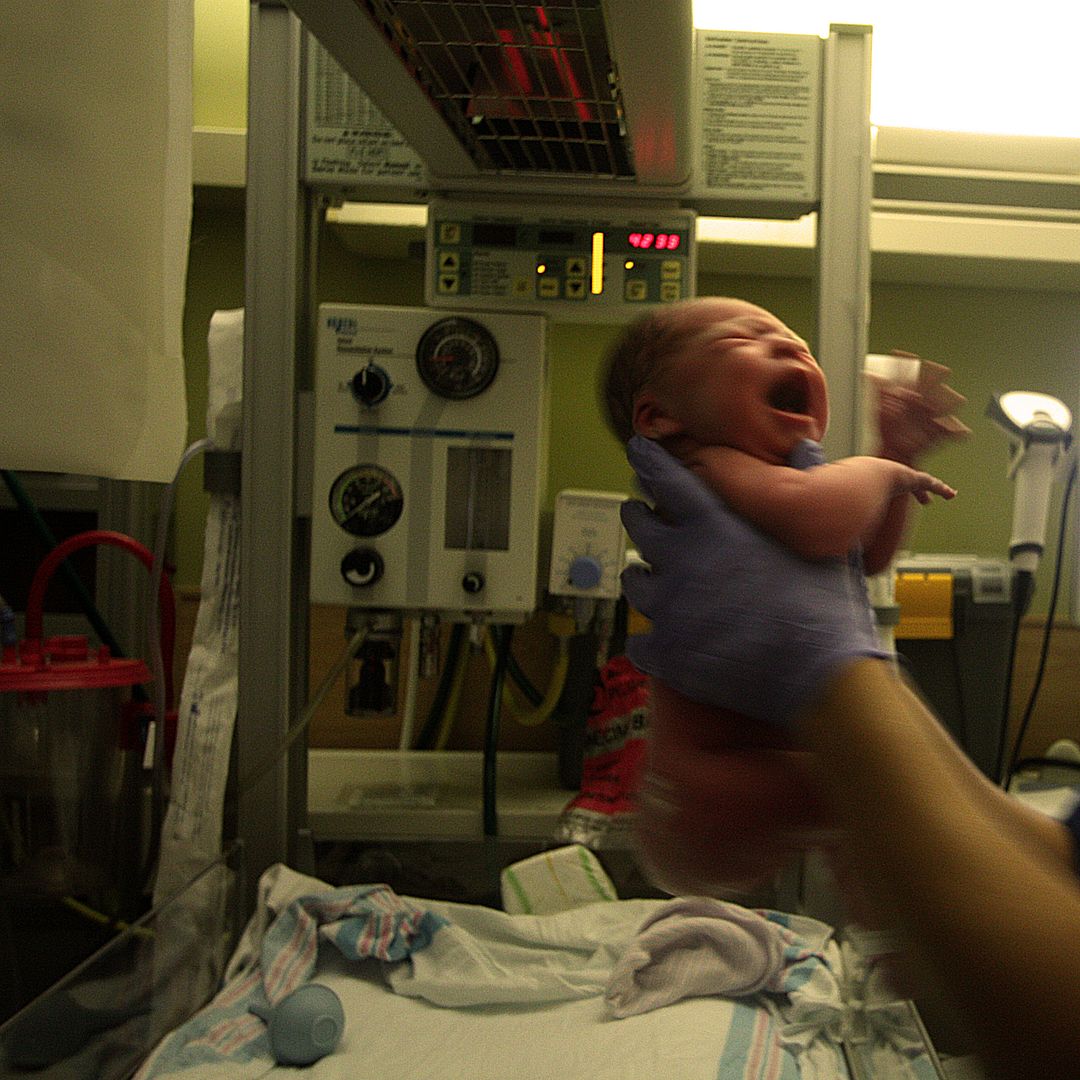
 photo photo7_zps28c0454a.jpg  photo IMG_1520_zps9ccc1815.jpg
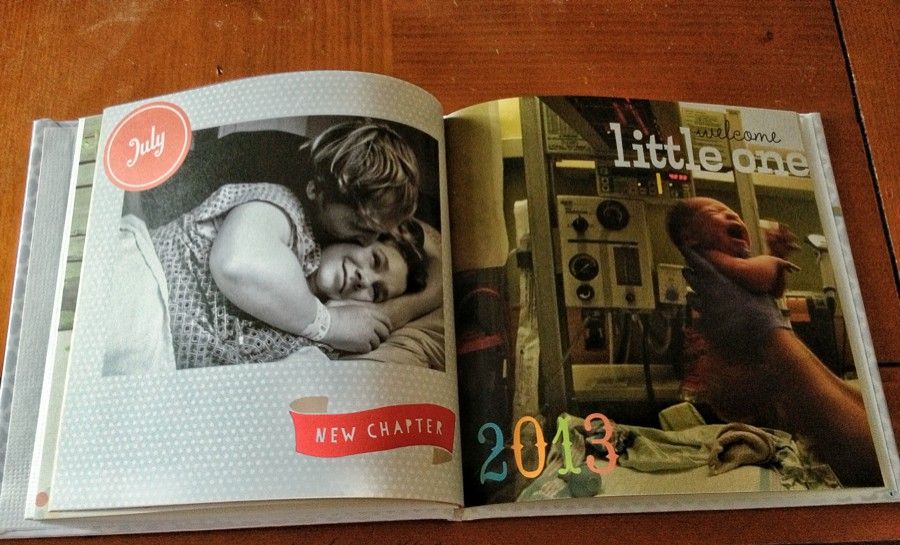
He packed the car with everything in the world, and the fear and anticipation in the back of his mind. He didn't pack the "how to be a dad" manual though, he didn't need it. No one really does. 
Leaving the hospital was bittersweet and the next few weeks were trying. 
I was a disaster and he knew, so he swooped down to the rescue. He stayed locked beside the both of us, keeping us both steady and at ease. We were all scared, and he was there. Always there.
He went back to work, a 60+ hour a week job to shelter us and feed our bellies. He never complains, and every single day he walks through the door, snatches us both up and never lets go. 
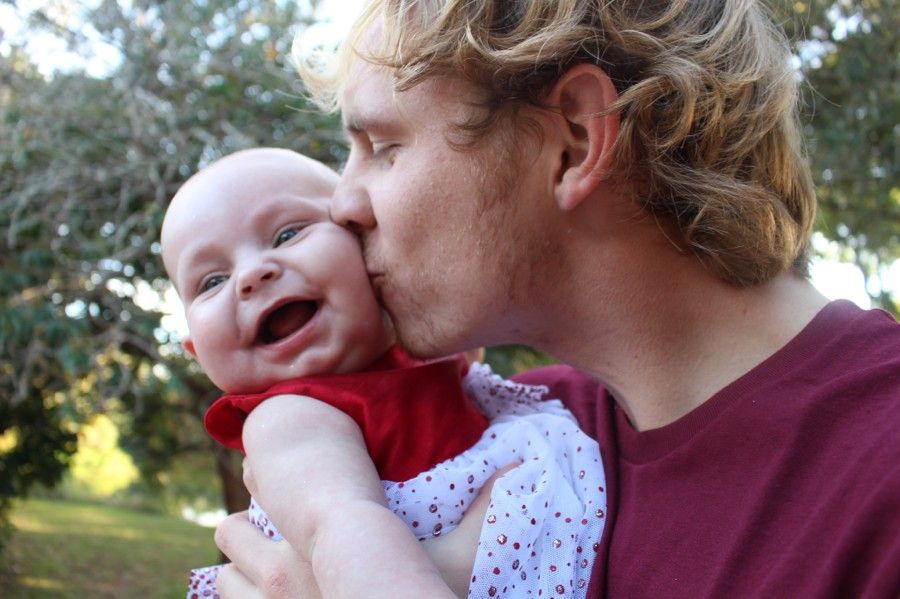
If I'm stressed he shoo's me away to go let it out on some piece of art. If Lola is stressed he plants huge kisses on her and tells her stories as he does continuous laps around the house. 
 photo IMG_1897_zps14bf55c8.jpg  photo 51048_original_zpsad29e8b7.jpg  photo 47990_original_zps20146e3f.jpg
He always lets the storm pass and he is always the umbrella.
He takes care of us, and he never feels bad about us taking care of him. 
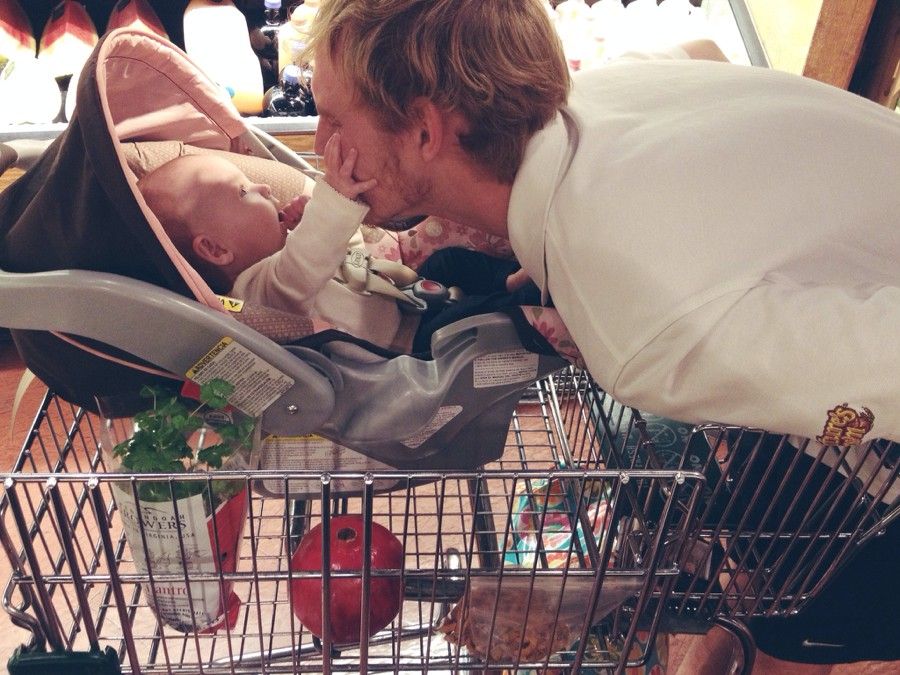
He supports all my crazy ideas, he's not afraid of a giant diaper filled with the good stuff, and he always makes time. Time for making up songs, time for cuddling on the couch, time for evening walks when the witching hour hits, time for mommy and daddy time, time for taking me to all the places I want to adventure to with our little trio, time for being the ultimate "dada" of all time. 

He may mismatch her pajamas every night he's on bedtime duty, he may lose a pacifier every once in a while, he may even lose track of his senses from time to time. 
Our world is still spinning because of him and he's the best role model for Lola in every single way. He keeps me grounded and keeps Lola on her toes. 

I've fallen in love with a whole new person now. The person he was before was the most beautiful thing on this earth to me. Now that he is the father to our daughter, I've fallen just a little bit harder, but it's okay because he still has that umbrella to save me from the fall. 
The storm always passes because of you.
We love you Ryan a.k.a "Dada."

 photo 40590_original_zps902d6e60.jpg Happy 1st Father's Day hunny.

Monday, May 5, 2014

Cinco De CrunchWrap

In honor of Cinco De Mayo we chowed down on some Crunch Wrap Supreme's straight from our very own kitchen. Well, we actually chowed down last night, but that's okay because our bellies are still thanking us today for it, which means we are really thanking Mexican culture, in turn celebrating Cinco De Mayo with happy bellies. This revamped Crunch Wrap will quite possibly make you shun Taco Bell for the rest of your life...with the exception of late night food runs. Damn you Taco Bell, I'm sure we all have our own love/hate relationship with the place.
 I decided it was about time to replicate this beauty and I really really think you should too.
Grab your Sombrero and let's get started!

 photo 8e10650946c5d0fd8bd176ef9e4117cf_zps578b117d.jpg

Ingredients:

  • Large tortillas
  • 1 pound of beef
  • Taco Seasoning
  • Tostadas (those flat hard taco shell thingies, FINALLY a use for them)
  • An abundance of cheese that reminds you of Mexico (I choose Cheddar and Monterrey jack)
  • Small block of Velveeta
  • One can of Rotel
  • Sour Cream
  • Onions
  • A few Roma Tomatoes
  • Shredded Lettuce


 photo PicMonkeyCollage_zps0c49249c.png  photo cb145a52507475b0c6f4cb3db1363a50_zps0c12d275.jpg  photo 35ecc47a0c1ec538638473cc385ee54e_zpsab9732de.jpg  photo aa6015e207785c51d0b2bc9171061c17_zps84994e70.jpg  photo a1a10a08e81f63e4eaffe87e677f6c4e_zps480939b7.jpg Crunch Wrapping Time:

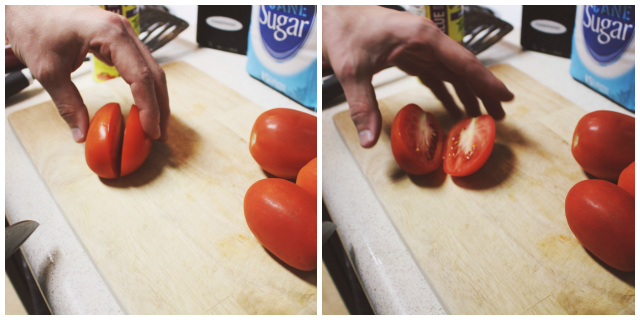
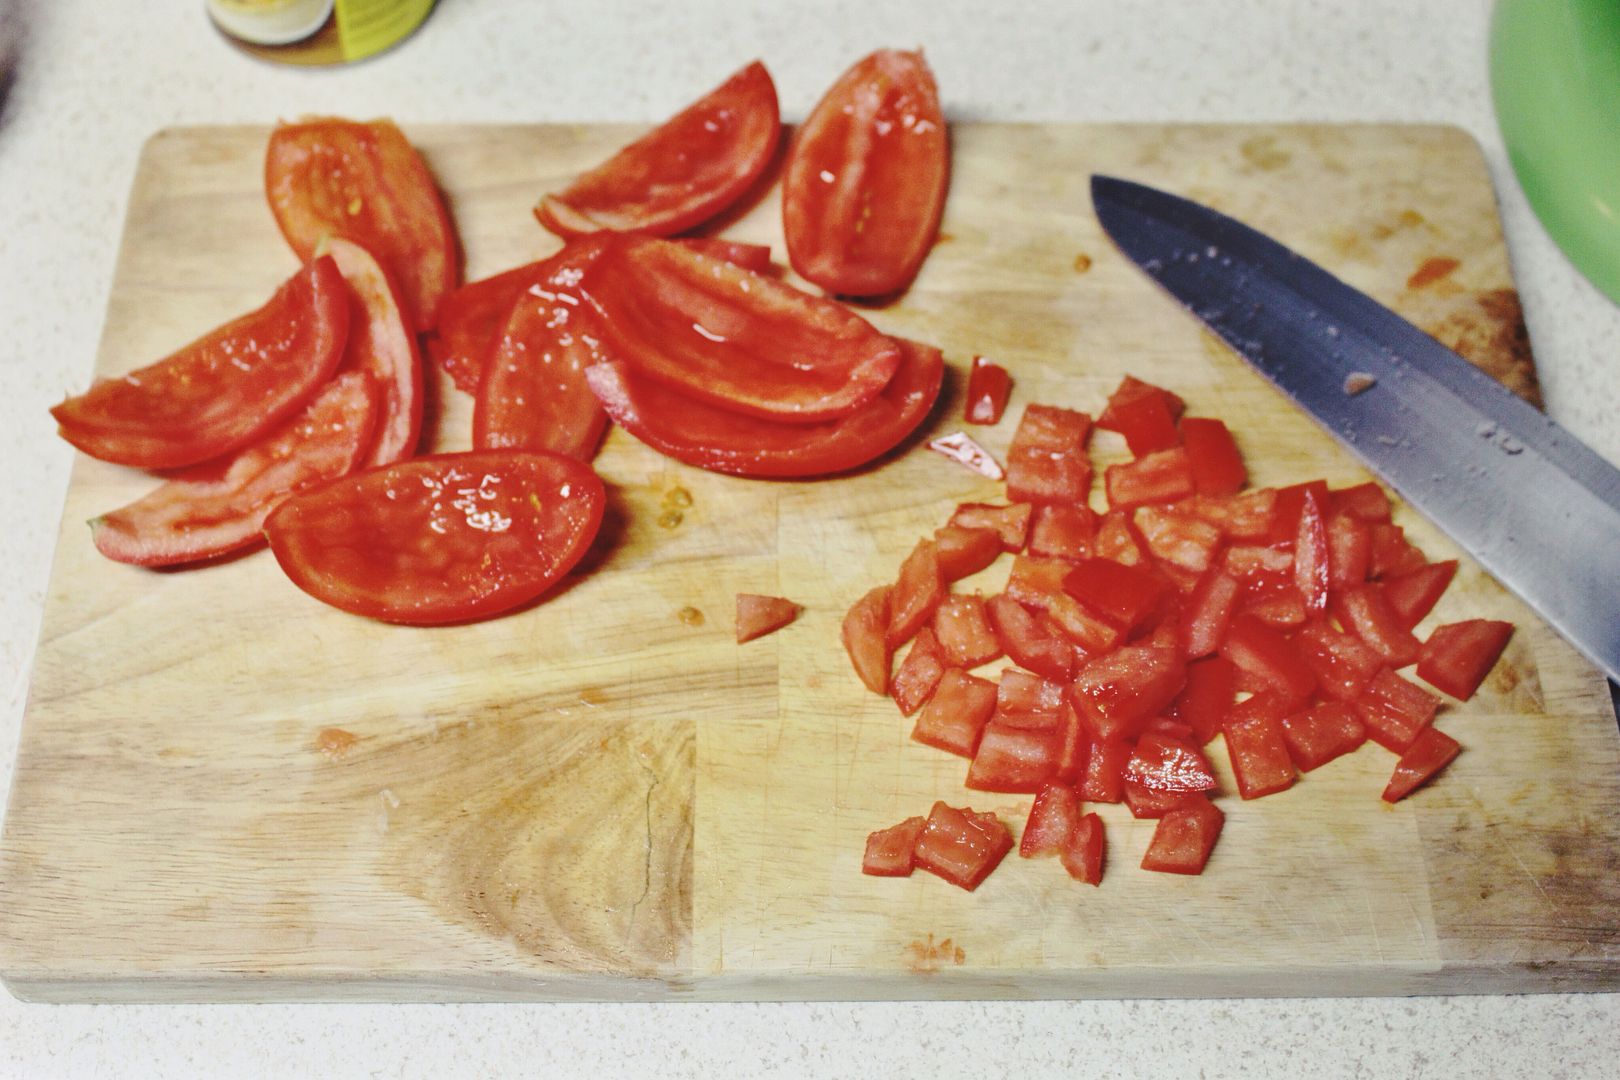
  1. Start by slicing up your Roma tomatoes. Whenever I do anything Mexican food related I always use Roma's because they are a bit harder rather than slushy. I always take out the center of the tomato and use the outer shell of it. Just trust me here.
  2. Now get your beef browning, and follow the directions for using the wonderfully delicious taco seasoning. 
  3. While that's browning, grate your cheeses and slice up your onion and gather all the other fix ins that suit your fancy (olives, peppers, etc.) 
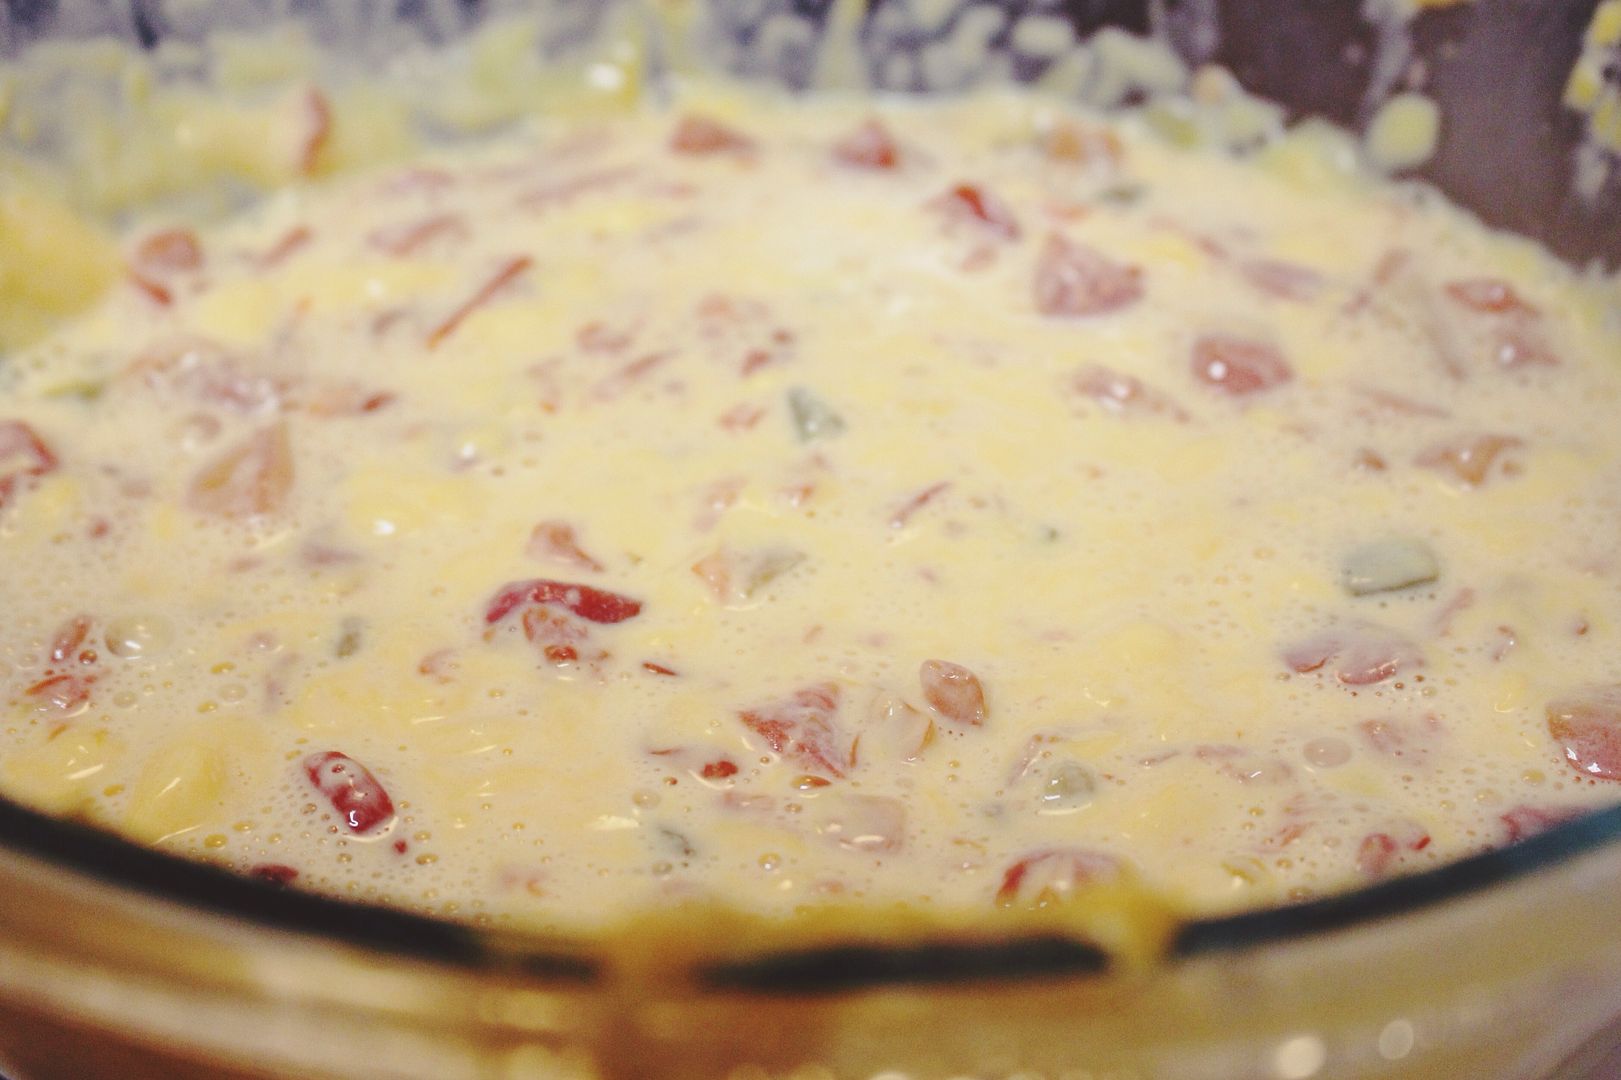
  4. If you have ever experienced a legit Crunch Wrap Supreme, I'm sure you are very familiar with the signature Taco Bell cheese sauce that oozes out of mostly every bite...if you're lucky. I decided that Velveeta would work it's magic here, so I made the classic rotel/velveeta cheese dip. You can also use a jar queso or cheese sauce or potentially rob Taco Bell's cheese sauce gold mine in the middle of the night. Just an option here.
  5. So make up your cheese gold of choice and get out the sour cream and shredded lettuce. Set up a Crunch Wrapping Station.
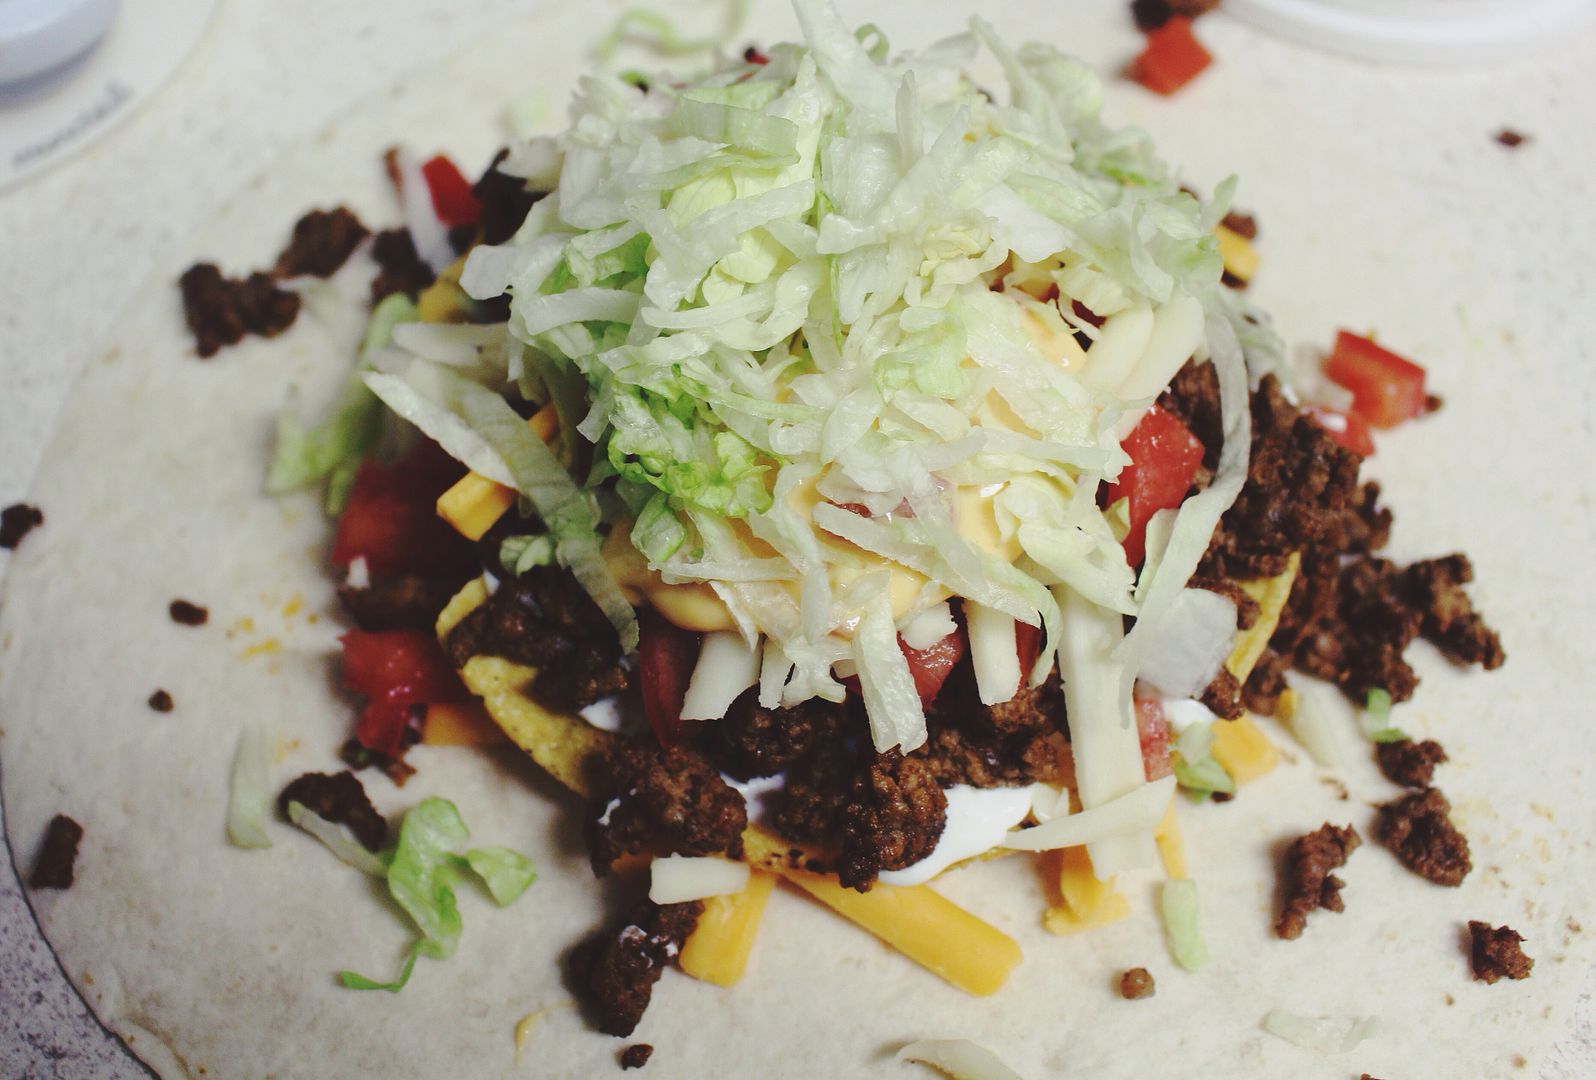
  6. Lay a large tortilla down, put some cheese down in the middle along with the cheese sauce. Slap down a tostada. 
  7. On top of the tostada smear sour cream on first and then the rest of the goodies. 
  8. You can purchase small tortillas at the store, but I'm a little cheap sometimes. I just trace the tostada on a large tortilla with a pizza cutter and cut out my small tortilla. Do whatever suits you best :)
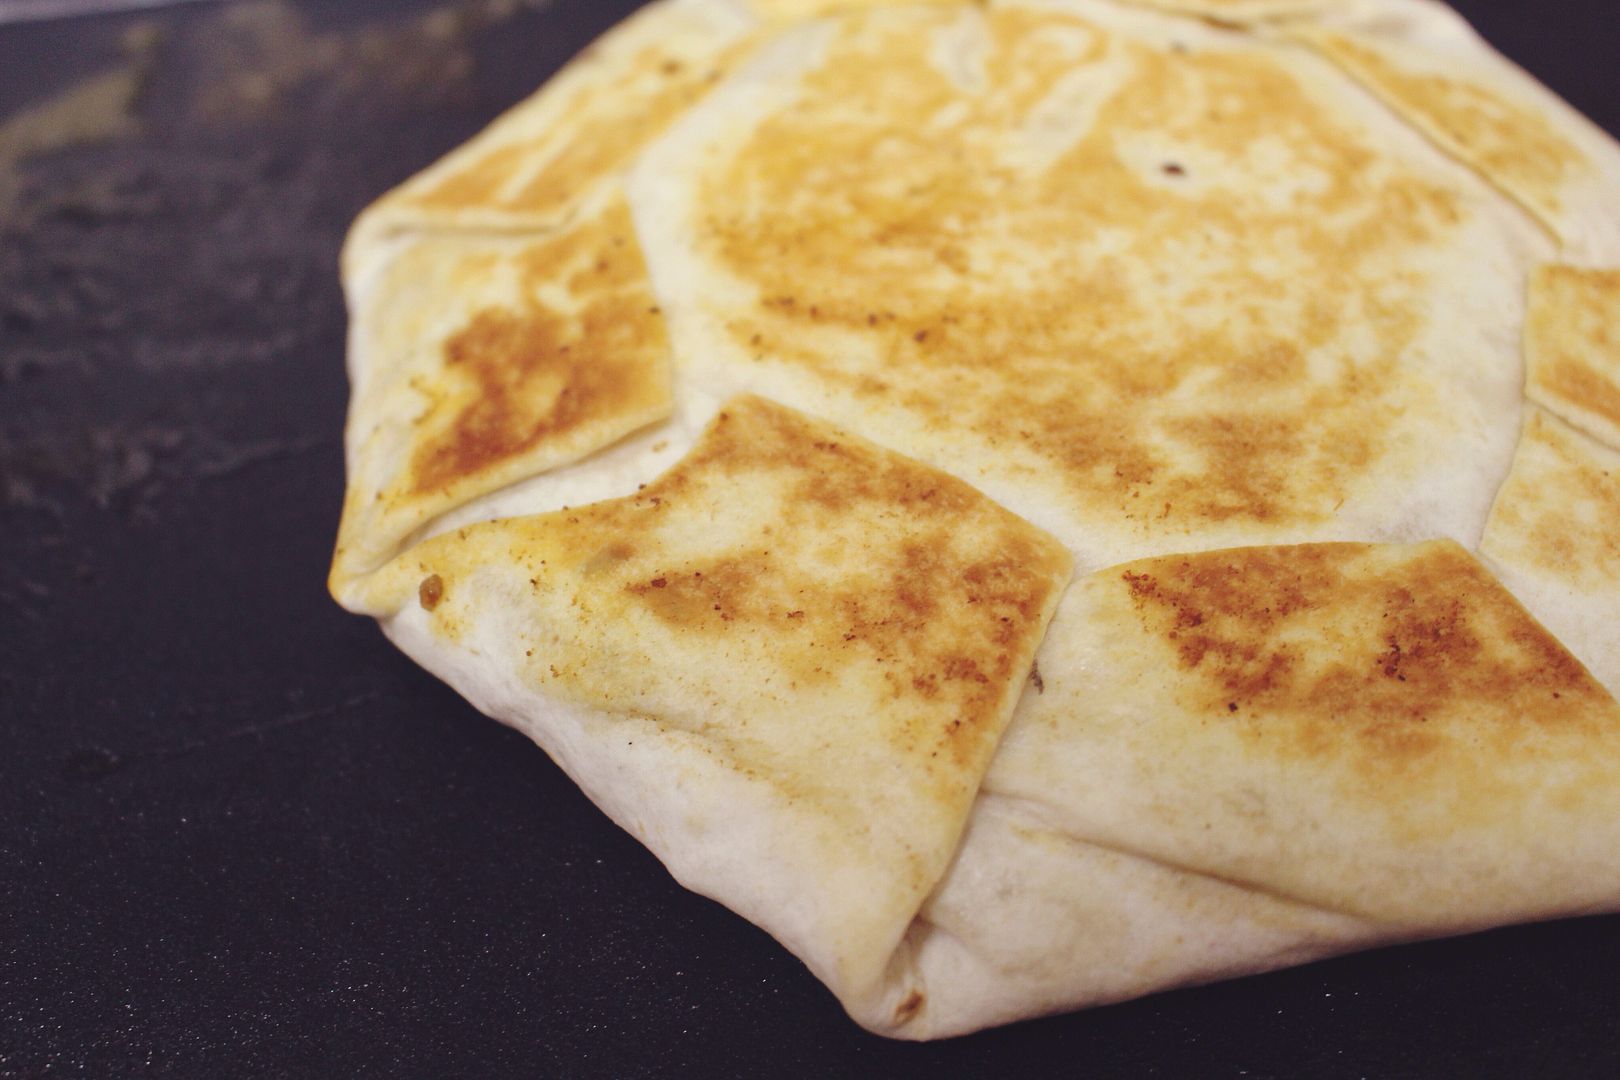
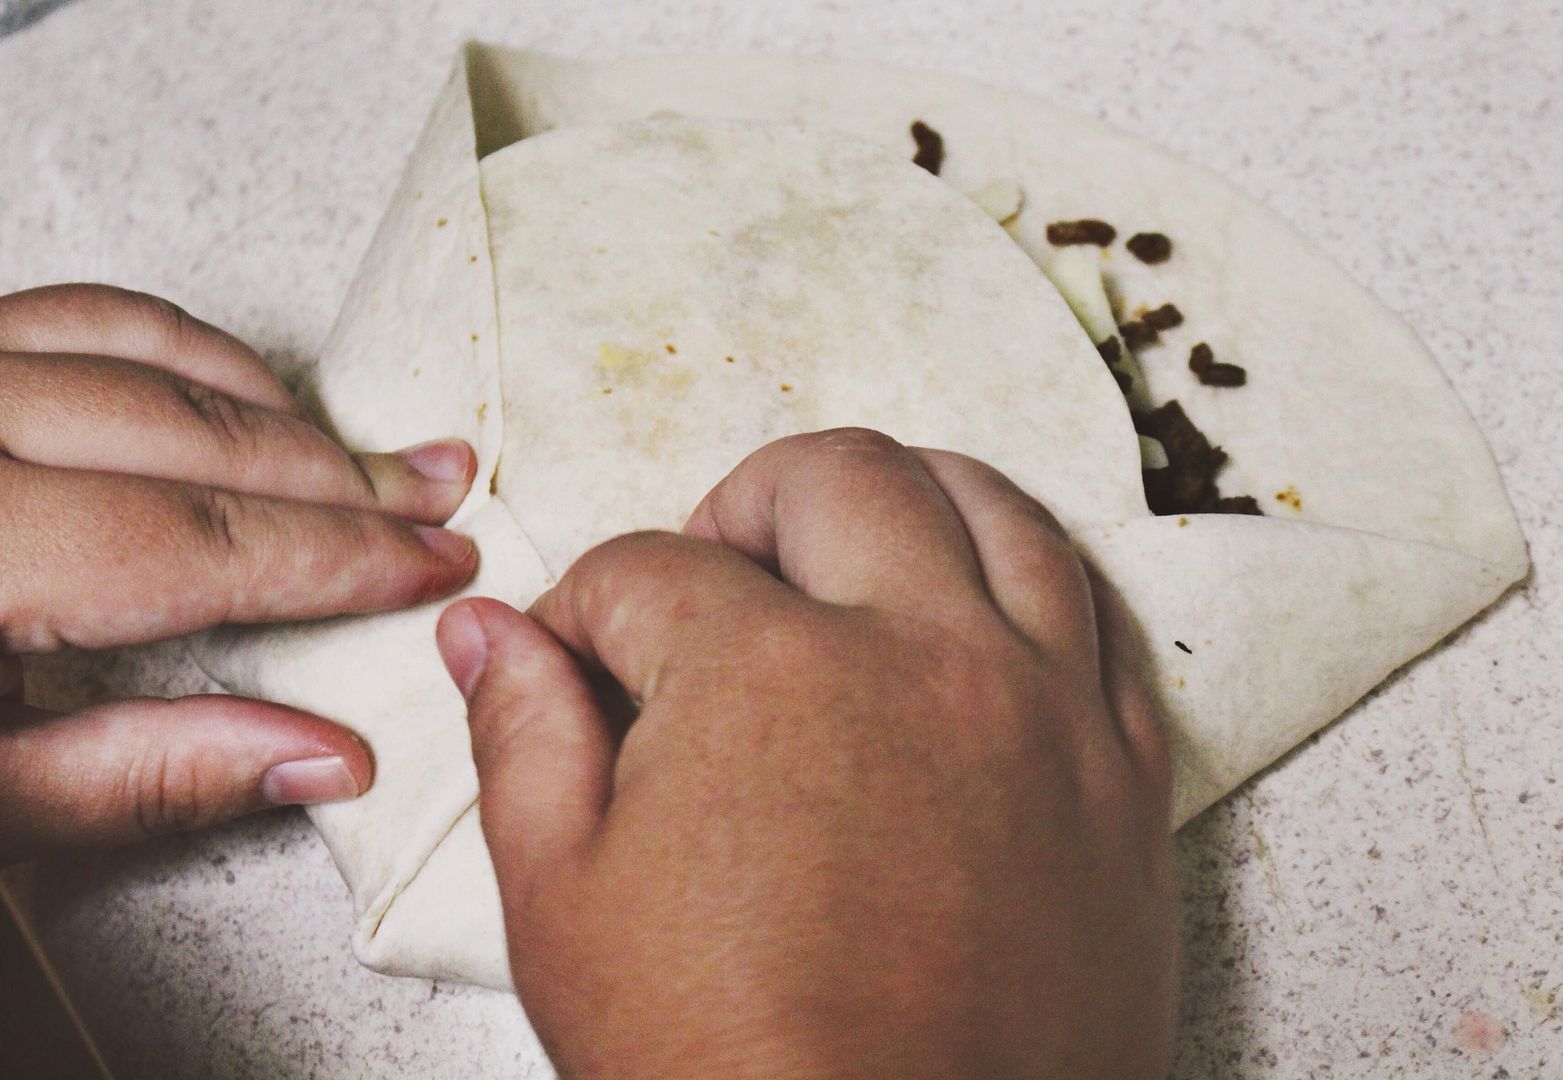
  9. Take your small tortilla and place it on top of the small mountain of ingredients. Smush down a bit to flatten it for the folding part. This may get a bit tricky. At this point the outside large tortilla is bordering the ingredients and your small tortilla. Take one side and start folding diagonal flaps all the way around. 
  10. Butter a griddle, and slap that baby down with folds facing down. This part helps sort of press and glue the flaps down to make a nice compact Crunch Wrap. Flip it over, get a nice brown on each side and there you have it...a reason to never step foot in Taco Bell ever again.    
I'm sure you have all noticed that Taco Bell has introduced a breakfast form of the beloved crunch wrap, and I've been meaning to try it, but the thought of going to Taco Bell when the sun is rising just sounds so totally wrong...but it will happen and I will probably be replicating that shortly after. 
I mean why can't we just put everything we eat in a crunch wrap? 

Monday, April 21, 2014

Easter Basket Stuffing

I am no expert when it comes to creating the most extravagant easter basket for a baby. There's a reason I'm not an expert, and that is because this is Lola's very first Easter. I wanted to keep things simple and not  go overboard because it's easter people not christmas. I mean when I was little all I REALLY wanted was a live bunny, that's not too much to ask for right? Well probably, but hey at least it fit in a basket. Our goal was to make sure we didn't overflow the overly cute, wicker basket that we chose. Obviously Lola is too young to have candy of any sort which is a bummer because easter candy is right up there in the ranks with halloween candy (and all you have to do is wake up and SUPRISE it's waiting on the table in a cute basket).
So here's how we conquered Lola's first Easter:
 photo 597115cbdc009b2f9e49432c36f1d9d8_zpsb1e00cb7.jpg

1. Choosing a basket:

As we were scouting the baskets, we knew we wanted an old fashioned wicker one. Now a days (wow I sound old, although I am not) the stores are stocked with these weird easter baskets that are cushioned character faces. Mildly creepy, especially because you're stuffing them with candy and whatnot. It's just weird, but apparently a hit because they are STILL selling them. The reason I like wicker baskets is because they are the perfect size, not too big and not to small. 
They also are more appealing and can be reused for something around the house AFTER the good old easter holiday has long passed. So we chose a basket that is cute, colorful and wicker wonderful.

2. What goes inside:
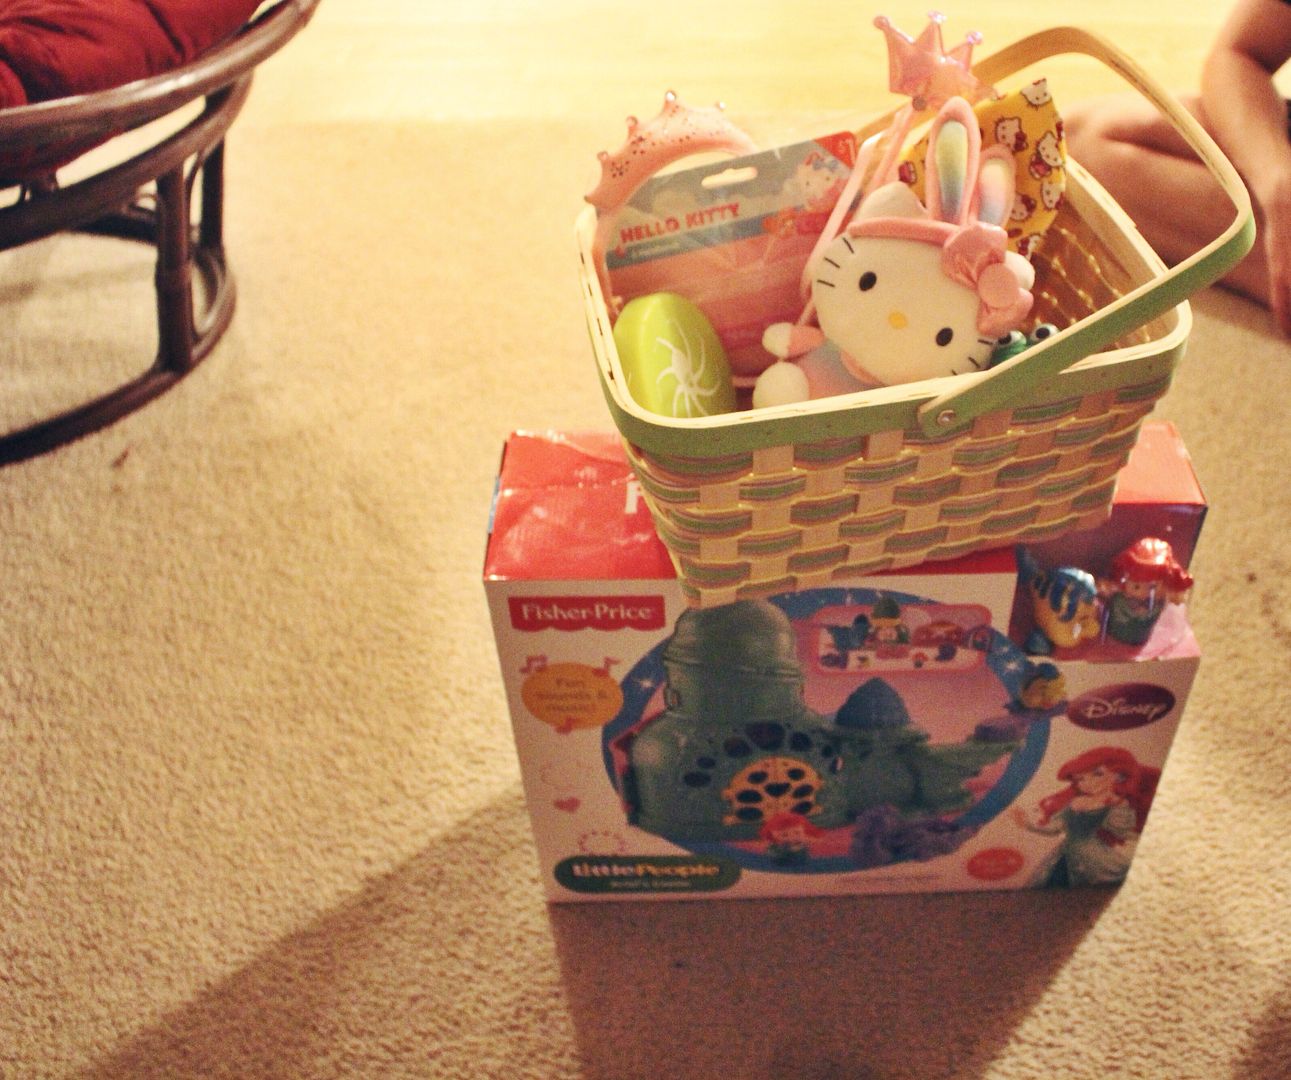
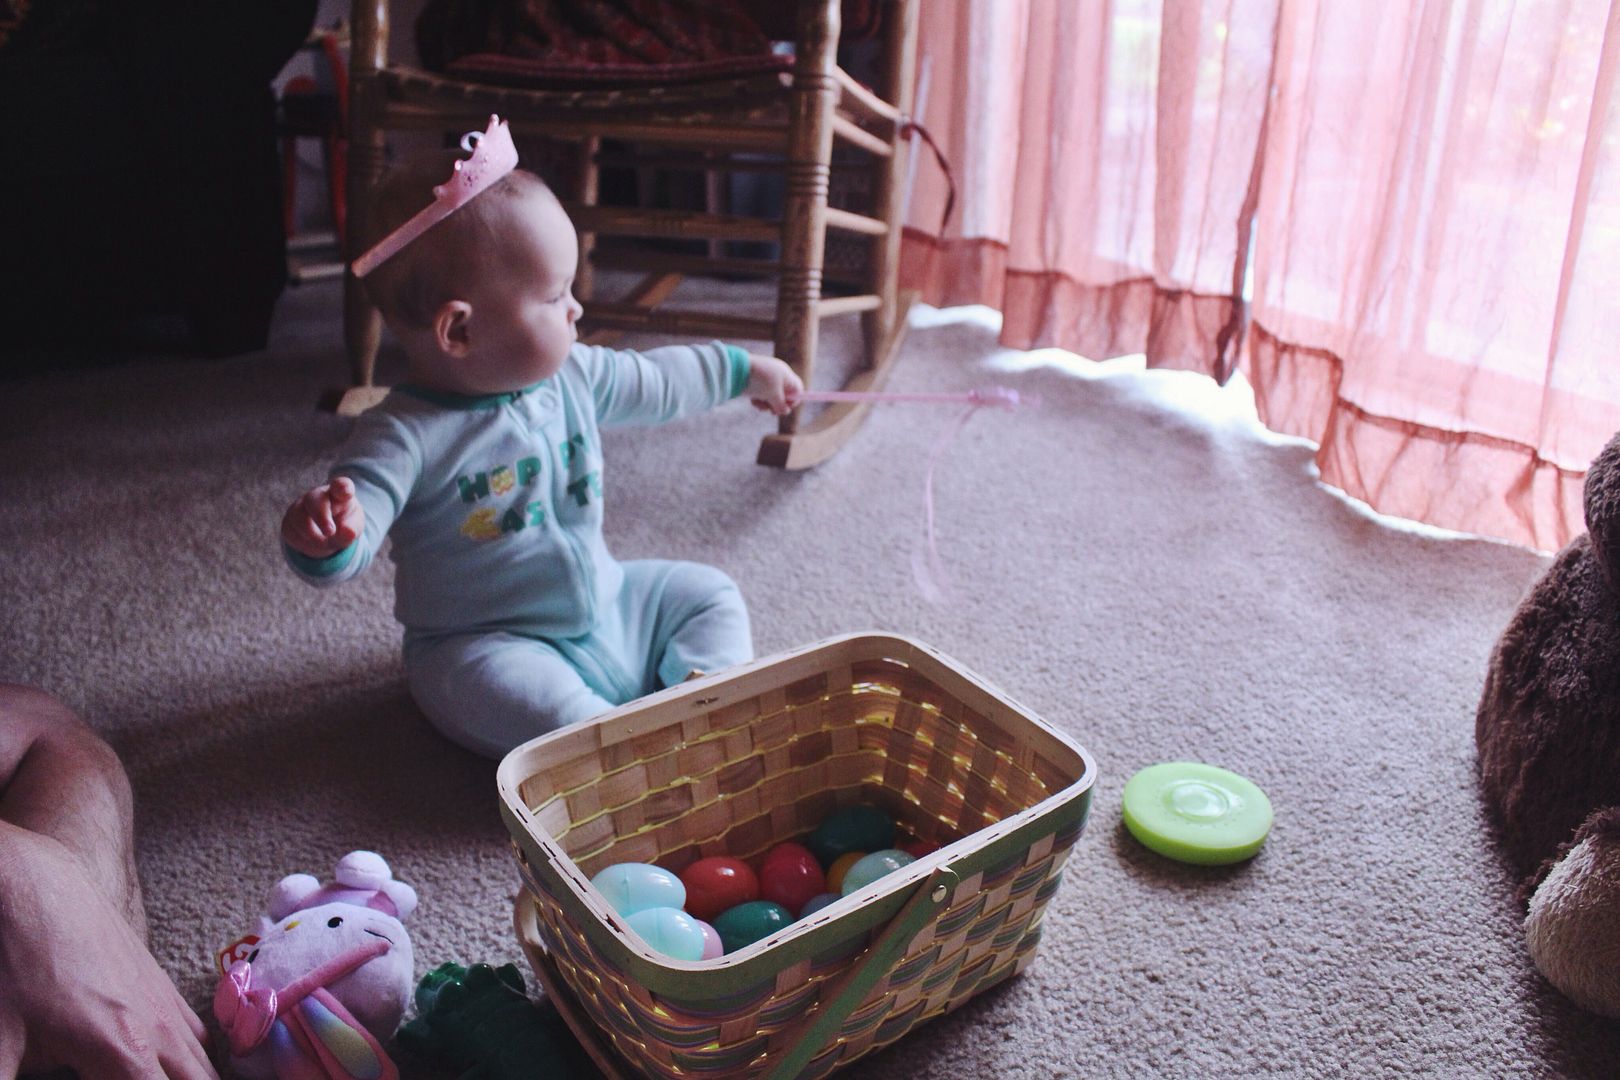
This is my favorite part honestly, just the idea of stuffing a bunch of random stuff in an adorable pastel basket just puts me over the moon. We stepped foot into Target and got absorbed into the one dollar section. A lot of the stuff wasn't even "Easter" related, but all of it was magical. Our cart instantly got filled with bath toys, a cushioned tiara (totally in love) and a matching princess wand. We also got some cheap plastic eggs to scatter around the bottom which are pretty much toys in themselves to a 9 month old. JUST SAY NO to easter grass, it's never worth it. 
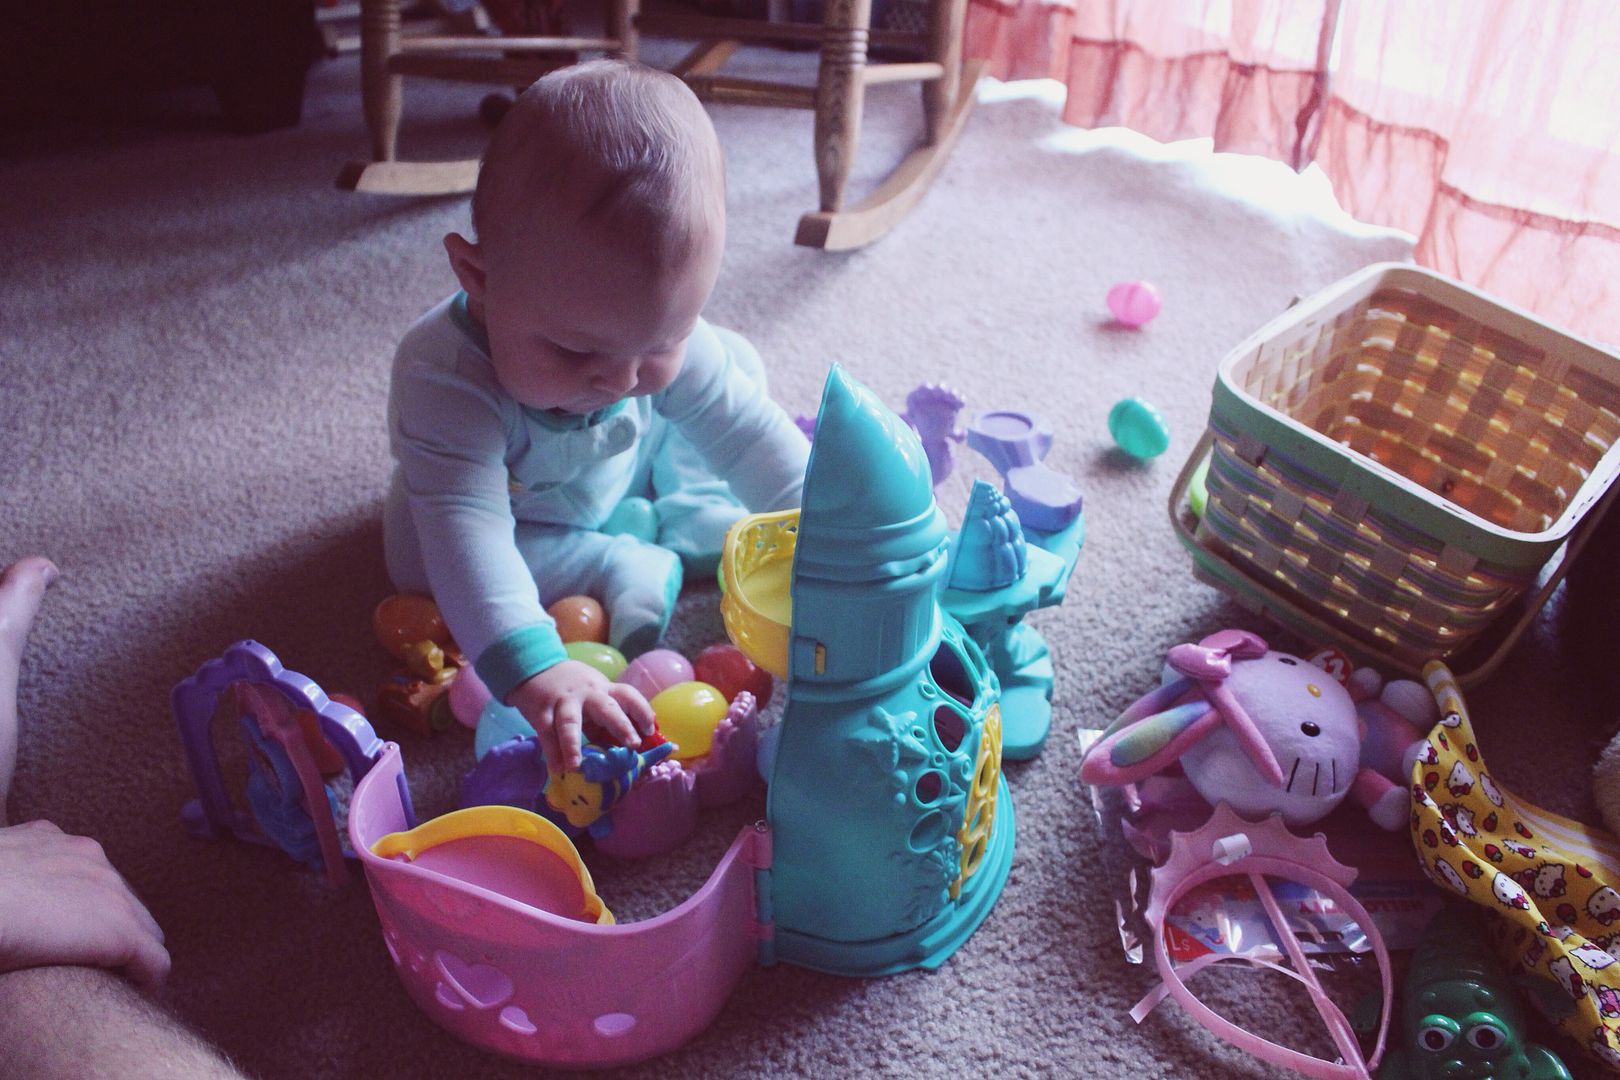
We didn't go over the top because we didn't feel we had to. Some people like to do it that way, but keeping it small and sweet to us is the best route. We DID make a deal with the Easter bunny to leave one "semi big" gift for our hunny (Ariel's dollhouse castle thinga mabob in little people form, which you can find at Target). Our key to the basket stuffing is to keep it simple, and make sure the contents will actually fit in an Easter basket. 

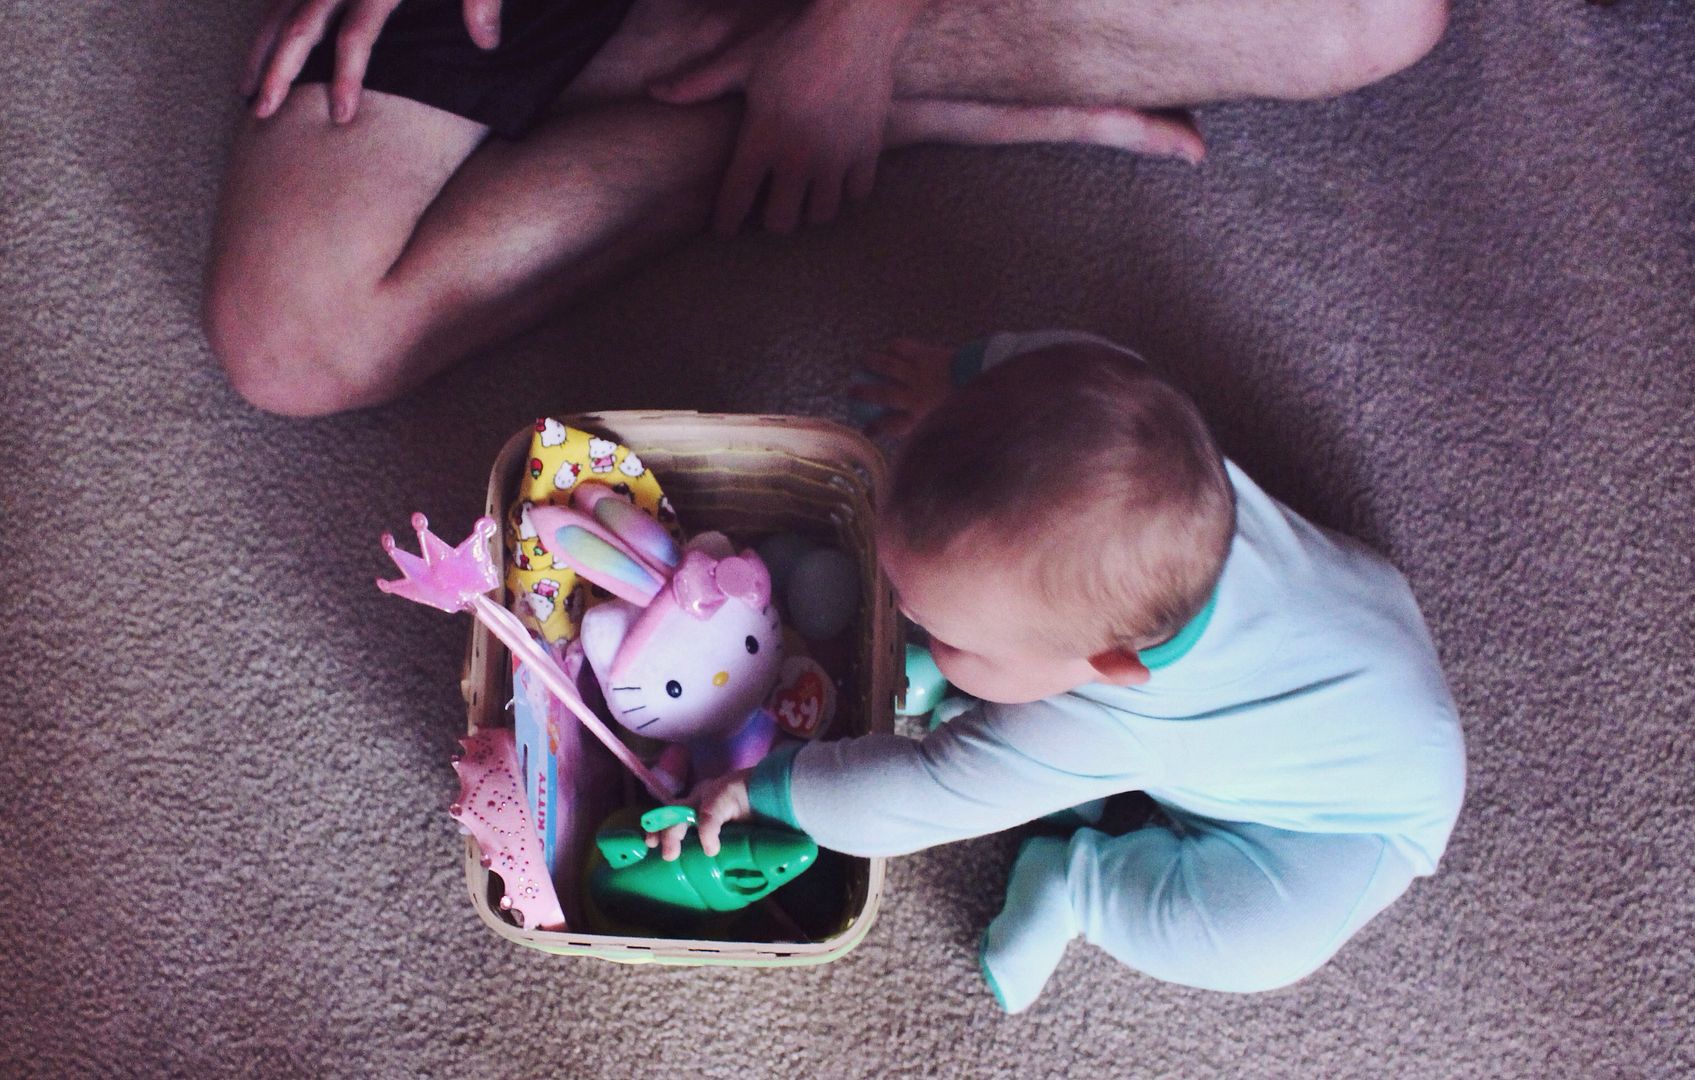
And here's a peek into Lola's very first Easter morning:
 photo 6a772bcb707c55e8d72ba0375de1f8c4_zps5b29b7d1.jpg  photo 3869b327ef8f47c44cac5f51a1356fff_zpsd4f3618b.jpg  photo 5355b0b05fc88586495622c8d235ebb6_zps70101af3.jpg  photo PicMonkeyCollage_zps1083f383.png  photo 4aaa1aa4432ed62d847dee0453105b76_zps0785fcbc.jpg

Monday, February 17, 2014

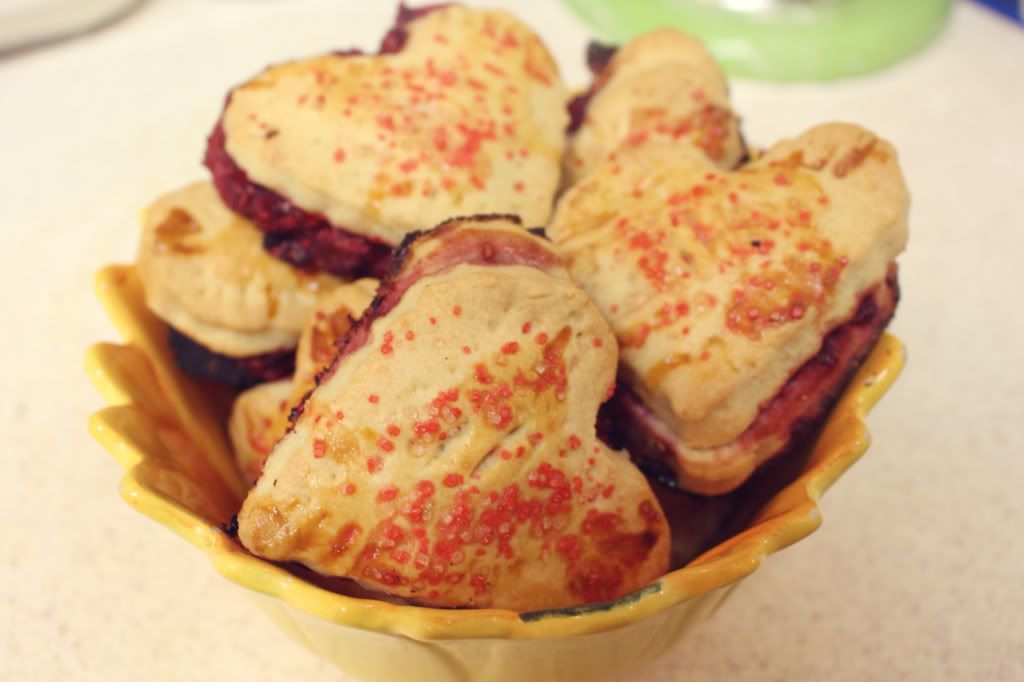
Tarty but Sweet Raspberry Heart shaped Hand Pies

Valentine's Day has never been a huge deal to Ryan and I as a couple. Our anniversary is 4 days before it because we couldn't wait 4 more days to have a "cutesy" anniversary date. That doesn't mean that we don't overload each other in the lovey holiday. I know everyone says that valentines day is lame and just an excuse to get fat off of too much chocolate and to feel loved for just one day. Well, I think all of that is crap, because I feel loved each and every day and we still spoil each other with too much chocolate and kisses. I mean, that's like saying if you already have enough stuff you don't technically "need" christmas gifts every single year. A holiday is a holiday for a reason, and why not celebrate one full day of just plain good old fashioned love?
Well that's what we did, in our own way of course. I decided I would bake Ryan something because all my heart goes into my baking and this time I mean it in the most literal way. 
Oozing Heart shaped raspberry hand pies....absolute heaven I tell you. But I think you might just have to see for yourself. Although Cupid has shut his doors for the year, that doesn't mean you can't bake these lovelies for any ol' day for your special somebody. I mean everyone wants raspberry pie goodness in the shape of a heart...right?
I also used my crumbly flaky pie crust recipe that I shared a few months back right here when I made caramel apple mini hand pies. It works wonders and it's probably the only pie crust recipe I will ever use because it's so simple. Now that your dough is ready to go, let's get started on that tarty, but sweet filling!


Raspberry Heart Shaped hand pies

Photobucket Pictures, Images and Photos

Make the dough here

Ingredients for the filling:

  • About 2 cups frozen raspberries
  • 4 tablespoons of sugar
  • 1 teaspoon cinnamon
  • 1 teaspoon nutmeg
  • A squeeze of half a lemon
  • 1 1/2 teaspoon lemon zest
  • 2 tablespoons cornstarch
  • A pinch of salt
  • Egg wash for coating the crust (1 egg + 1 tablespoon of water)
  • Sanding sugar (I used red and white colored sugar)
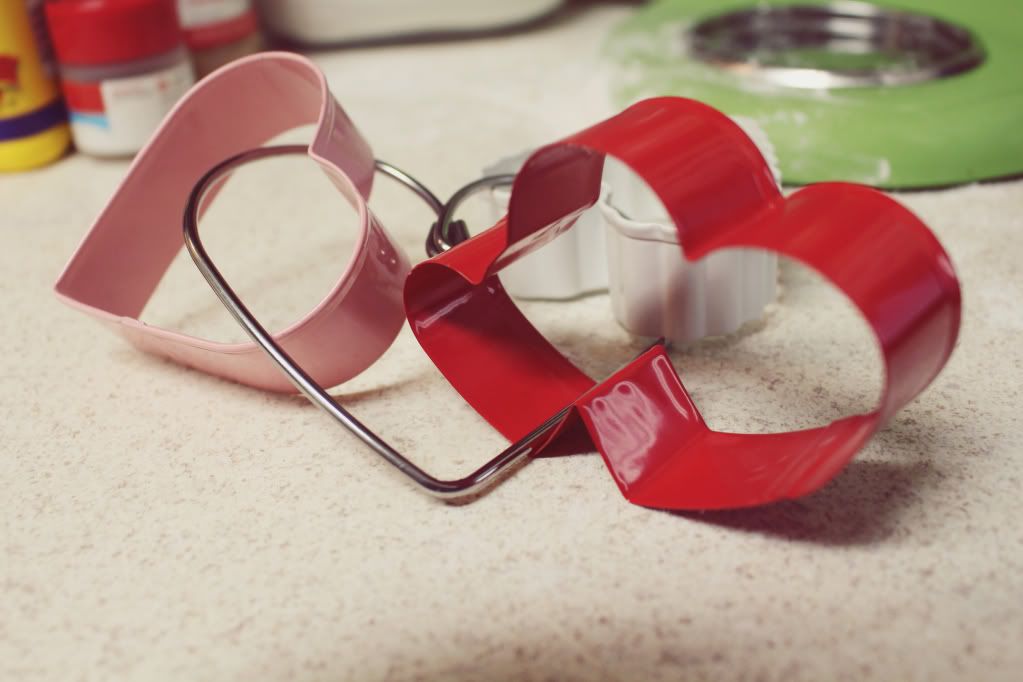
  • Cutesy adorable heart shaped cookie cutters
Photobucket Pictures, Images and Photos
Photobucket Pictures, Images and Photos Photobucket Pictures, Images and Photos Photobucket Pictures, Images and Photos Photobucket Pictures, Images and Photos

Making the filling:

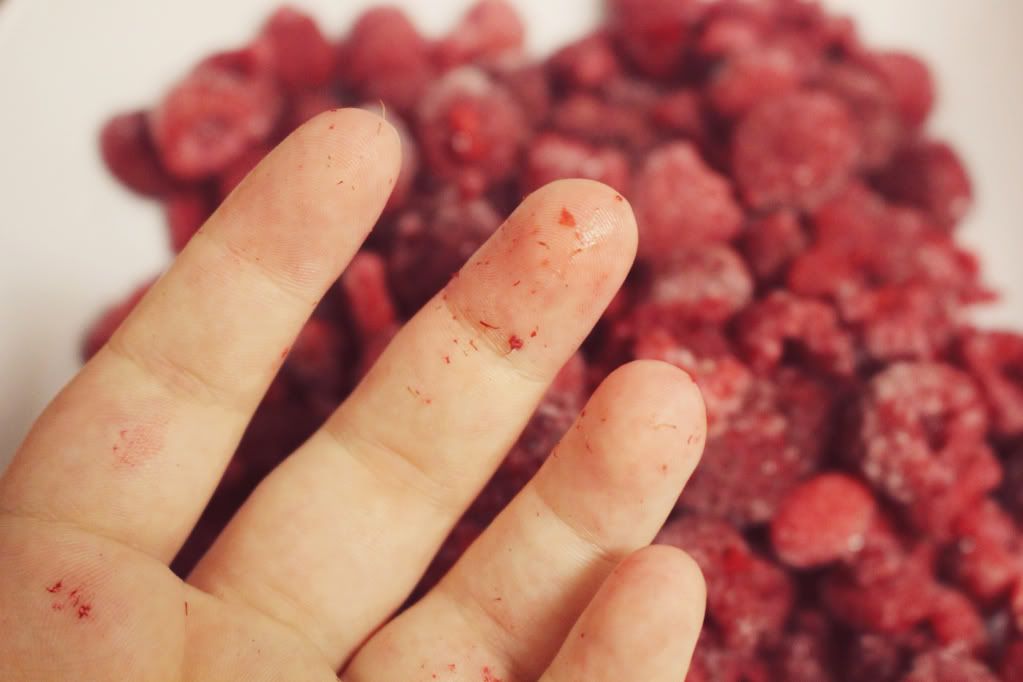
  1. Thaw out the raspberries pretty good before starting. Then drain them well and rinse a tiny bit.
  2. Pour the raspberries, sugar, cinnamon, nutmeg, salt and cornstarch into a small bowl. Crush the raspberries but not fully so it stays chunky as well. 
  3. Grate your lemon and cut it in half and squeeze the juice out of it into your raspberry mixture. Set bowl aside.
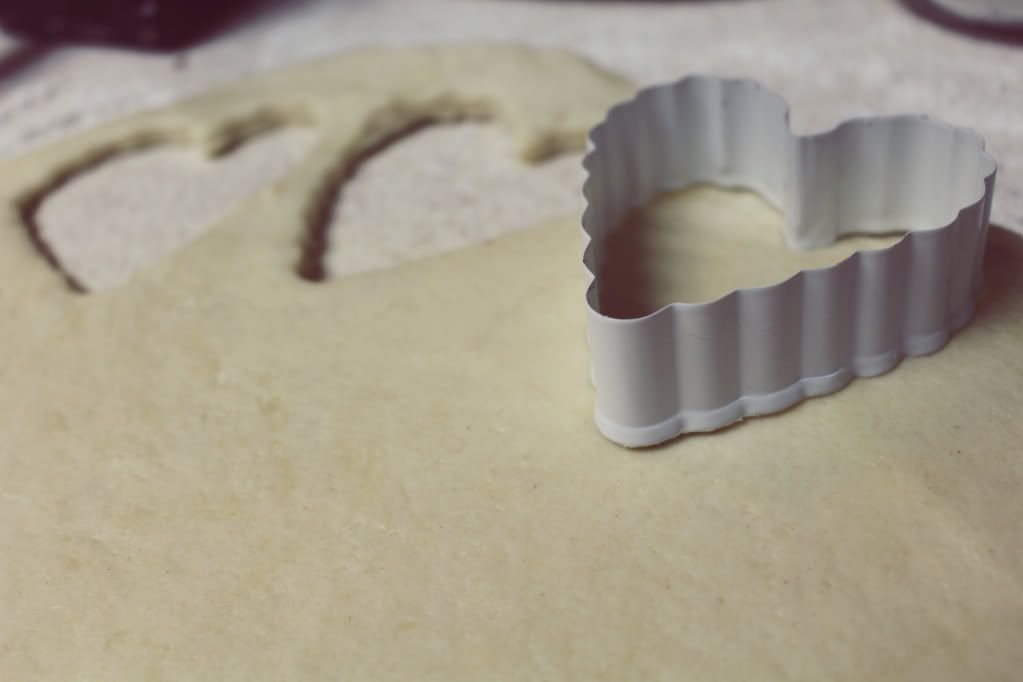
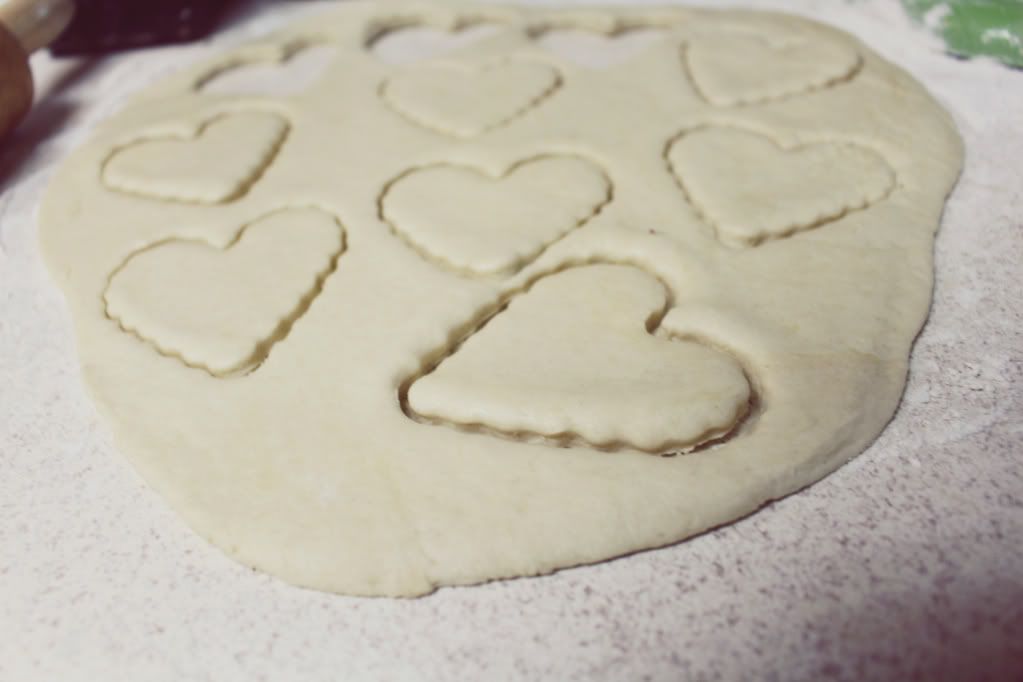
  4. Now that your dough has set and been rolled out, take your heart shaped cookie cutters and make as many hearts as your little heart desires, but make sure it's an even number so you have a top and bottom for each hand pie.
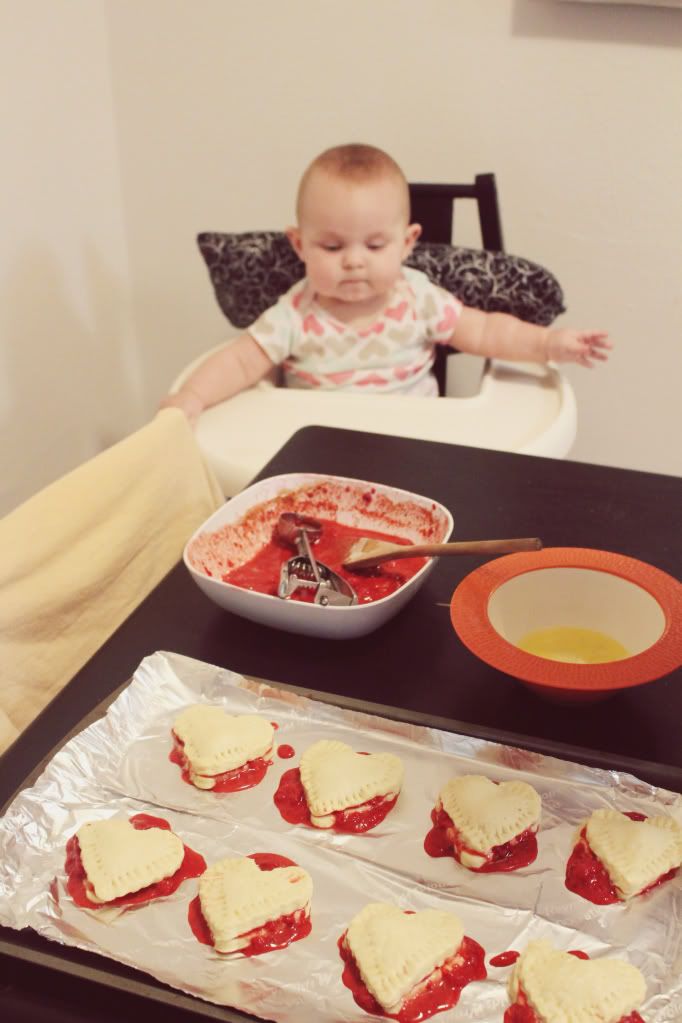
  5. Lay your hearts onto a cookie sheet lined with parchment paper and scoop a little bit of filling onto each one, it's okay if they ooze out a little. Now place your heart lids on top of each heart.
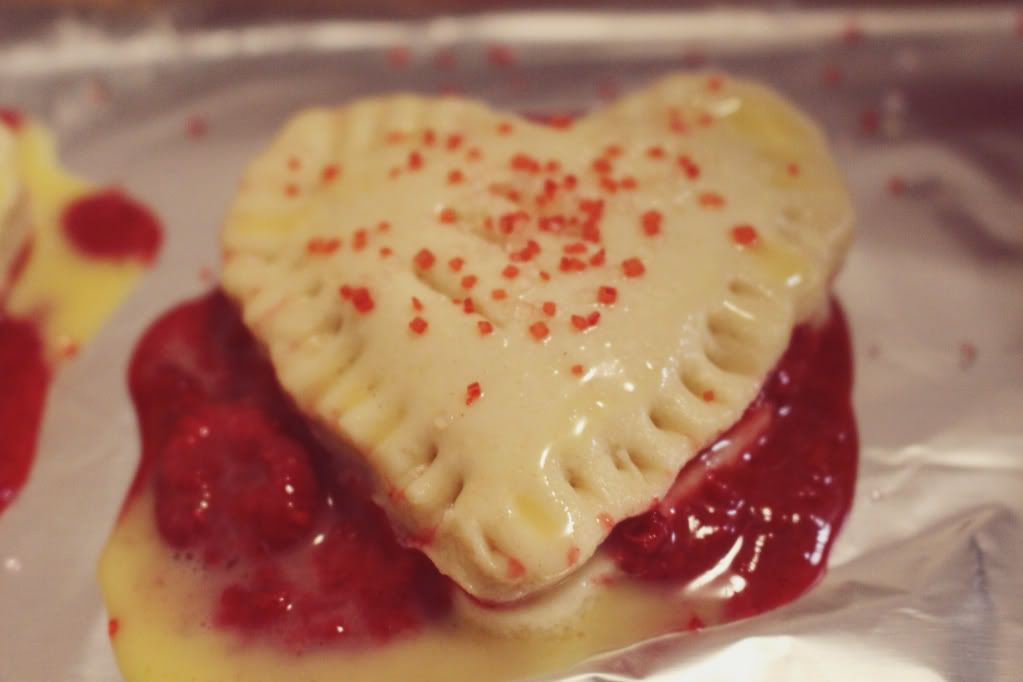
  6. With a fork press around the sides just pinching everything in place.
  7. Make the egg wash and brush a little onto each heart. Now take a knife and make slits into the center to let em' breathe. Sprinkle a little sanding sugar on top to make them shine and sparkle.
  8. Place your hearts in a preheated 425 degree oven and play the waiting game for about 20-30 minutes or until they are golden brown on the tops, but not too brown!
  9. Take them out and serve with ice cream or whipped cream whichever you prefer and give your heart shaped goodness to the one you love the most. No matter what day it may be.
Happy Hearty Baking!

Monday, December 30, 2013

A Little Bit Wiser

2013. Where should I even begin? This year has been an ultimate challenge on my mental and physical state. I spent half the year as a beached whale (aka pregnancy) and I spent the other half of the year becoming a mom. Every year I grow just a tad bit more, and this year was an extreme struggle for me. I don't cope with change very well, and just a month ago I finally started feeling confident as a mother, although I think parenting is something that is a constant learning process.
I have to say through all 365 days, each day in 2013 tested my patience. I've never ever been a patient person and it's still something to be worked on, but this year I learned that patience really really is a virtue. 
The first half of 2013 was spent with tree trunks for ankles, anticipation of labor, and my first ever empty bottle of Tums. The second half of 2013 was spent with a darling honey, a 6 o'clock witching hour, and the ultimate adjustment of all...being parents. I cherish this year so much and I swear by the end of every year I'm so so so ready for the next year to come. Why? Well I guess I unconsciously long for a new start of some sort. And I think the reason why is because every year I'm faced with a new challenge and life lesson. As I look back at past year, I realize I could name them by lessons learned rather than their numbers. So 2013, the year of patience. Let's see what 2014's new leaf has to offer.

Photobucket Pictures, Images and Photos
I also had to mention the most exciting news of the almost new year! Lola started sitting up on her own today. She topples over after a few minutes or sometimes longer, but I believe it's her New Years resolution ;) oh and we had a mega blast day with Grandma at Phillipee Park which is by the way the most gorgeous park in our area.

Photobucket Pictures, Images and Photos Photobucket Pictures, Images and Photos Photobucket Pictures, Images and Photos Photobucket Pictures, Images and Photos Photobucket Pictures, Images and Photos Happy New Year Lovelies! A new horizon and blank page is ahead of us all.

Thursday, December 26, 2013

Christmas 2013

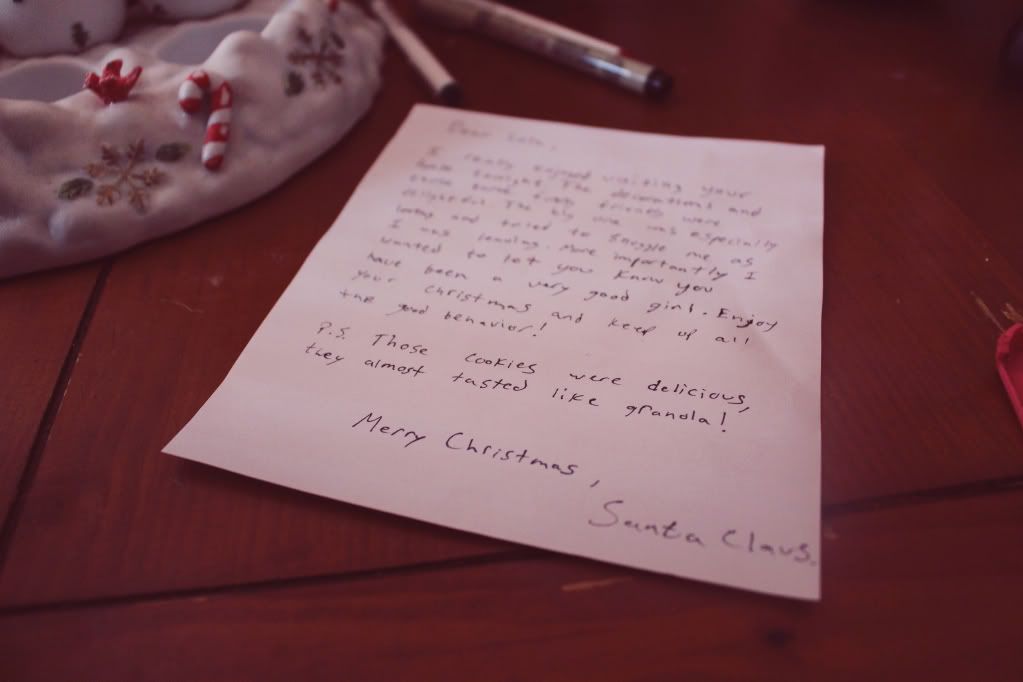
This Christmas has to be one of my favorites of all time. This year I have the gift of motherhood. The gift that brings a new kind of excitement for Christmas morning. Lola was awakened by both her sets of grandparents, mommy and daddy, and her furry family. She discovered wrapping paper and the joy in ripping it to shreds and in Lola's case trying to chow it down. It was a chilly morning surprisingly and I served a french toast casserole and crockpot Nutella hot chocolate. I will share recipes on a rainy day. Santa even left Lola a little note even though we left him granola bars instead of cookies. (Oops!)
All in all this Christmas was over the top magical for all three of us, Ryan got new parts to rebuild parts of his computer and I got my dream camera and my new best friend the Canon Rebel SL1. Oh and I might be a tad bit spoiled but Ryan got me a Kitchenaid stand mixer, so I'm OVER THE MOON for that because now I get to take my baking to a whole new level.
But out of all the gifts we all received the most precious one of all was driving around Christmas Eve night watching the glimmer of christmas lights shining through our car windows. We found a small community that lights up their whole neighborhood with christmas wonderland. We were able to plop Lola up front with us to get the best view. Our little family so close and cozy in our tiny car, with twinkling lights passing us by, I honestly couldn't have asked for a better gift.

Photobucket Pictures, Images and Photos Photobucket Pictures, Images and Photos
Photobucket Pictures, Images and Photos Photobucket Pictures, Images and Photos Photobucket Pictures, Images and Photos
Merry Christmas!

Wednesday, December 25, 2013

A Mini Christmas Party

As I've mentioned before Ryan's family is ginormous. I mean he probably even have some long lost relatives living in igloos somewhere in Antartica. Who even knows honestly. But I do know that when it comes to the holidays I could only wish that Christmas was a week long holiday or that there were more than 24 hours in a day. Heck, I wish there was more than 24 days in December to prepare for all the gift giving and togetherness.
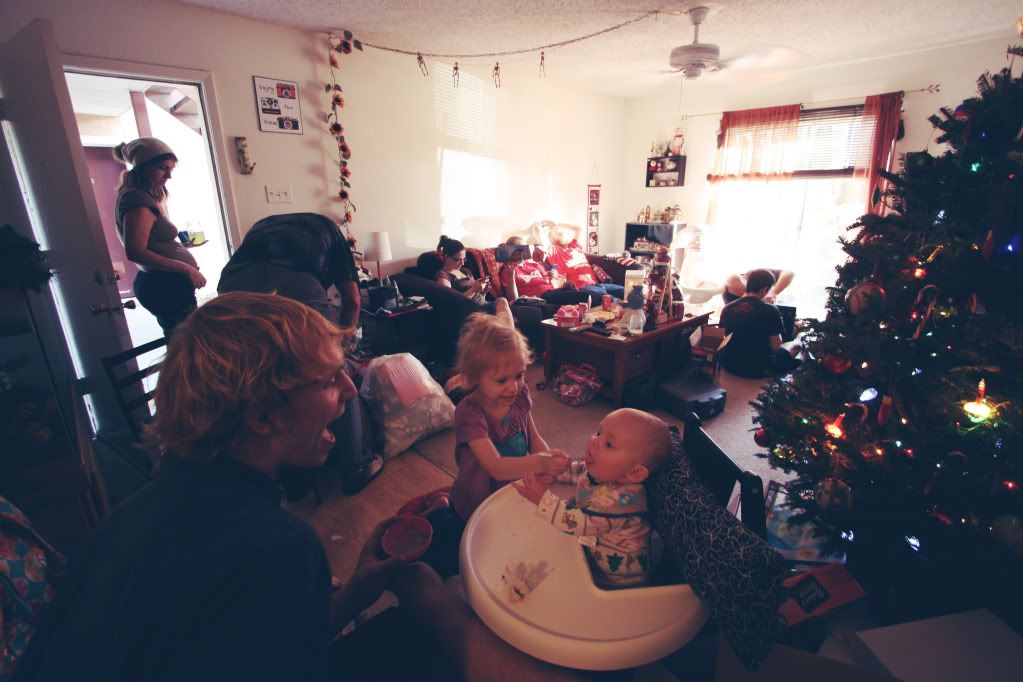
This year we decided since Lola is now the main focus of our holiday that we were going to throw a mini Christmas party and invite his half of the family over to open gifts, drink eggnog, and just be together. Our Christmas now is going to spent here at home, I mean this IS where Santa will be stopping for little miss shoosh ;) so we decided to eliminate the stress of going to a gazillion different places on the day of Christmas and having a shindig the weekend before.
It was a really wonderful day, reconnecting with everybody and Lola really got to interact more with her cousins Mikaela and Maddie that unfortunately live about 2 hours from here.
A mountain of colorful gifts, two pans of spaghetti pie in the oven, and the sound of everybody reuniting is all a recipe for a successful Christmas triple eve.
 This may even become a new tradition for our house.

Photobucket Pictures, Images and Photos Photobucket Pictures, Images and Photos Photobucket Pictures, Images and Photos Photobucket Pictures, Images and Photos

Thursday, December 12, 2013

Cookie Jars + A Recipe filled with Cinnamon

I got into baking shortly after Lola was born. I was never really good at it in the past because I never really took the time and patience with it. I was ALL about the pull apart cookie dough that took ten minutes. Now that I'm a stay at home mommy I have found more time to learn the art and science of baking from scratch. I haven't quite "mastered" it but I know I can make a damn good cookie. So since Christmas is rolling around the corner I decided to go all out with baking. I always wanted to be that person that baked for holidays, scrambling to gather copious amounts of baking supplies and warming the house with sugary goodness.
So I sent out four different types of cookies in extra tall mason jars to our closest friends and families. I chose cookies that remind me of Christmas right after the first bite. I'm not very good at the traditional sugar cookie cut outs. They always come out looking like over sized puffy versions of themselves. That's why I wanted my cookies to individually bring you to a different Christmas memory without visually seeing a candy cane or Santa.
I made:
  • Oatmeal Cranberry cookies
  • Andes Minty green cookies 
  • Red and White cookies n' cream cookies
  • Gingerbread chocolate chip cookies
My absolute favorite out of all of these are the oatmeal cranberry cookies. They have just the right amount of spice and just the right amount of nice. I make sure they are extra chewy since oatmeal has the tendency to get a little to crispy. The recipe originally was for plain ol' oatmeal cookies, but I couldn't resist the dried cranberries in my cabinet. They turned out just as good, and that little touch is what really makes the cookie my favorite. Below you can find the recipe that will change your mind about oatmeal cookies for the rest of your life.


Image and video hosting by TinyPic Image and video hosting by TinyPic Image and video hosting by TinyPic Image and video hosting by TinyPic Image and video hosting by TinyPic
Image and video hosting by TinyPic

Oatmeal Cranberry Cookies

Makes 2 to 3 dozen cookies.


Ingredients:

1 cup butter
1 cup granulated sugar
1 cup brown sugar
2 eggs
1/2 tsp vanilla
1 1/4 cup flour
1 tsp baking soda
1/2 tsp salt
1/2 tsp cinnamon
2 cups old fashioned oats
A few handfuls of dried cranberries

Directions:


1.  Preheat oven to 350 degrees.
2. In a large bowl or an electric mixer combine the butter, sugars, and eggs. Once combined add in the vanilla.

3. Combine the flour, baking soda, salt, and cinnamon in a small bowl. Slowly add to creamed mixture. 

4. Mix in the old fashioned oats.  Let the mixture sit for 5 minutes or so and then mix again. (Tip: try not to over mix the oats in, or your dough will become too drippy.)

5. Bake on parchment lined baking sheets for 10-12 minutes.  (They spread, so bake about 6 at a time on large cookie sheets).  The edges will become golden brown but the middles will look underdone.  Cool on pan or wire rack for 5 minutes.  Remove from pan and cool completely on racks. Enjoy! 

Tuesday, December 3, 2013

Felt Bulbs

Tonight we finally dressed our Christmas tree up with all the proper attire. well, Ryan actually handled all the ornamenting while I snuggled the shoosh on the couch. It happens, she IS pretty irresistible when it comes to cuddling, especially because it is very rare when she even wants to snuggle. Very particular. Anyway, I was standing in line at the grocery store the other day and I stared blankly over at all the overly sophisticated Christmas trees on the magazines staring back at me. Yes, they were beautiful and I'm sure they were way more valuable than they should be. Now, don't get me wrong I am a hug sucker for pretty sparkles and bows, especially on my tree. But a real tree tells a story. Each ornament has a tiny story and memory behind it. You know, those "1st Christmas" ornaments and those ones that have pictures in them from years ago. A few big shiny bulbs here and there, sparkling lights and memories strung from each piney branch. Those are the Christmas Trees that should be in magazines. 
 My ultimate favorite ornaments are the ones that are made by hand. I came across an etsy shop that was selling little felt light bulbs. I love when I am pinteresting and I quietly say to myself, "I CAN DO THAT." So I got a bunch of sheets of felt and got to work. Image and video hosting by TinyPic
You will need:

  • multiple colors of felt in sheets
  • scissors
  • thread
  • needle
  • fluffy stuffing
  • ribbon or yarn for hanging
  • cup of hot cocoa ;)

Start out by folding your felt sheet in half and snipping out light bulb shaped cut outs. I fold them so it creates one whole piece and you will only have to sew two sides.
Image and video hosting by TinyPic Image and video hosting by TinyPic Next you're going to do a blanket stitch. just start from the back of the bulb and come up. Keep sewing all the way around until you have about an inch left to the end. Now you're gonna reach your hand into fluff heaven and stuff your little light bulb, just enough to make it look 3-dimensional. Nice! Almost time to hang it. Image and video hosting by TinyPic
Now you're going to snip out little yellow squares from your stash of felt pages, and attach two (one on the front top of the bulb and one on the back top of the bulb). This is going to be the metal part of the light bulb. You're just going to traditionally sew in and out, back and forth until its secure. The traditional stitch gives the effect of grooves in the metal part. Image and video hosting by TinyPic
Image and video hosting by TinyPic
For the hanging, I just used some yarn from my dusty collection, but get creative! Maybe some ribbon, or use them in a garland or something to make imitation Christmas lights. I attached my yarn by hand just insert it onto the back or into the yellow felt before you sew the metal part on.

Happy Decorating!