Showing posts with label Recipes. Show all posts

Tuesday, July 29, 2014

Hazelnutty Greatness

I suppose a scratch made Nutella recipe is in order.
 photo 87246bf1a73608606be9c4199c669870_zps66388c57.jpg
Hazelnuts are my absolute favorite type of nut especially when they are roasted. Everything about them is so heartwarming and Nutella brings them to a whole other level when welcoming cocoa into the mix. Such 
a grand idea they had making a cocoa hazelnut spread that knocks peanut butter right out of the water. So why not make your own version that could be slightly better for you, but still just as mouthwatering? 

This recipe makes about an 8 ounce jar of the good stuff. Let's get started!

Ingredients:

  • 1/2 cup raw hazelnuts
  • 1/2 teaspoon vanilla extract
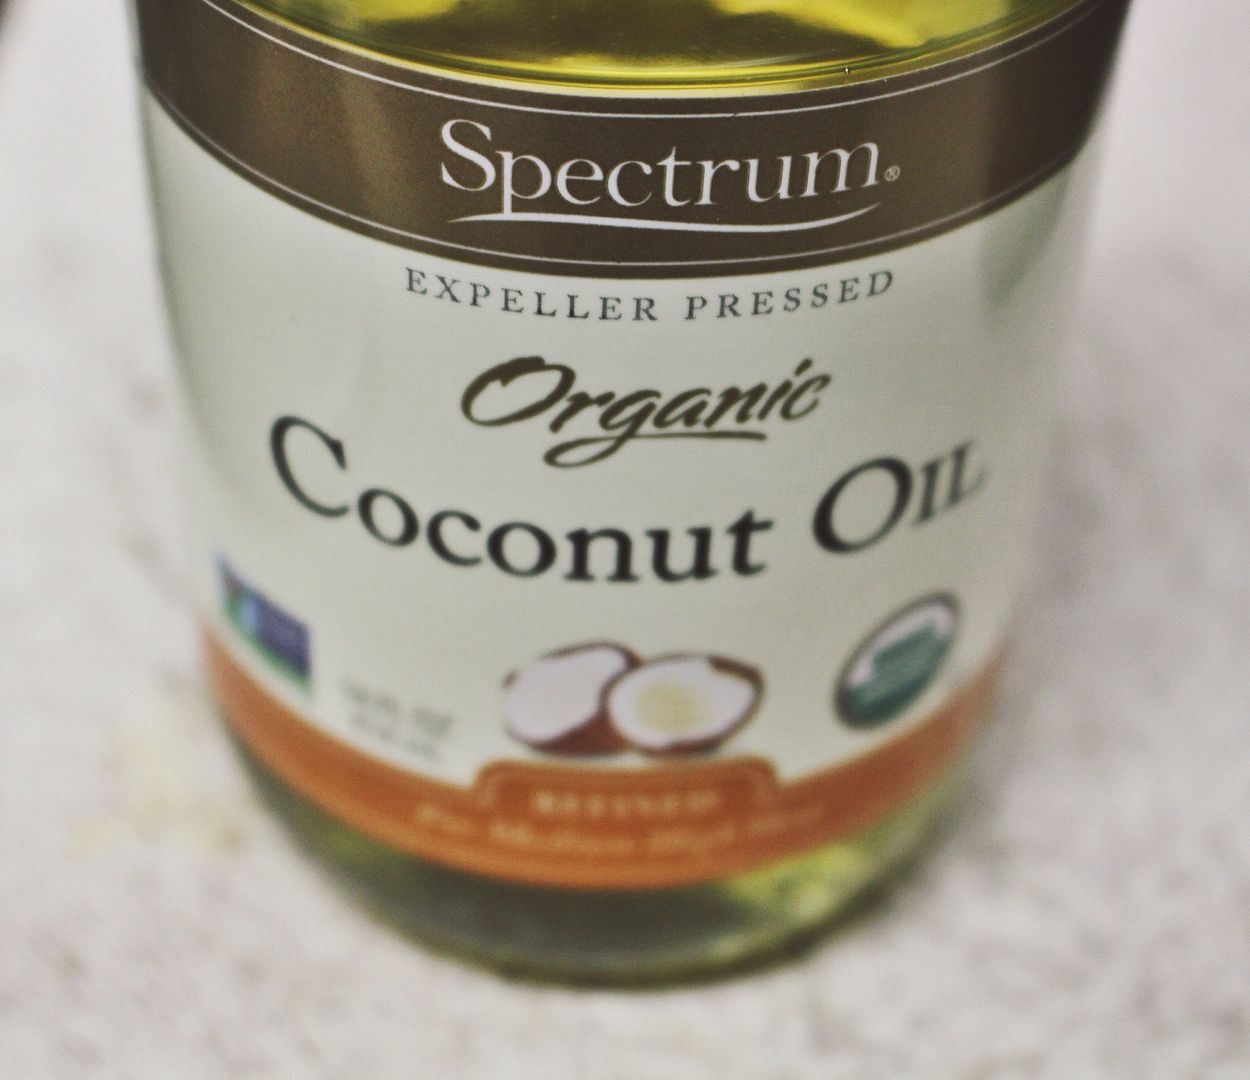
  • 1 tablespoon coconut oil
  • 3 tablespoons unsweetened cocoa powder
  • a little over 1/4 cup of whole milk (or any other type of milk, like almond milk etc.)
  • 1/3 cup granulated sugar
  • 1/4 teaspoon salt
 photo 549fcfc0ac36228e1462b29f7410d880_zps3851b1e8.jpg  photo acad521f6dd0467cc26909a9f2240742_zps4517059c.jpg  photo f5afa94496cbb947b53a08e6603d8594_zpsc211d374.jpg  photo 500e5dde649357cb5587b9605d57427b_zps0eda537a.jpg  photo c3945031c8663f8b2842d09efde38174_zps3074da54.jpg  photo ca3a94032fcc1baa4f487399550df184_zps999d5100.jpg

Makin' the good stuff:

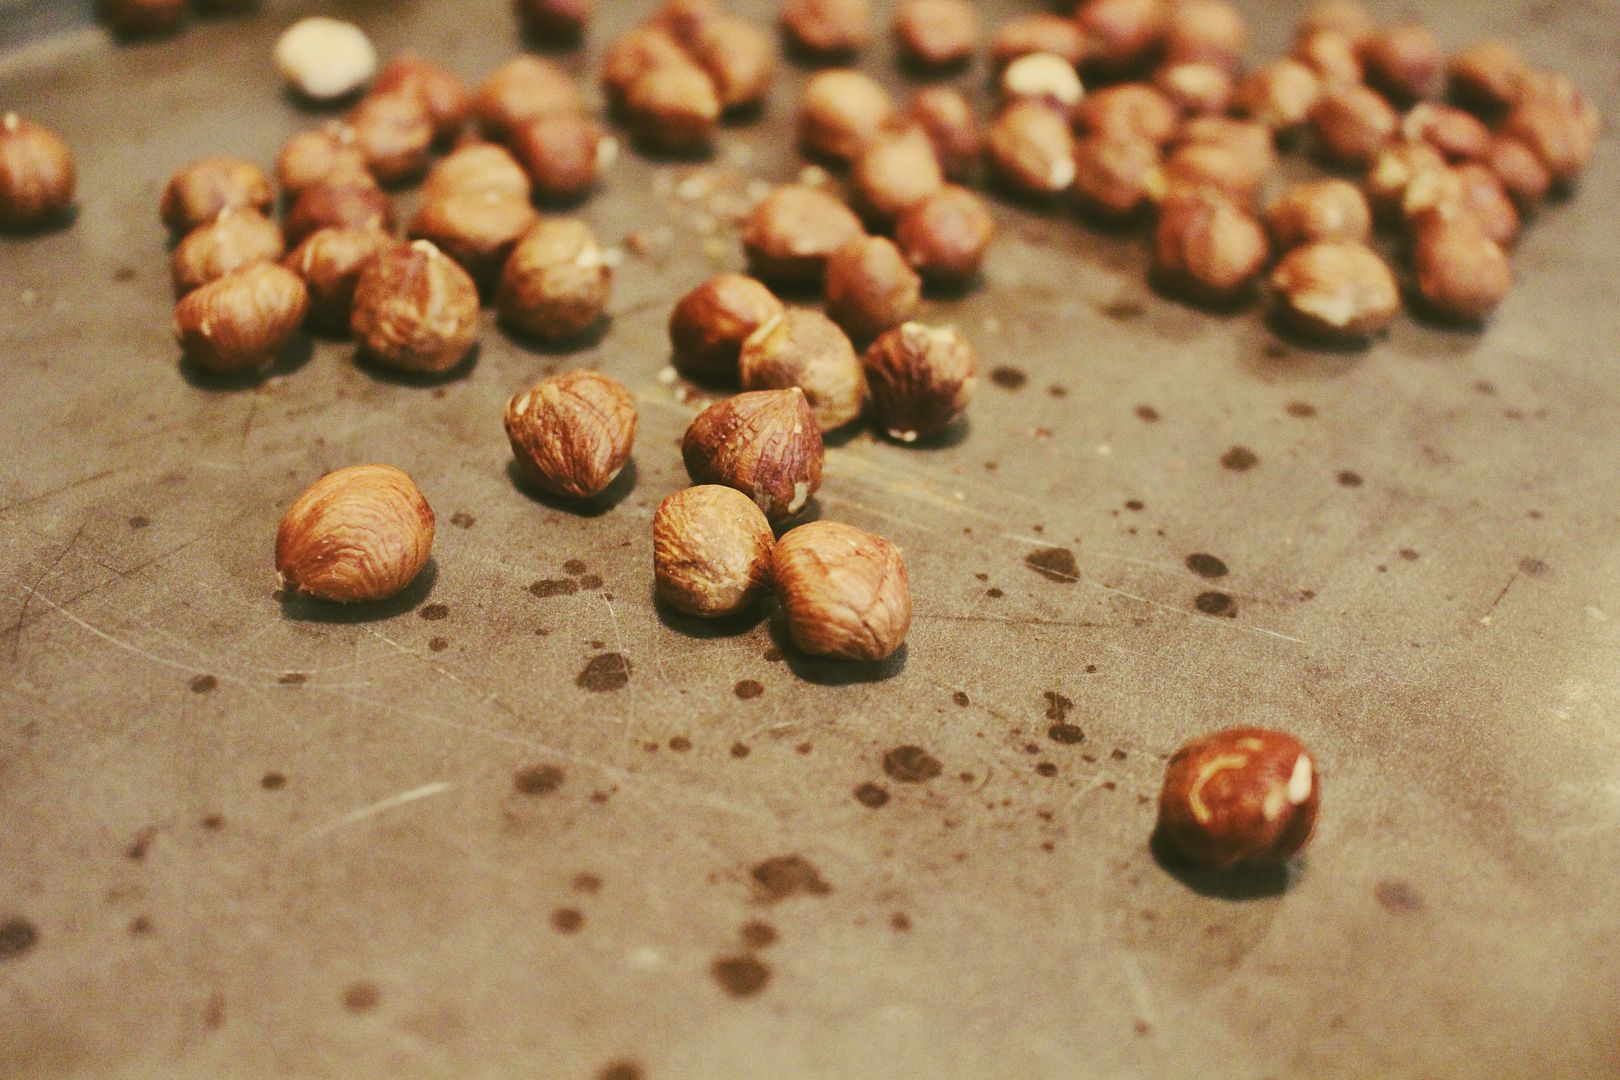
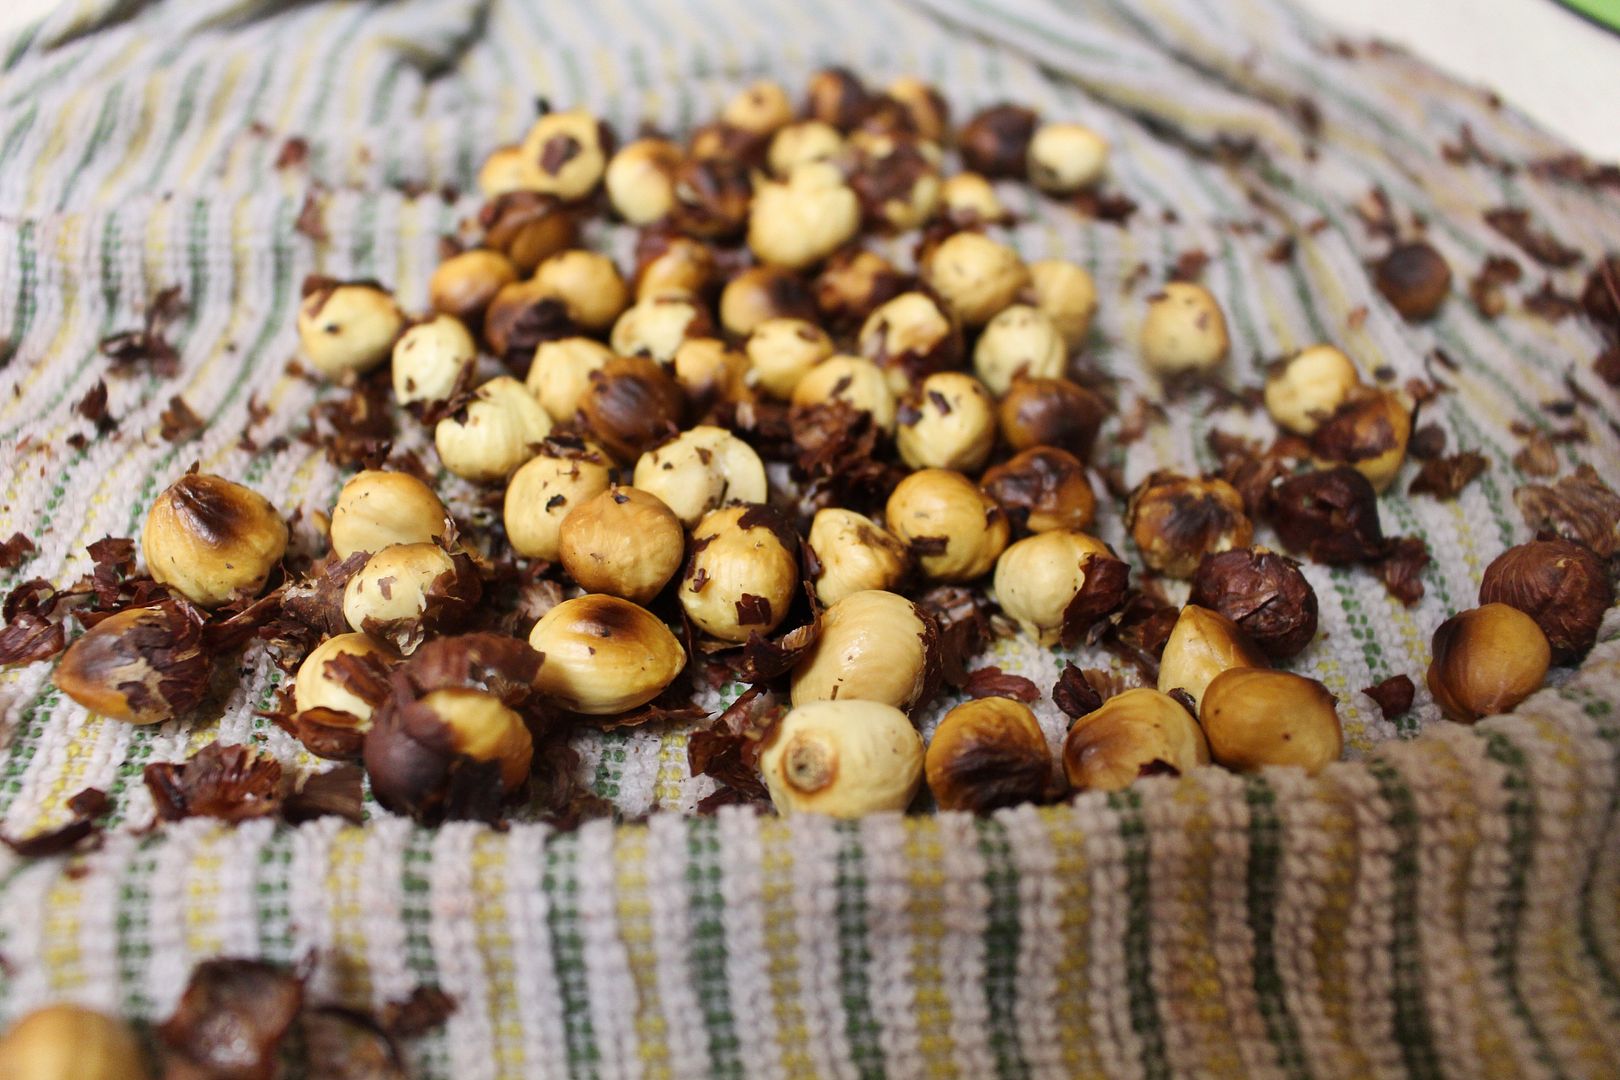
  1. Preheat your oven to 400 degrees and lay the hazelnuts on a cookie sheet. Place them in the oven for about 10 minutes to get them roasted and to get your house smelling fantastic. Grab a damp kitchen towel and place all the roasted hazelnuts on top of it. Wrap them in the towel and rub them vigorously (this removes the little shells that they are wrapped in). The whole shell will not rub off completely and that's perfectly okay! 
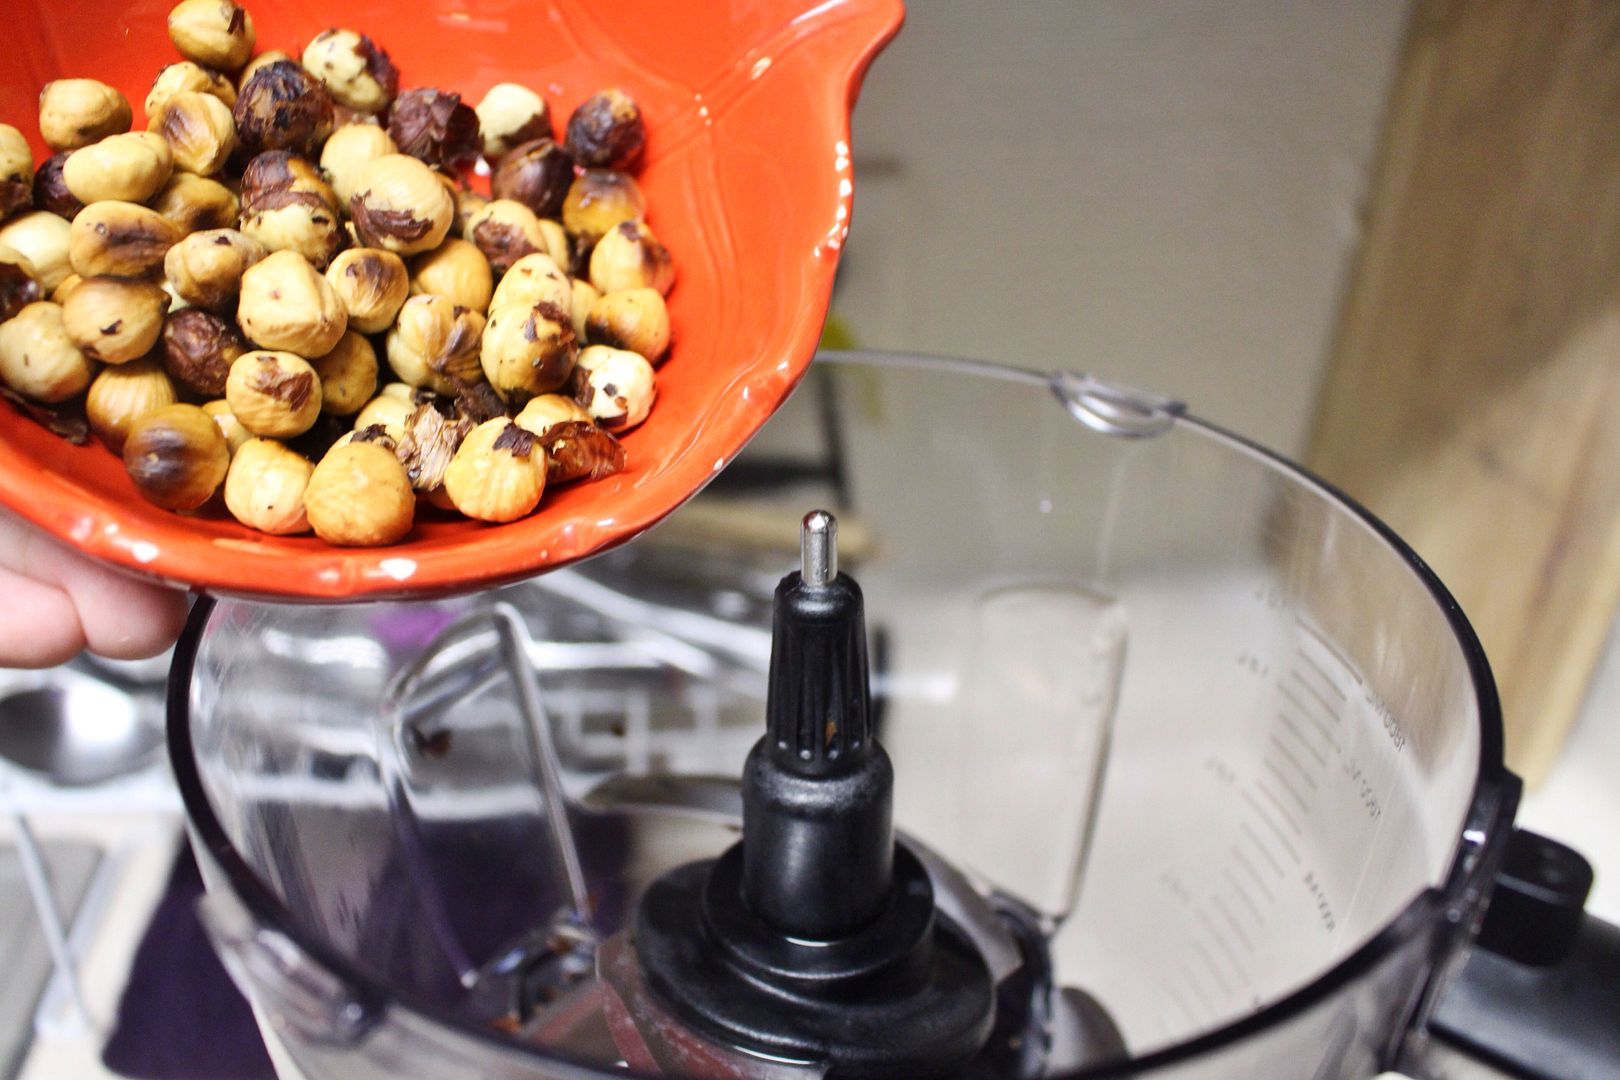
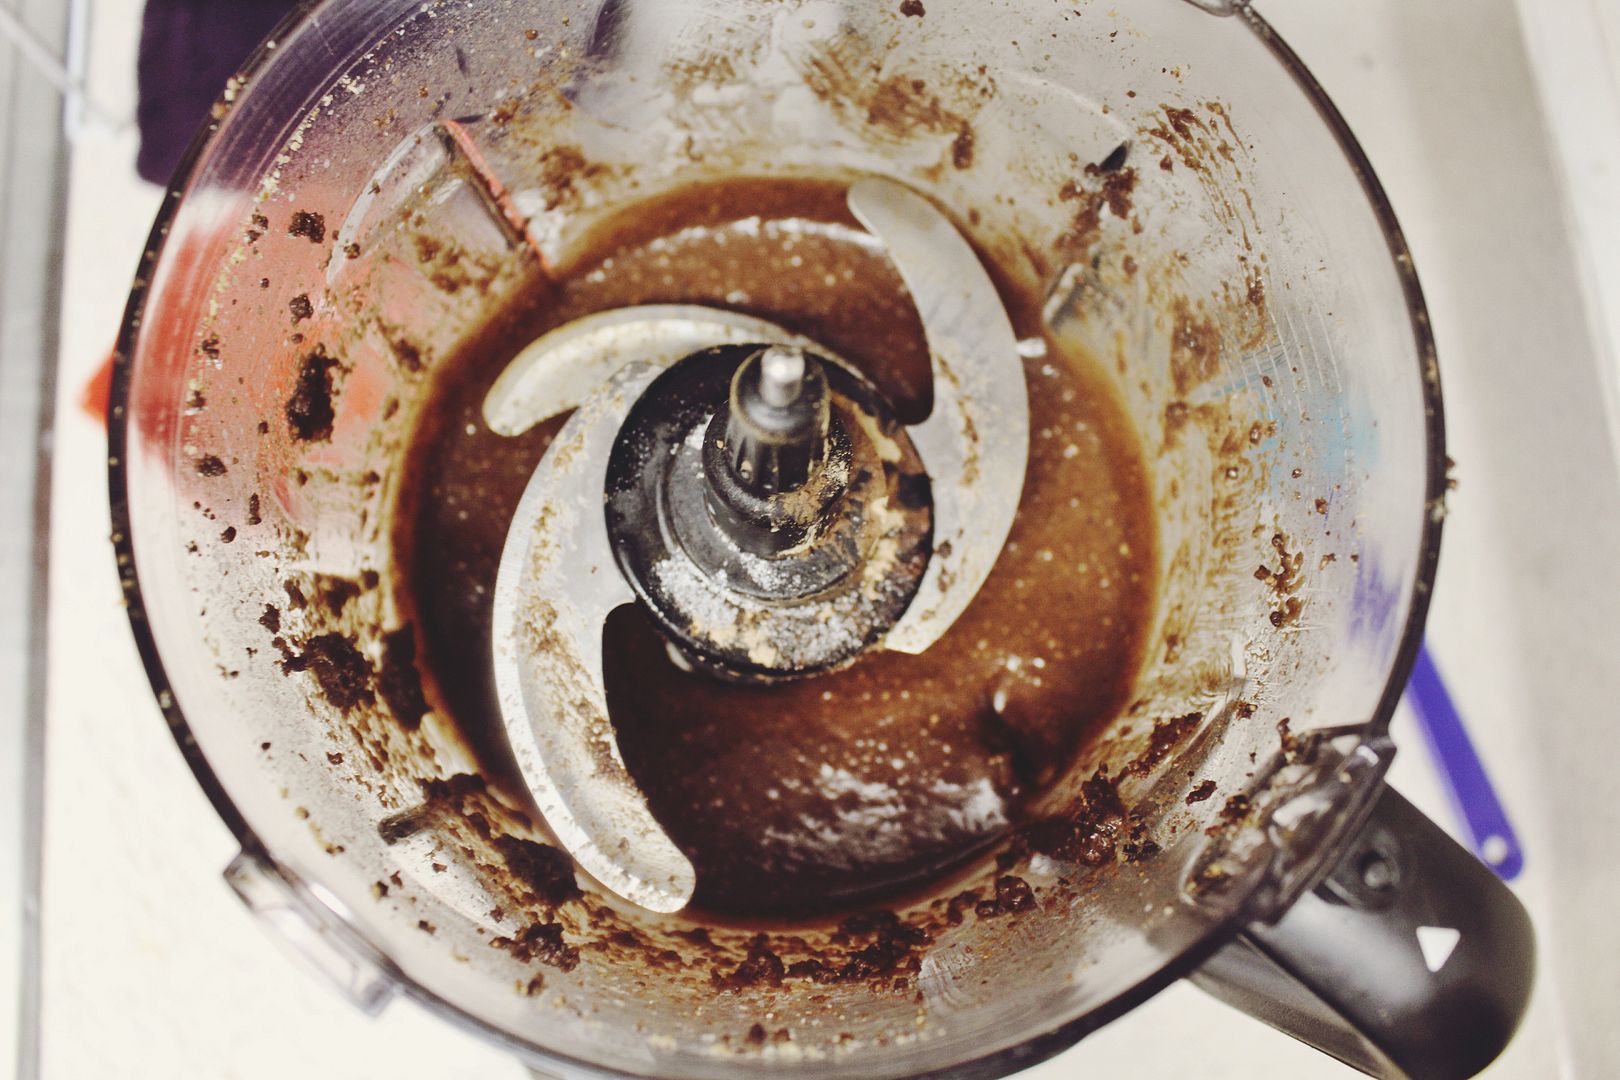
  2. Place the roasted hazelnuts in your food processor and let them whirl for about 5-10 minutes until they are ground into a small powder form. (food processor's vary drastically so just keep a close eye on things). Keep things whirling and add the coconut oil to the hazelnut powder. At this time watch for it to get smooth and creamy, then stop. (this can also take some time to get the right consistency 10-12 minutes). 
  3. Now stop the food processor, scrape the sides down and add in the rest of the ingredients. Blend it all up for about 5 minutes The spread will get really thick and that's when you know to stop. Remember to taste test it before you scoop it all out, you may want to add more cocoa or sugar depending on your preference! 
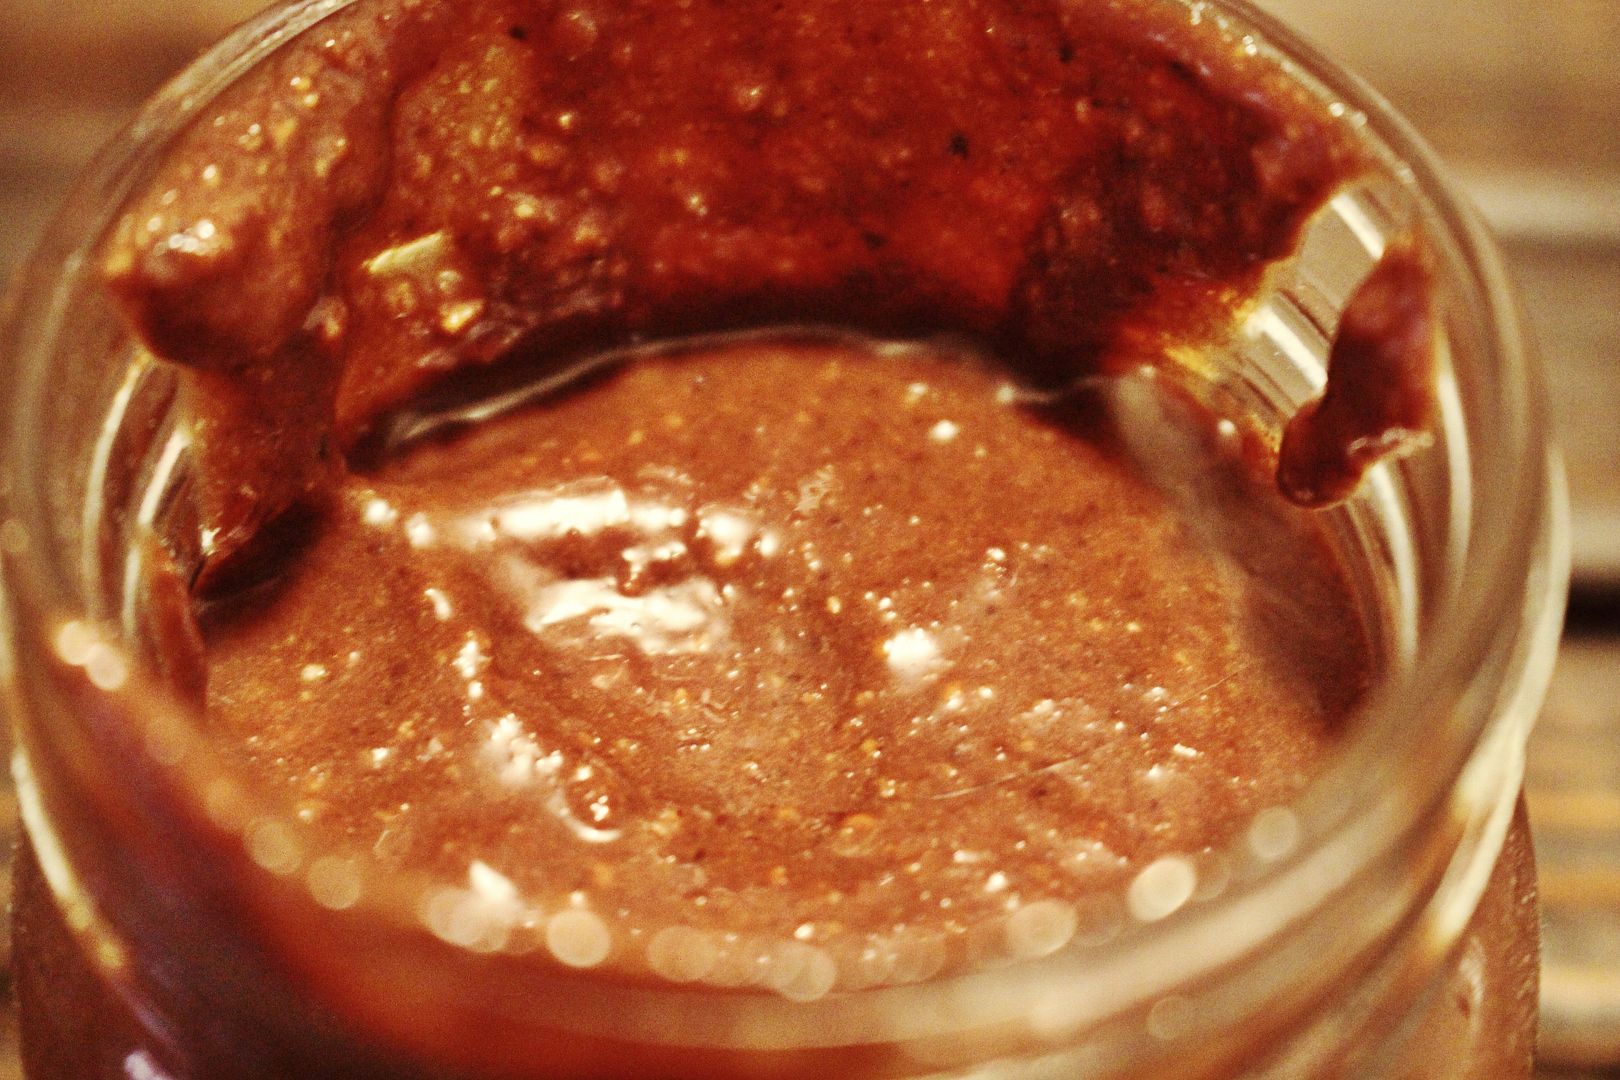
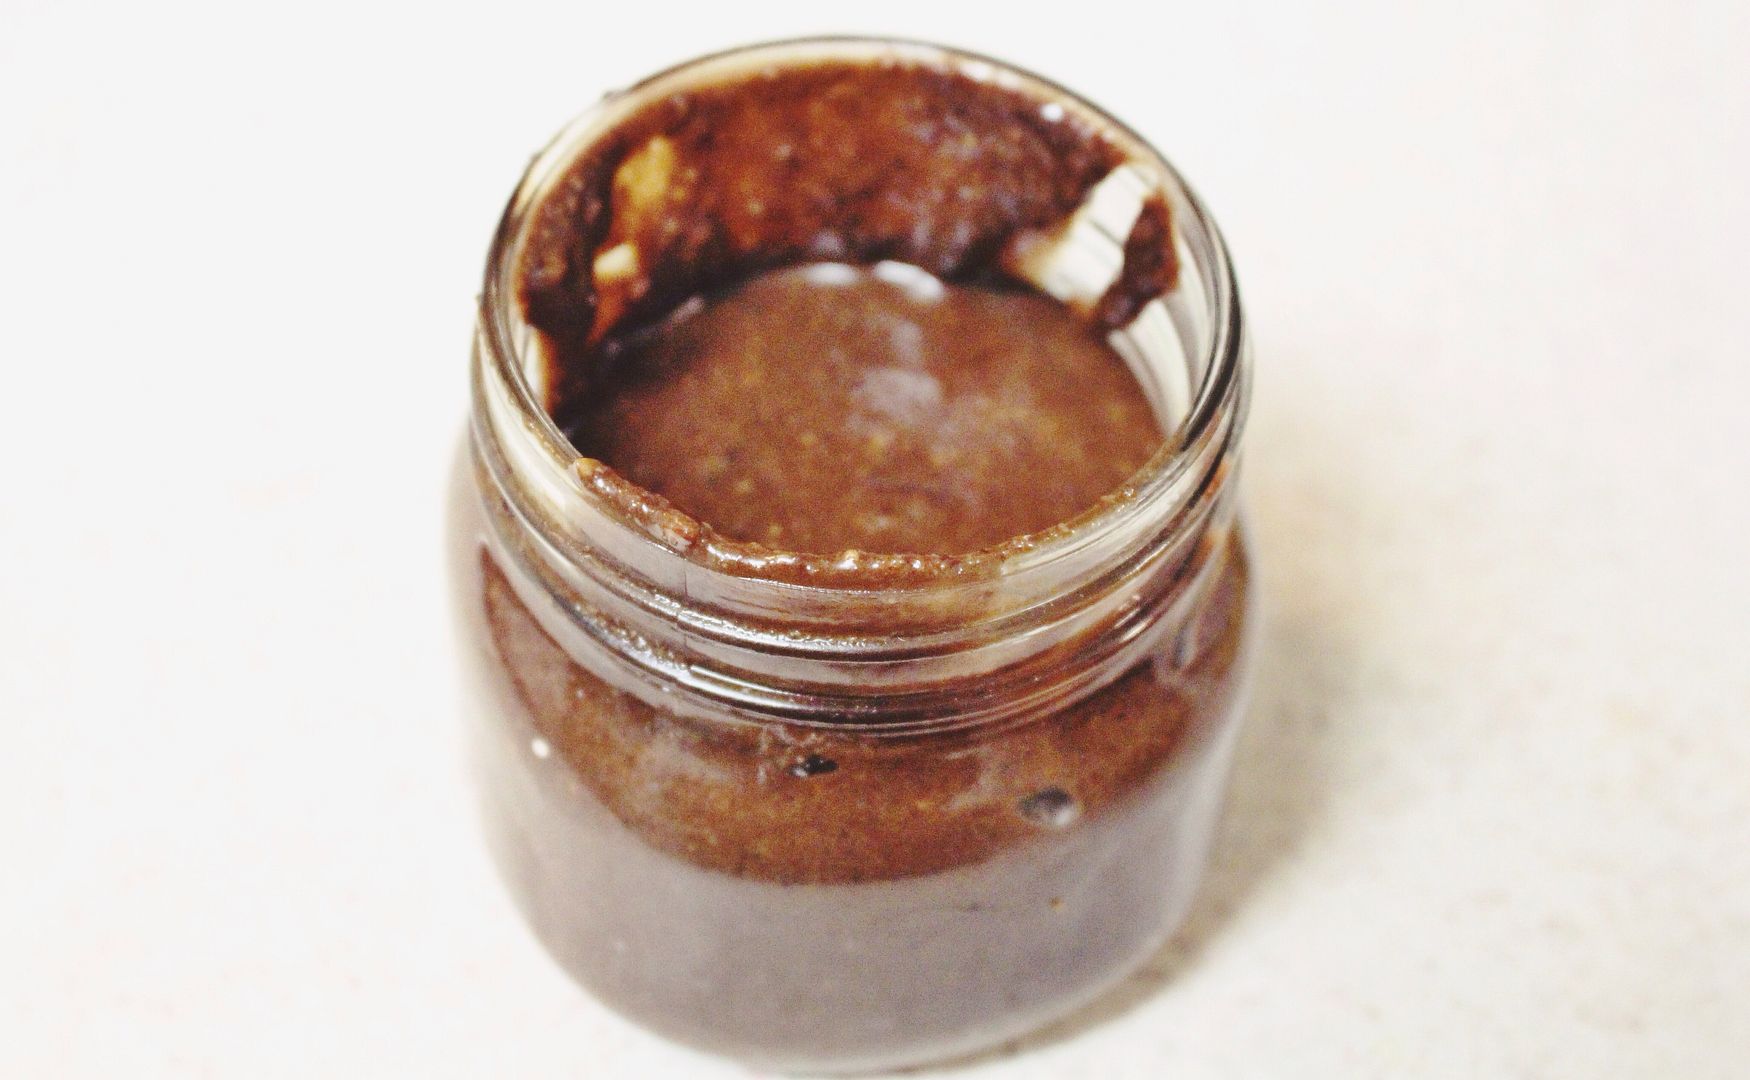
  4. You want it to be as silky as you can possibly get it, but don't expect the same Nutella texture straight from the jar. A scratch made nut butter will always be somewhat rustic and have little bits of nut throughout. That's the BEST part trust me. 
  5. Scrape the hazelnut spread into a jar or air tight container and store it in your fridge.

Happy Hazelnut Spreading!

Friday, June 20, 2014

Chicken Parmesan Meatball Subs

I was never a huge fan of meatball subs, mainly because I was never a fan of meatballs in general. When I was a little girl I must have dreamed about meatballs taking over the world or something because I shunned them like the plague. I like my spaghetti without the mound of meat in ball form on top. I think what changed my mind was my Mom's meatballs subs. She whipped up her own sauce straight from fresh tomatoes and herbs and it is to die for and then it's like overnight I became a meatball lover.

So I started brainstorming and came up with a chicken parmesan meatball. Then I decided that these wouldn't be complete if they weren't nestled in between a cushiony sub roll, layered with sauce and a mound of mozzarella. So a chicken parmesan meatball sub? Yes, I think a meatball party is in order.
 photo fb59cfd3f3b2e32e25c96b2f9df491d6_zps39d7095f.jpg

Ingredients:

  • 1 pound ground chicken
  • 1/2 cup diced red bell pepper
  • 1/2 cup diced onion
  • 1 tablespoon fresh garlic
  • 1 cup panko
  • 1 egg
  • 1/2 cup parmesan
  • 1 tablespoon oregano
  • 1 1/2 teaspoon basil
  • 1 teaspoon salt
  • 1 teaspoon pepper
  • Sub rolls
  • 1 large block of mozzarella cheese
  • 1 jar of your favorite marinara

 photo 85c9a00a400b5e2cbdb0f6a8346e21cb_zpsfd1e25f7.jpg  photo 805fa9bc294386afbb228624c07a3008_zps2def8eac.jpg  photo 4a956645044728f3cc3eb75e9a74719e_zps2fb2a52f.jpg  photo c37560e9079e122bb9e67d18a785eb84_zpsbbc7bb1f.jpg  photo 3cf5fda4aa9e1ee8a71c897c9d4c48a1_zps0bdc1444.jpg  photo 44fdea96686bc100059e2f830c6b286f_zpsce4ceeb2.jpg

Instructions:

  1. Preheat your oven to 400 degrees and spray a sheet pan with Pam.
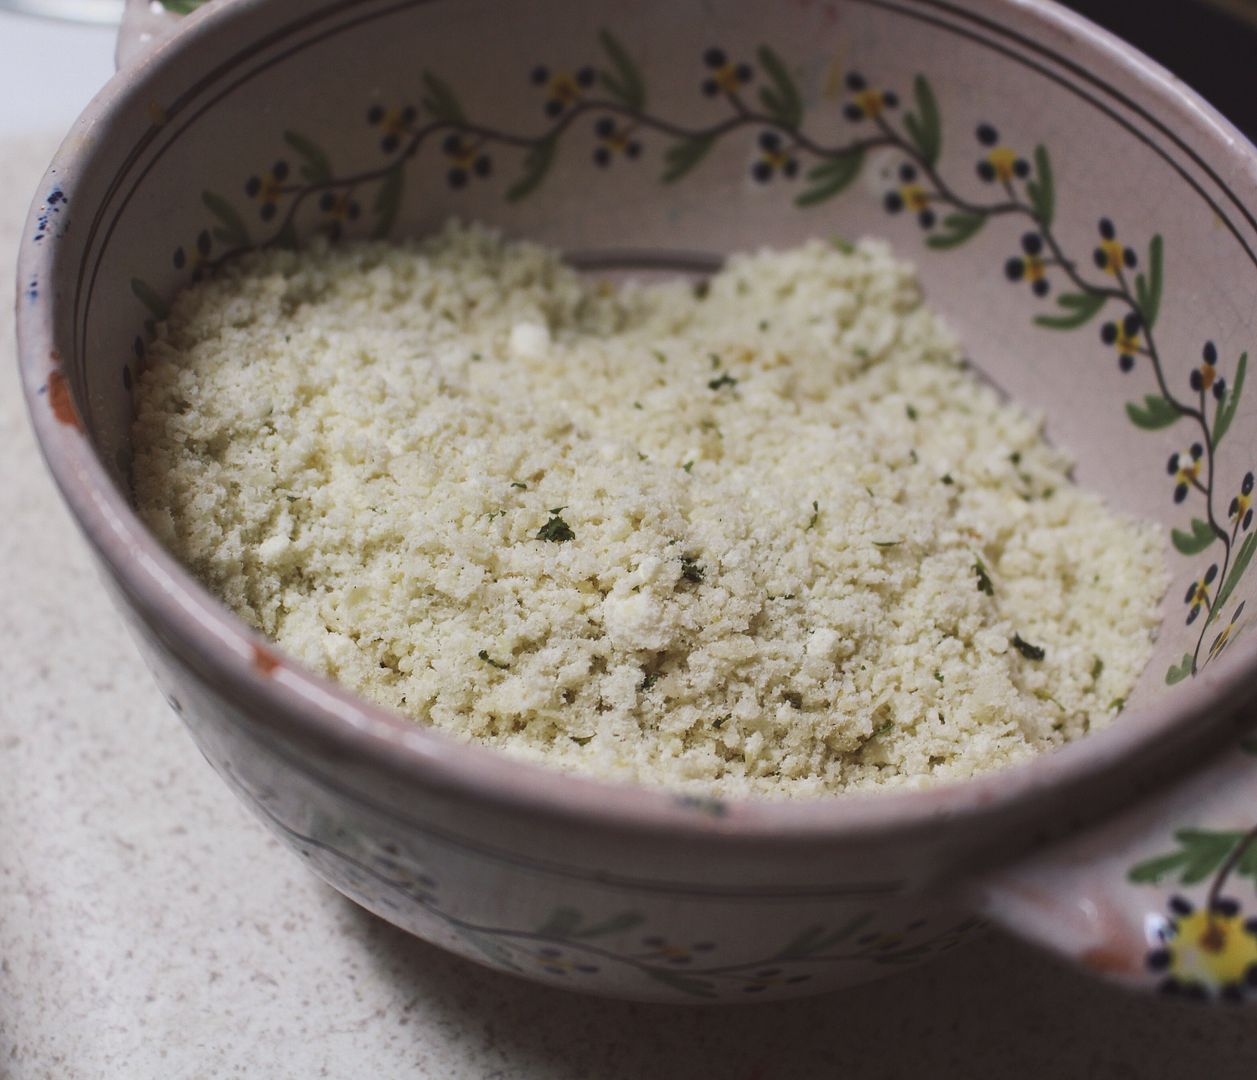
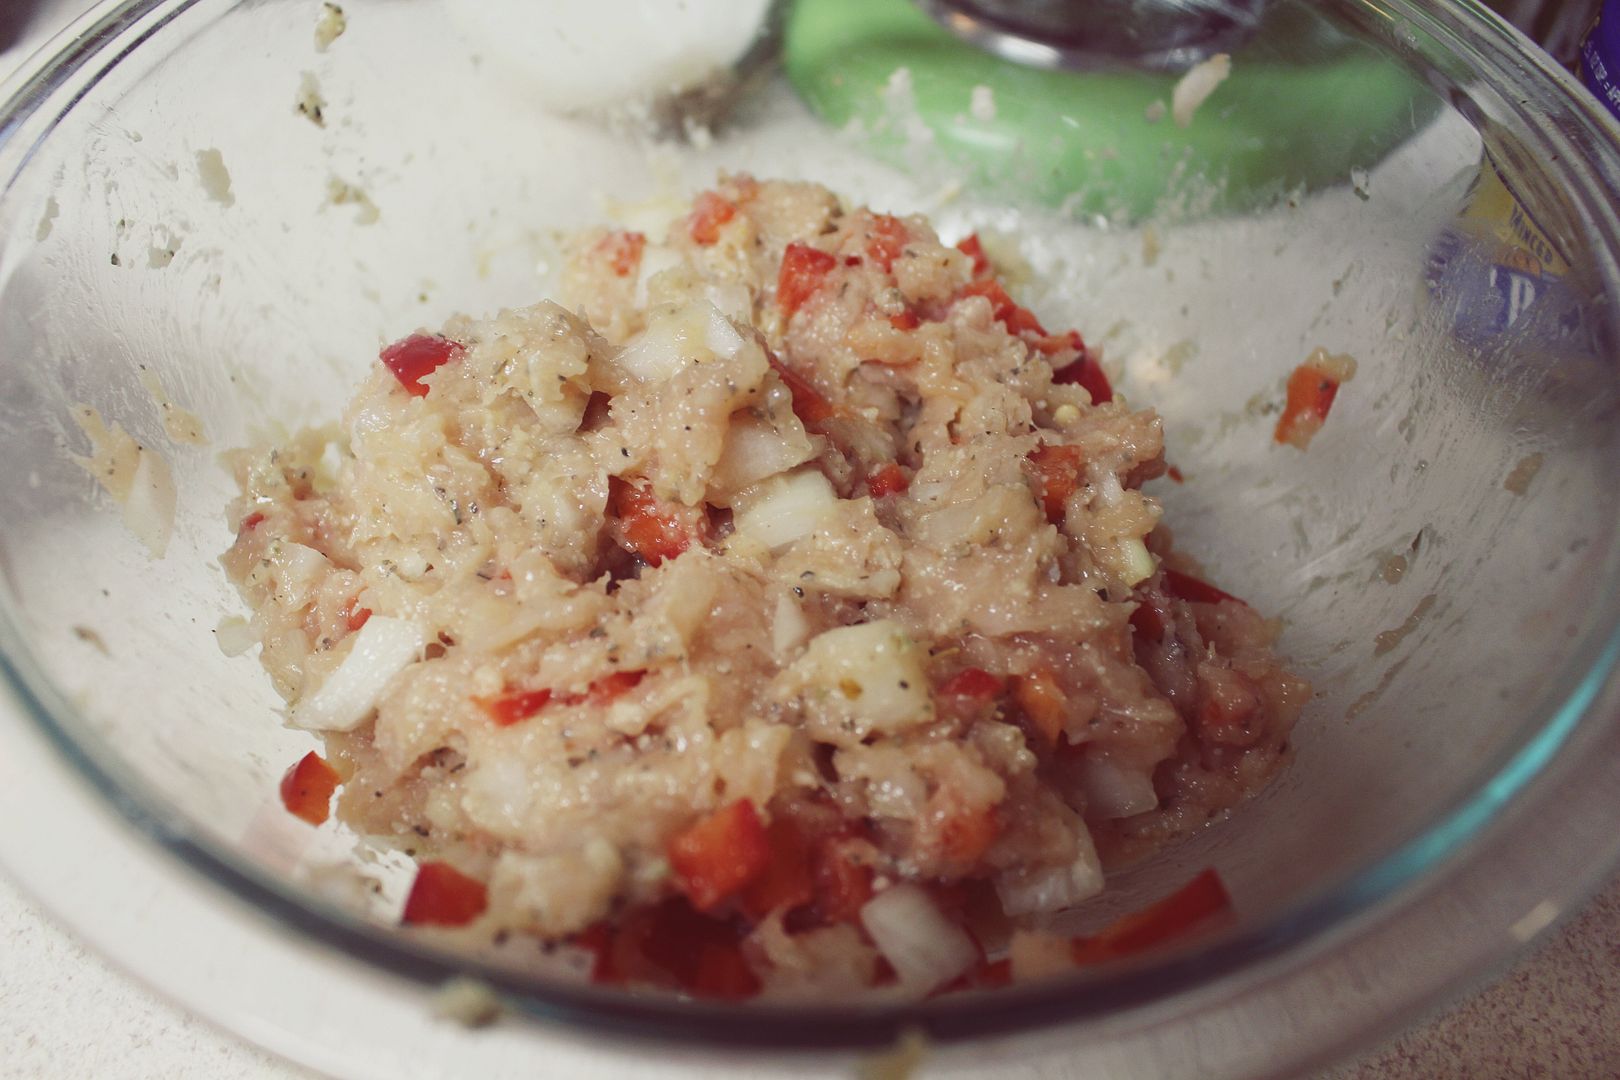
  2. Grab a small bowl and add in the panko and half of the parmesan. Then grab a larger bowl, whisk the egg lightly. Then add the chicken, bell pepper, onion, garlic, the remaining parmesan, oregano, basil, salt and pepper. Phew! Pretty much everything under the sun! Mix all that goodness with your hands. 
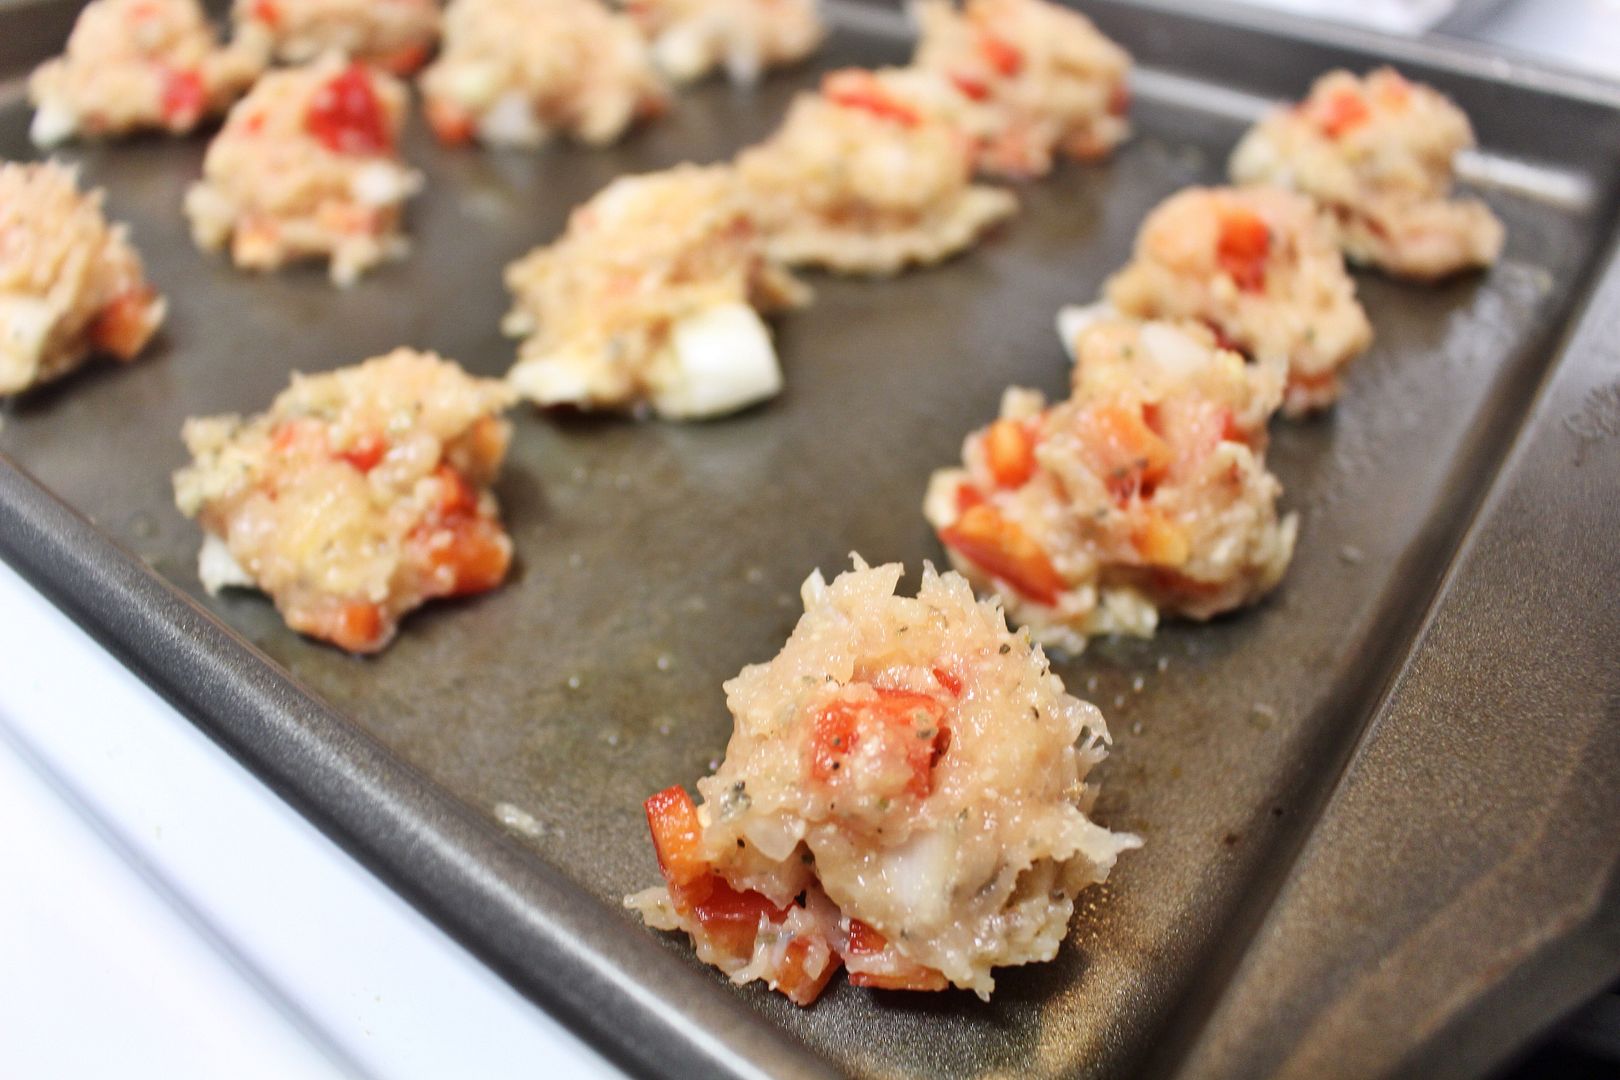
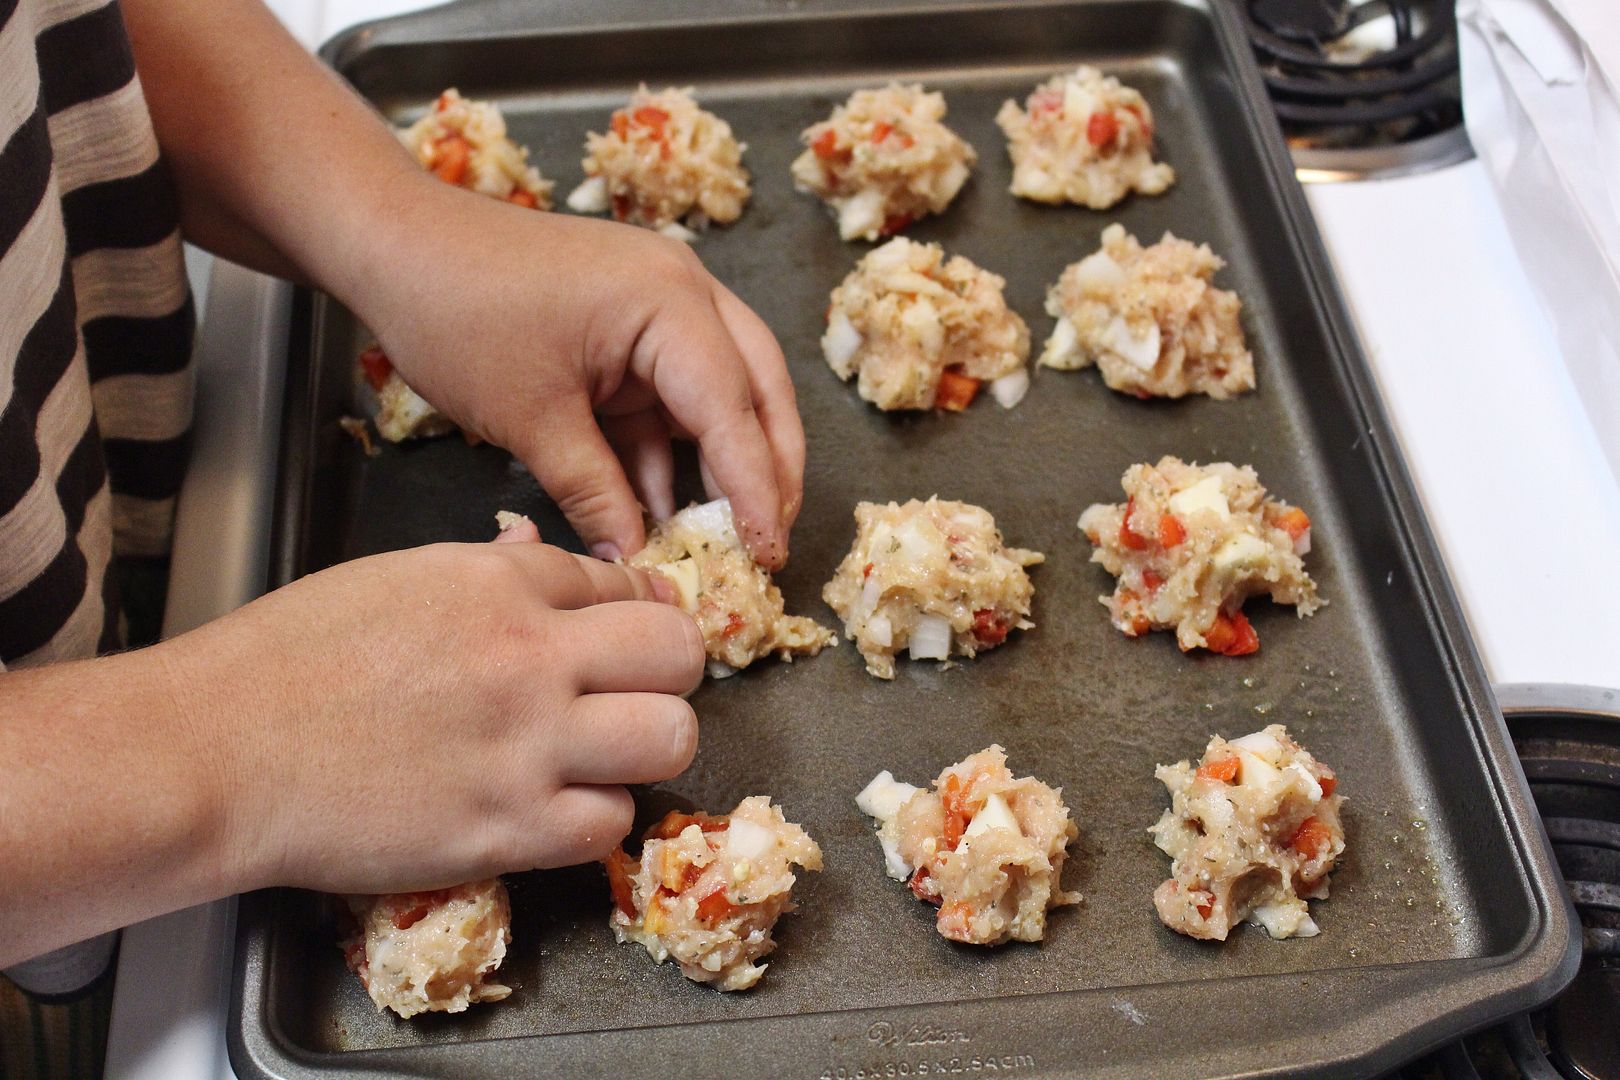
  3. Form all your chicken meatballs and align them on the sheet pan. 
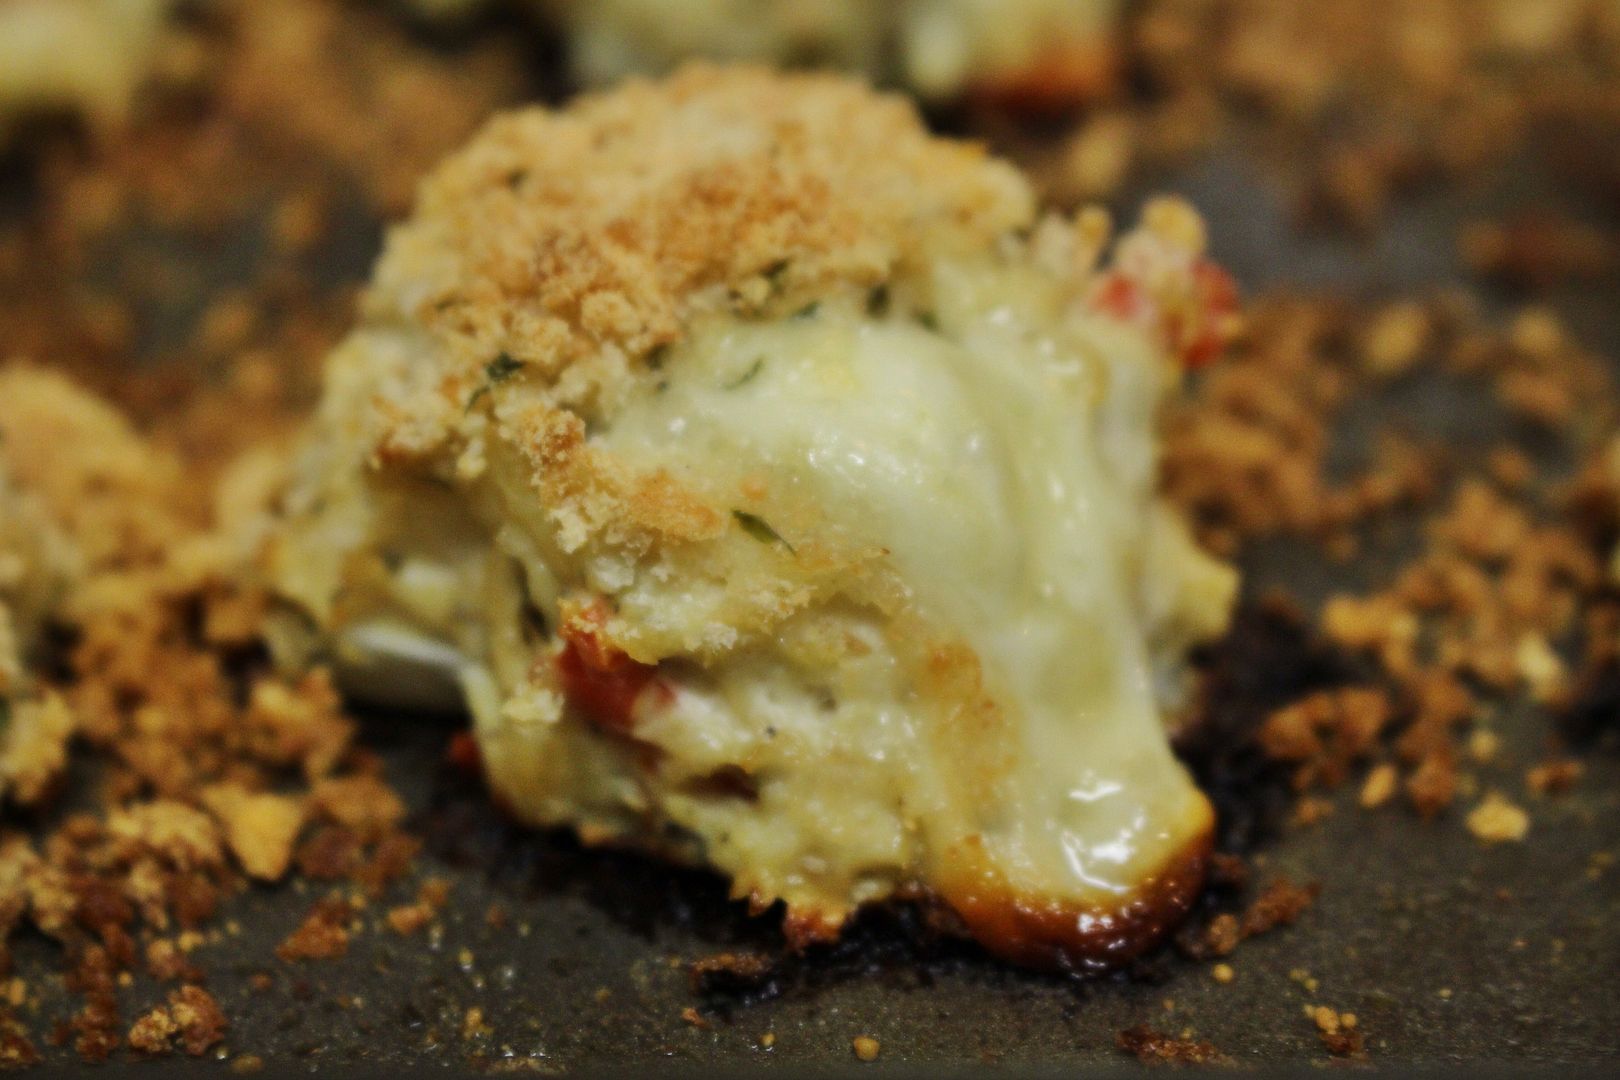
  4. Now grab your large block of cheese and cut it in half. With the first half cut it into small cubes. Then grate the other half. Set the grated cheese aside and start pressing one cube of cheese into each meatball. You want to mold the meat over the cheese so it's a little hidden surprise. I love surprises and cheese so this is like mega overload of greatness.
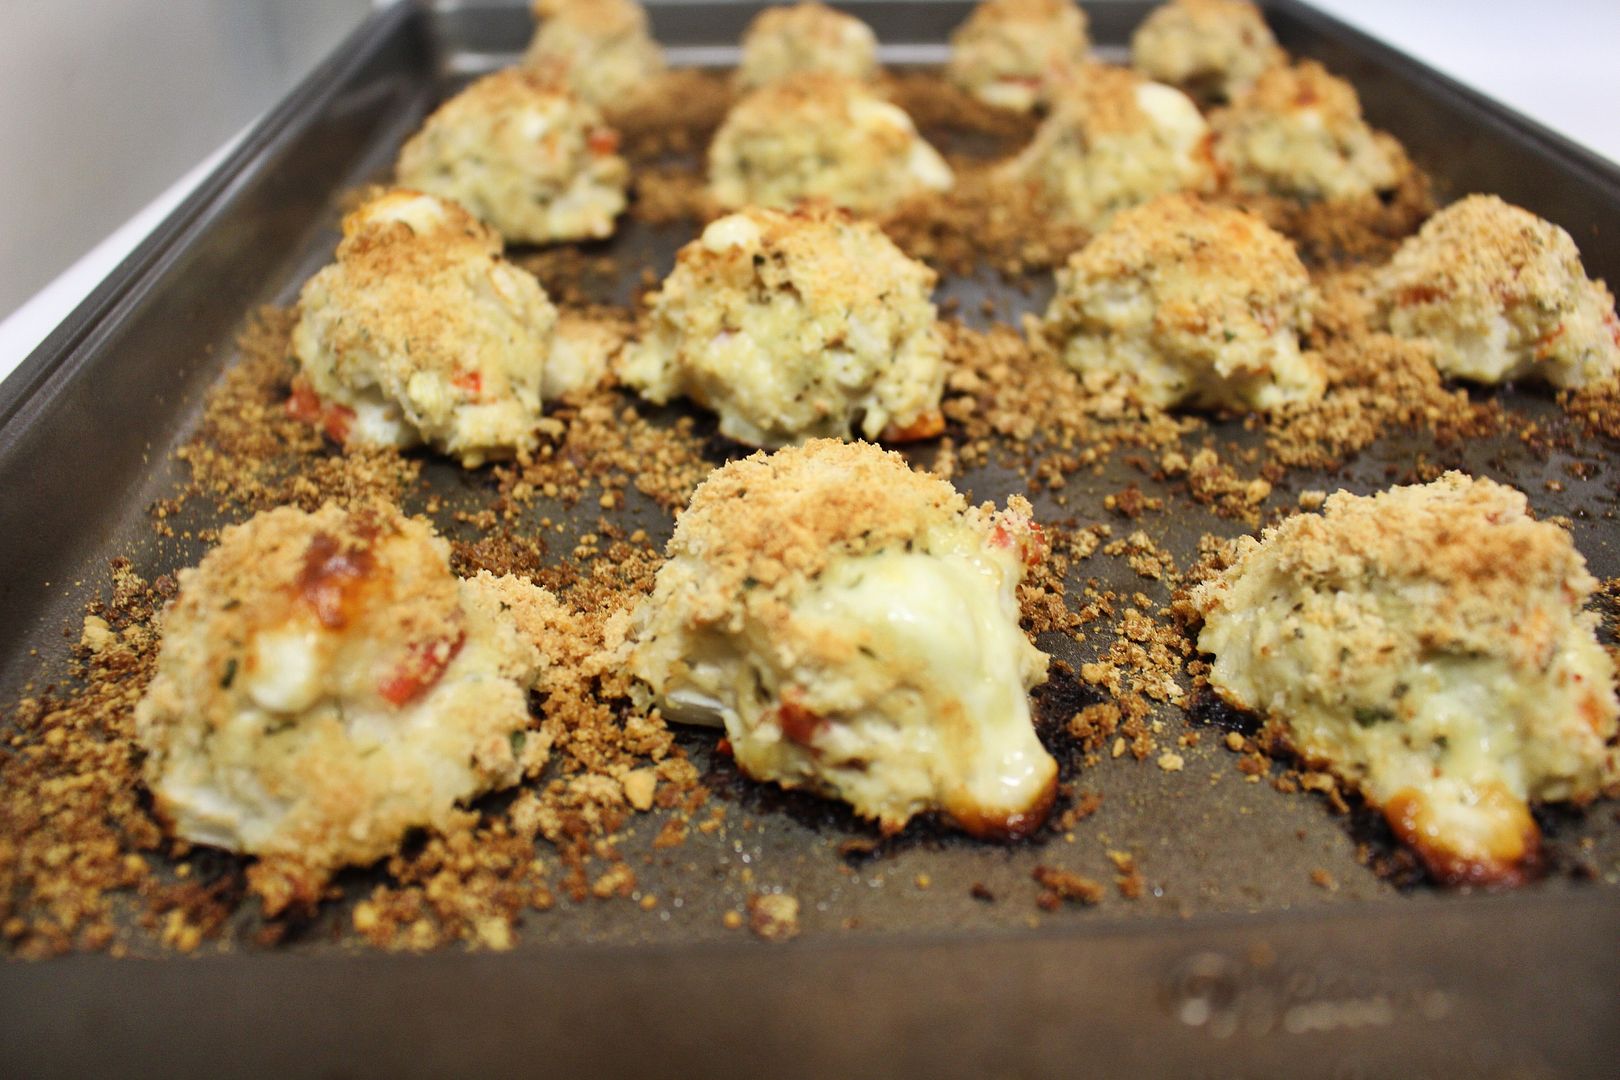
  5. Once you're done with that, use the panko mixture you made earlier and sprinkle it all over the tops and sides of the meatballs. Now your babies are ready for the oven. 
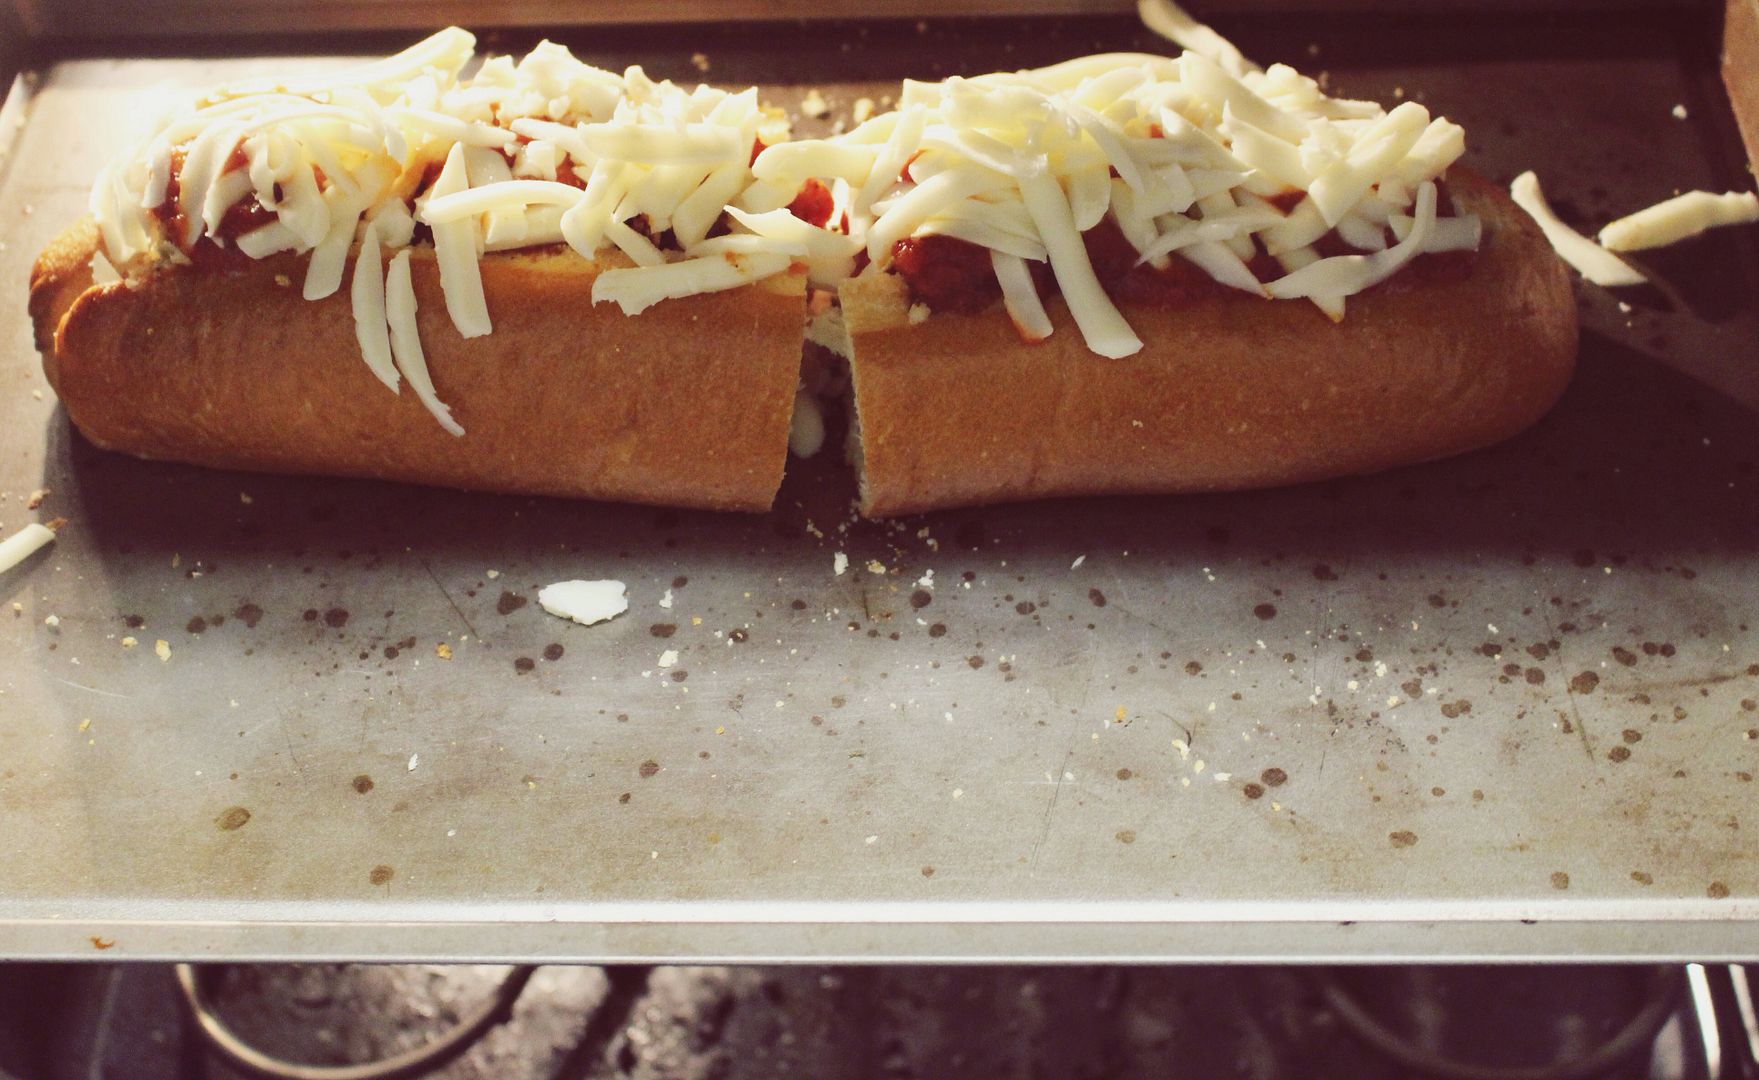
  6. After 25-30 minutes they should be done. Heat your sauce on the stove and slice into your sub rolls. Press your chicken parmesan meatballs into the the rolls, spoon on some sauce and top with the grated mozzarella cheese and sprinkle on some parmesan to give it that last touch. 
  7. Place your subs into the oven just to get the bread all toasty and the cheese all melty. After 10 minutes take them out and devour accordingly. 

Happy Meatball Cooking!
Friday, April 25, 2014

Heaven in Cake Form

Excuse my complaints of runny nose, sore throat and hacking cough. I absolutely hate being sick, and the chorus of our last few days has been too many "bless you's" and a nasty cough that just won't quit. Probably too much information, but whatever we've all been there. Not to mention,  my whole family has it even Jebdia has been suffering from the plague (overly dramatic I know, I just really hate being sick). I'm just not a functional person when I'm sick and being a mom and being sick making me wanna climb in Lola's crib and cry like a baby while she laughs at me. Today we are heading to the kiddy doc to get this ugly bug out of control for the hunny because her little coughs are heartbreaking to me. I figured since I'm couching it up while she tries her little hardest to nap through sniffles, I would present one of my all time FAVORITE white cake recipes.
Yes, I know totally unrelated to anything I've just said, and I hope I haven't grossed you out too much to scare you away, but seriously you must keep scrolling and jot this one down. This recipe has become my best friend for birthdays. 
Photobucket Pictures, Images and Photos

Ingredients:

  • 5 large egg whites
  • 1 whole egg
  • 1 cup whole milk
  • 2 1/4 teaspoons vanilla extract 
  • 3 cup cake flour, sifted
  • 2 cups sugar
  • 1 tablespoon + 1 teaspoon baking powder
  • 3/4 teaspoon salt
  • 12 tablespoons softened butter (I use the spreadable kind)

Photobucket Pictures, Images and Photos Photobucket Pictures, Images and Photos Photobucket Pictures, Images and Photos Photobucket Pictures, Images and Photos Photobucket Pictures, Images and Photos
The label speaks the truth ^

Making heaven in cake form:

  1. Preheat your oven to 350 degrees, spray two round 8 inch pans with Pam and gather your ingredients.
  2. In a medium bowl crack your eggs whites and the whole egg together. Add 1/4 cup of the milk and vanilla to that bowl. Whisk it up. 
  3. Fit your electric mixer with the paddle attachment. Combine all the dry ingredients together on the stir setting for about 30 seconds.
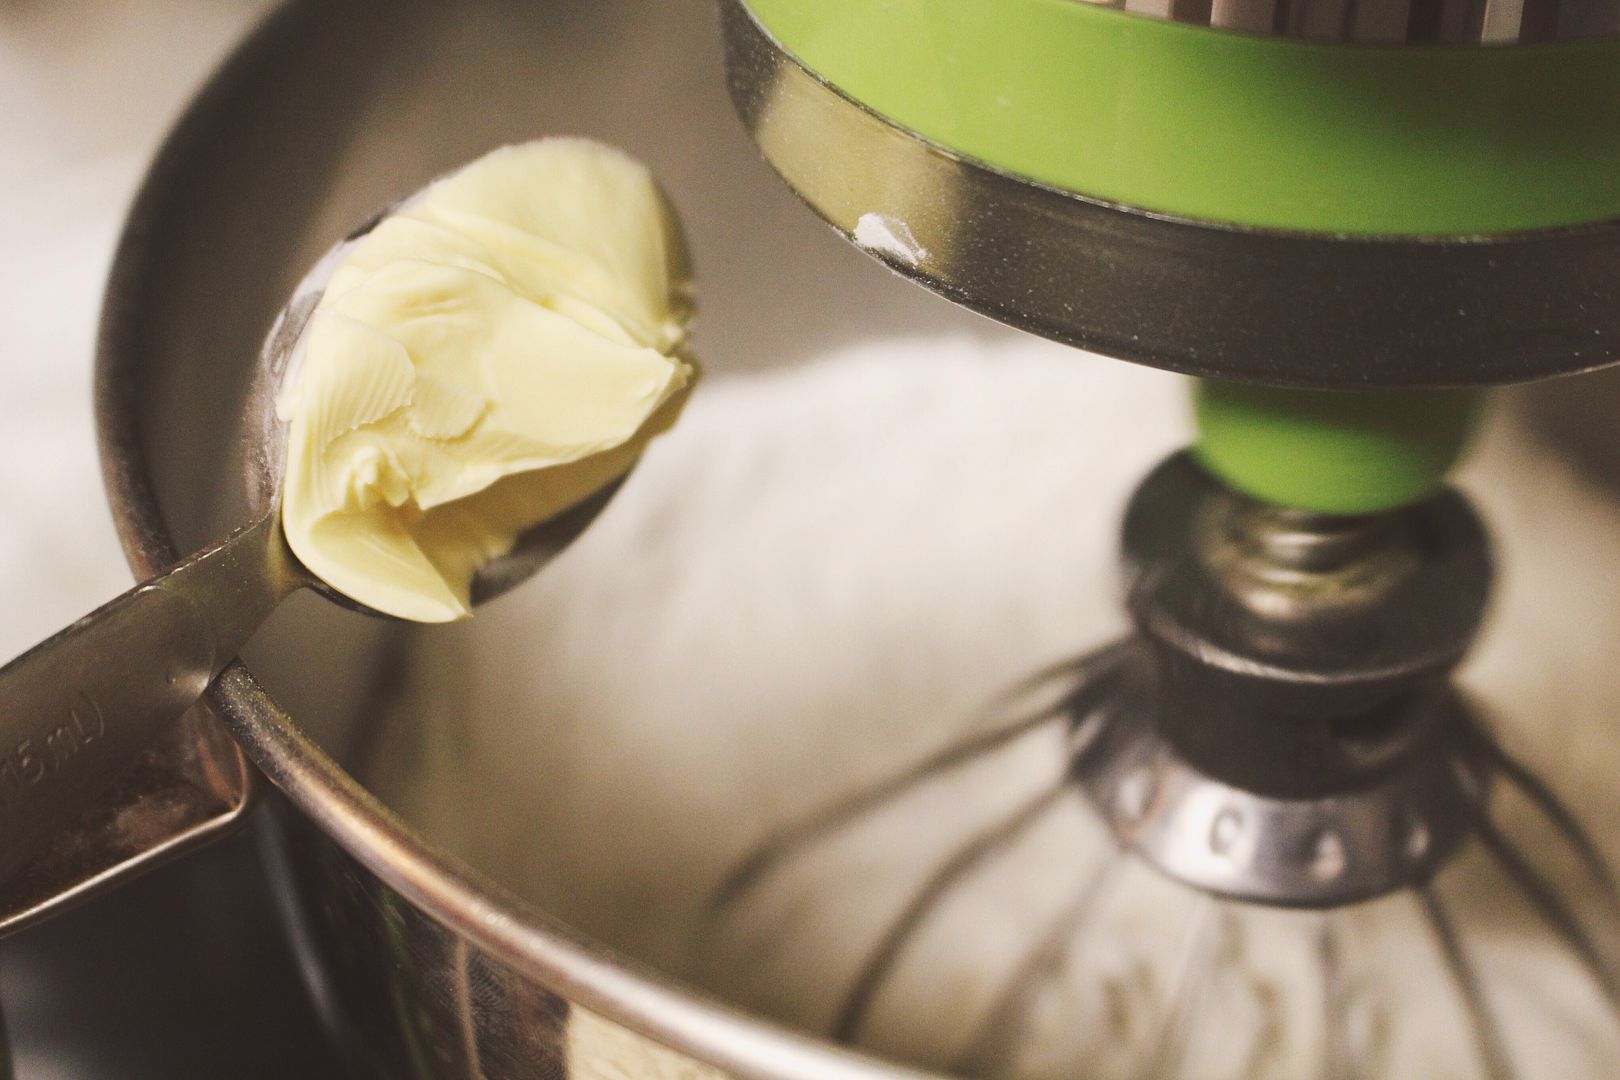
  4. Keep the mixer going on stir, and add a tablespoon of butter at a time to the dry ingredients. Continue to mix on low after all the butter is added, and once you get a fine crumbly sandy looking texture turn it off. Now add the 3/4 of milk to the dry ingredients and butter and mix on low for about 5 minutes. 
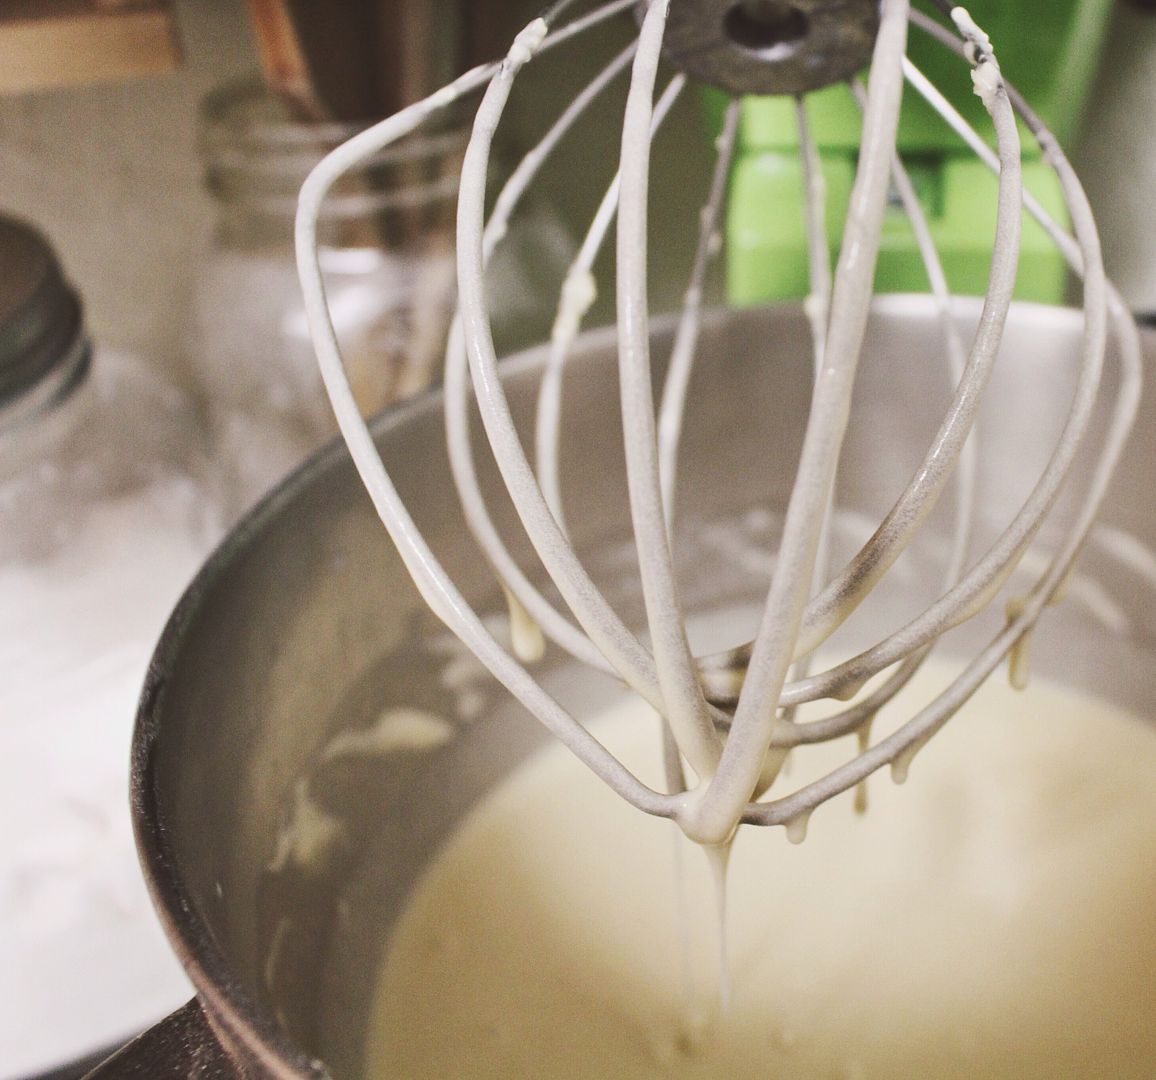
  5. Take your egg mixture and add it after the five minutes are up in three separate batches. Mixing until your kitchen starts smelling like a cake bakery and it gets that light and fluffy look like you could sleep on it. This takes about 4 minutes. Take a spoon and do a quick stir before you pour. 
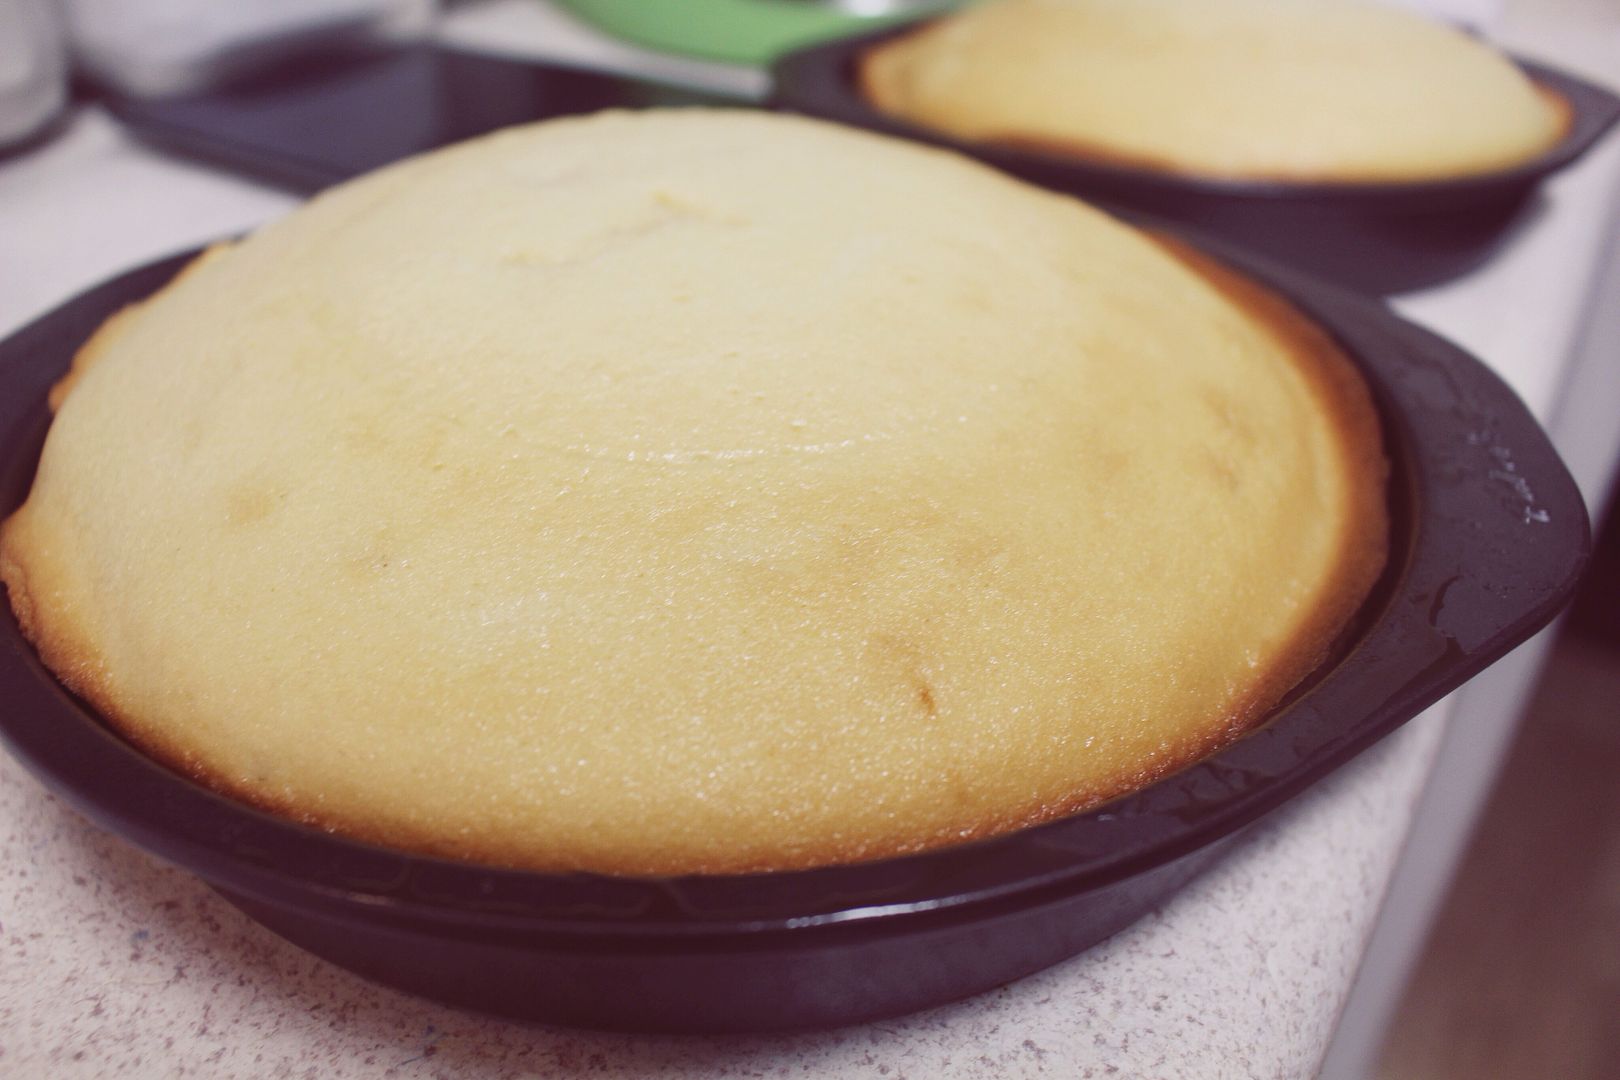
  6. Now evenly divide the batter into both pans. Bake the cakes until a toothpick comes out crumbly not completely clean, but not slimy. About a 30 minute bake time.
  7. Let the cakes cool on racks, then I usually take them both out of their pans slice off the tops and finish cooling in the fridge for frosting.
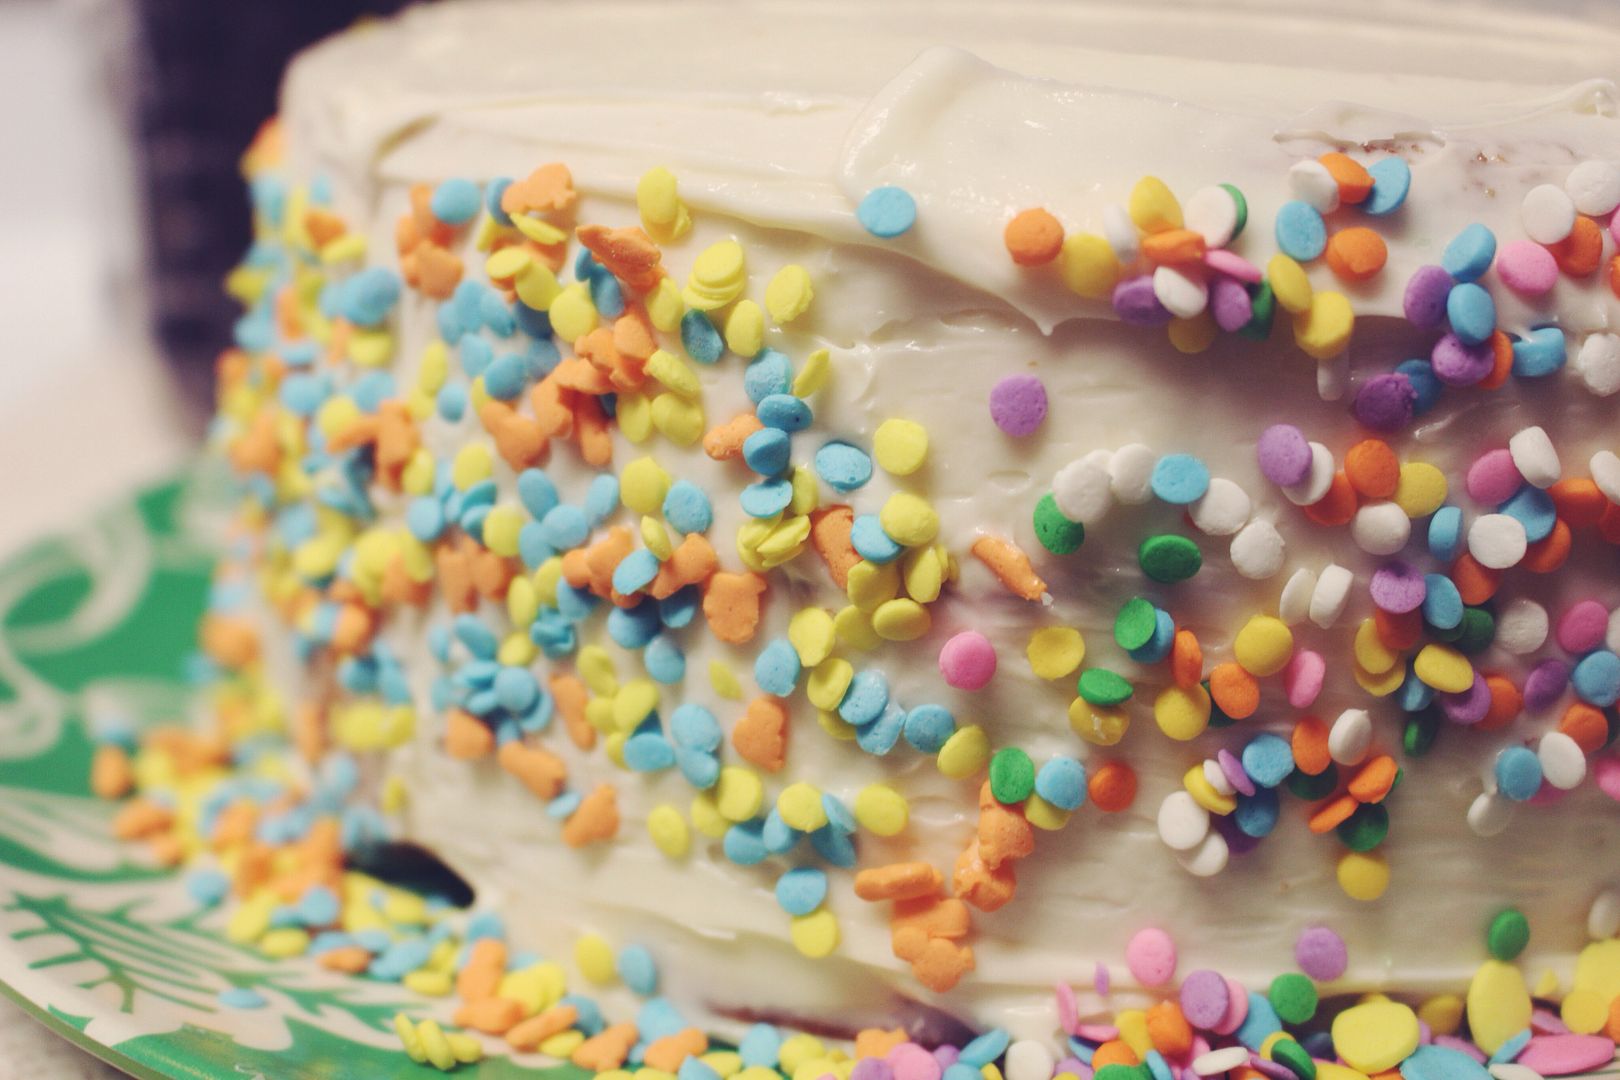
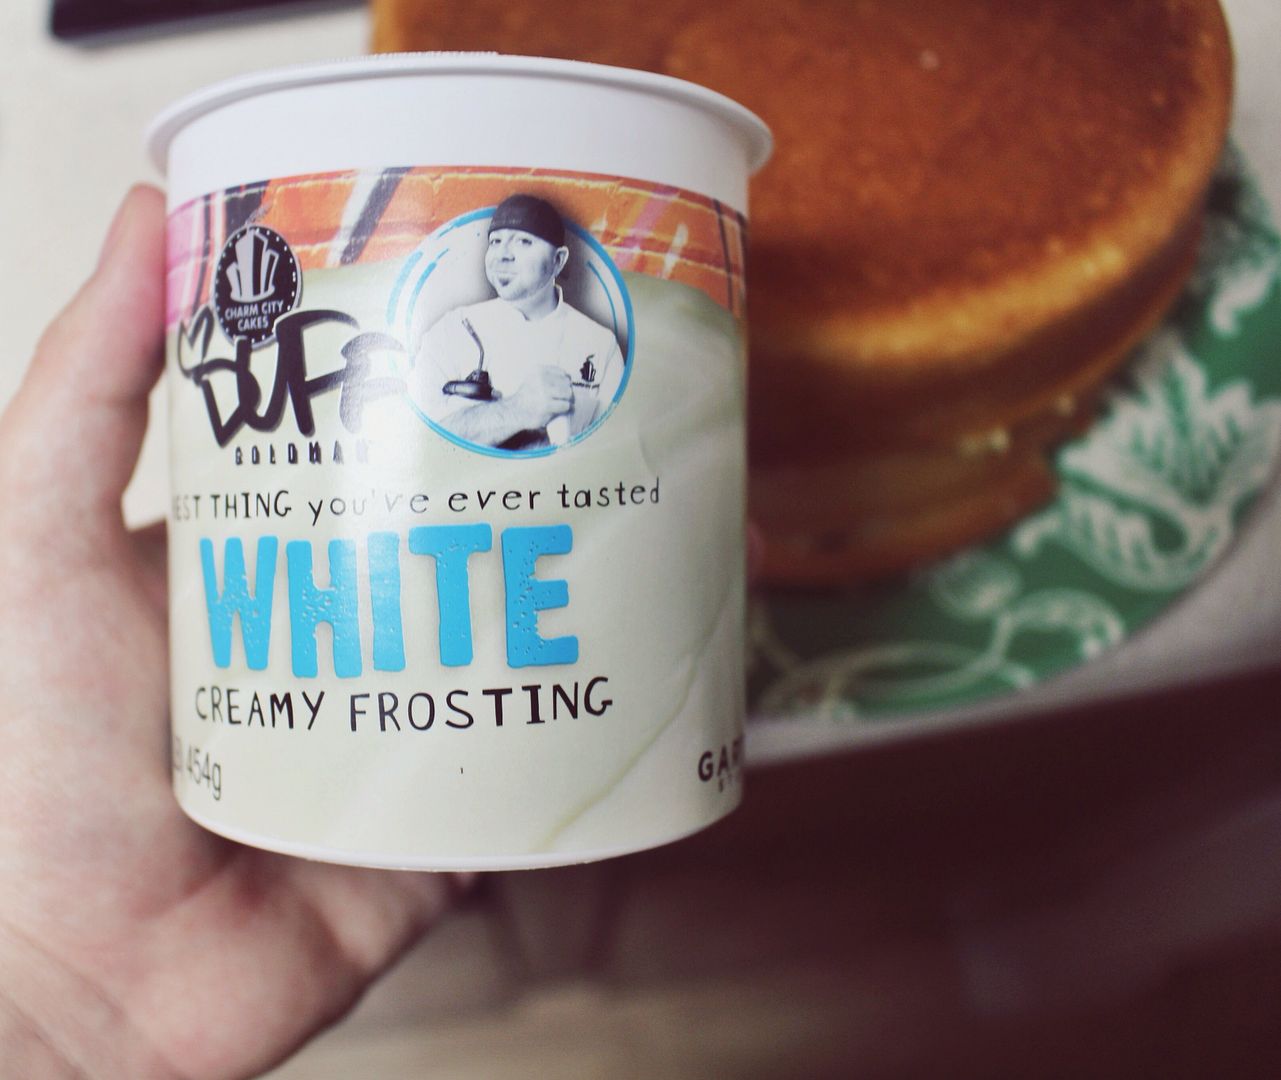
  8. Whip up your favorite frosting or use a good tub from the store  (like I do) I'm not so much of a pro at making frosting. Someday. 
And it's as easy as that, cake box mixes are totally non existent to me now because of this recipe. 
Now I'm going to go smother my face with tissues and dream about birthday cake. 
Happy Baking!

Tuesday, April 8, 2014

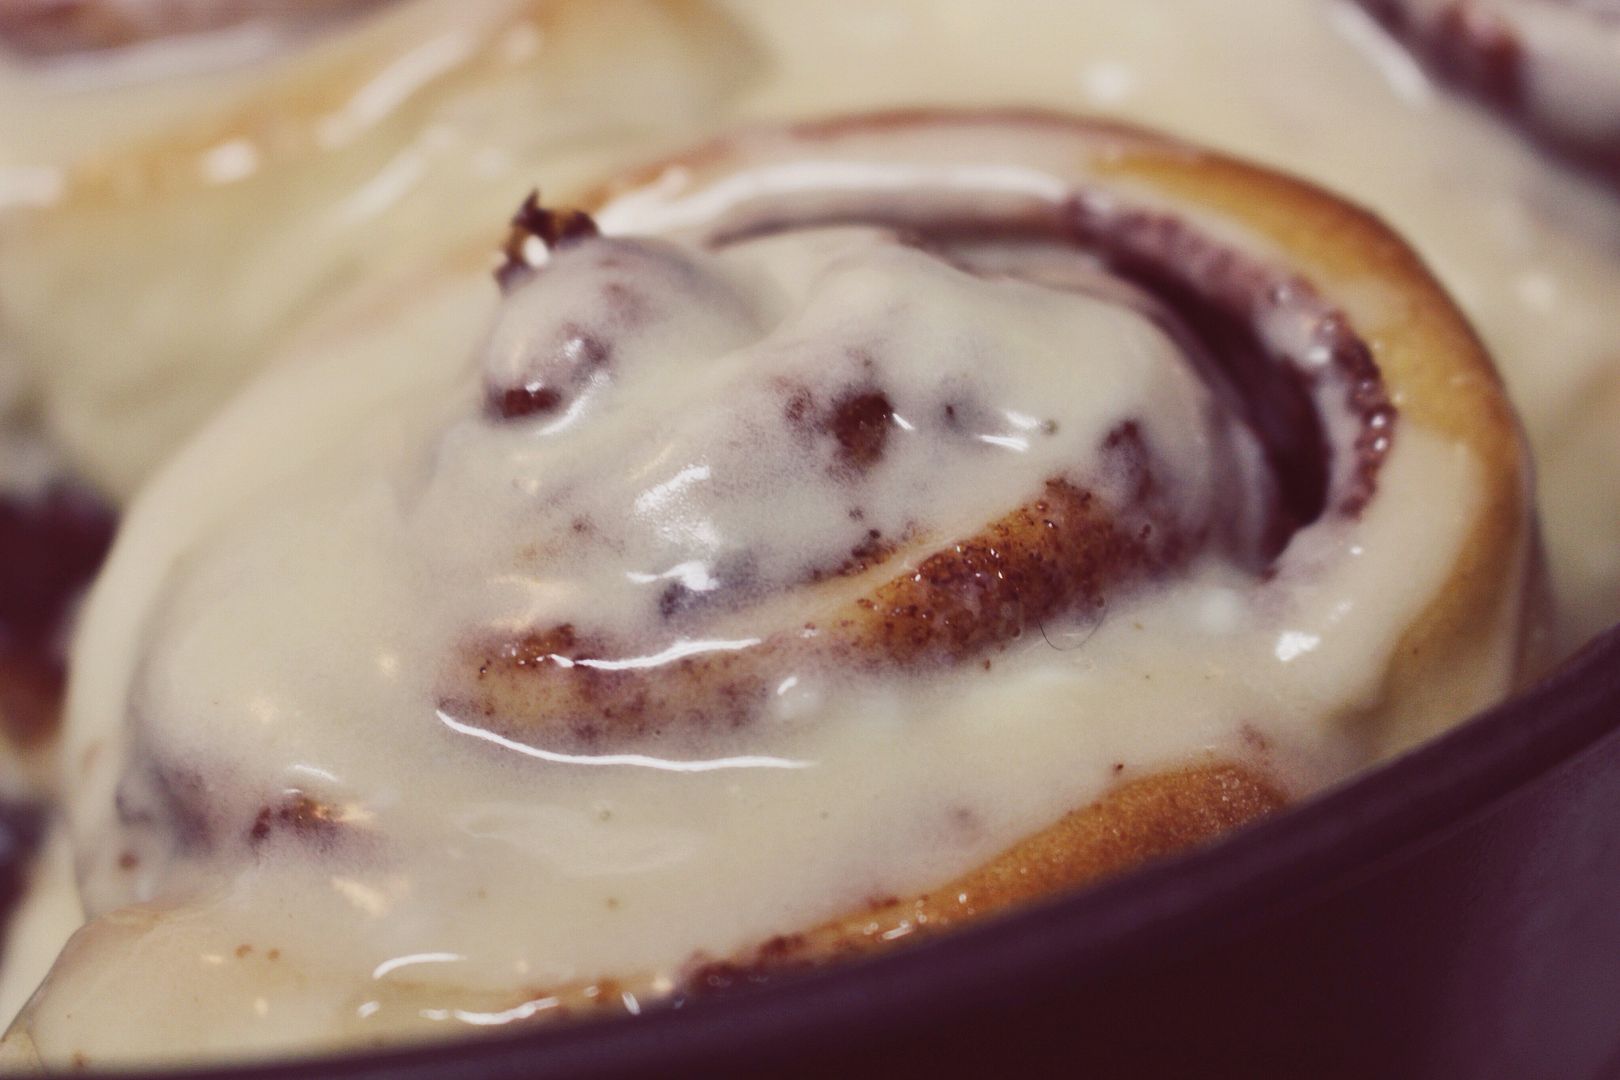
Tuesday nights + Cinnamon Roll recipe

What do you do when you have the entire house to yourself? (with the tiny exception of a sleeping hunny in the room down the hall, of course.) Well, you make sweet dough and with that sweet dough you make wonderful rolls of cinnamon commonly known as the cinnamon roll. Ryan is out for the night at a Lightning game with his brothers and I get to party it up here holding down the fort. Tuesday nights definitely take second place to Wednesdays when it comes to favorite days of the week. Tuesday nights I get to satisfy my reality show addiction and we treat as a weekend in a sense because in the bread man world Wednesdays are their days off. It's fabulous in its own little way.
You know what else is fabulous? 
This Cinnamon roll recipe. I'm telling you, it WILL steer you clear of any Cinnabun shops anywhere near you. It's that impressive. 

Ingredients:

For the dough:

  • 3/4 cup warm water
  • 2 1/4 teaspoons dry active yeast
  • 1/2 granulated sugar
  • 1/2 teaspoon salt
  • 1/4 cup buttermilk, room temp.
  • 1 egg
  • 1/3 cup oil
  • 4-5 cups all purpose flour (depending on consistency after kneading)

For the filling:

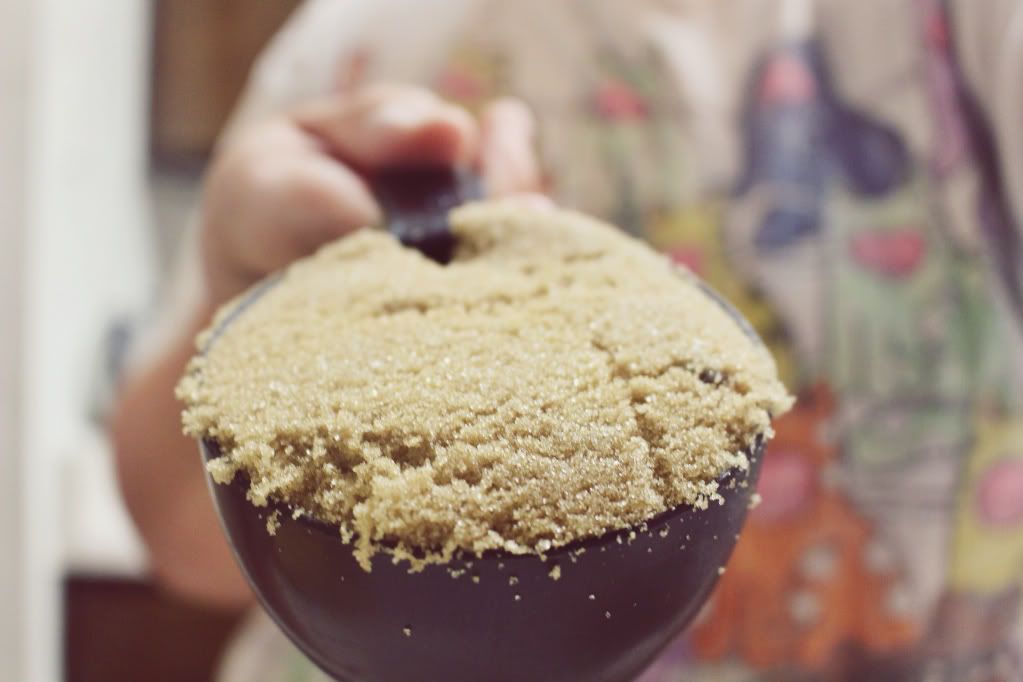
  • 1 1/4 cups brown sugar
  • 2 1/2 tablespoons cinnamon
  • 2 tablespoons cornstarch
  • 1/2 cup unsalted butter (I use spreadable it makes it easier, you'll see)

For the cream cheese frosting:

 
  • 2 ounces cream cheese, room temp.
  • 1/4 cup unsalted butter
  • 1 teaspoon vanilla extract
  • 1 teaspoon fresh lemon juice
  • 1 1/4 cup powdered sugar

 photo 5e88fa367f4aa64eb1ca3adb95c2b544_zps580a0f1d.jpg  photo 29b8df8ebc21b77315cf66c7b5b0c1d1_zps3829769c.jpg  photo e7c642018b8c2c95a49253e1a212b7dd_zps964b134b.jpg  photo 2b68ae27d79daee43cd5bc01dd27d0c1_zpse914fba4.jpg  photo 1fc5e0cec54f8ddd9f3c0fd53b062ba0_zps20cb21e5.jpg  photo PicMonkeyCollage_zps7d10e379.png  photo 8a443c344b2ddef1f2700ea7f4082ac7_zpsd1104e76.jpg

How to make:

The dough:

  1. In the bowl of your lovely stand mixer plop your dough hook on and get all your dough ingredients prepped. 
  2. Add the warm water, yeast and 1 tablespoon of the sugar to the bowl of your mixer. Whisk it around a few times and let it sit and get bubbly and yeasty for about 10 minutes. When you come back it should be foamy and puffed up looking. 
  3. Grab a small bowl and whisk together the buttermilk, egg, salt and oil. Add this mixture to the yeast mixture and the rest of the sugar (7 tablespoons). Let it mix on the stir setting for 30 seconds.
  4. Now add 2 cups of flour, let it incorporate and slowly start adding 1/4 cup of flour at a time until the dough pulls away from the sides. (You might have to take a long spoon and scrape to incorporate better since the dough is very sticky.)
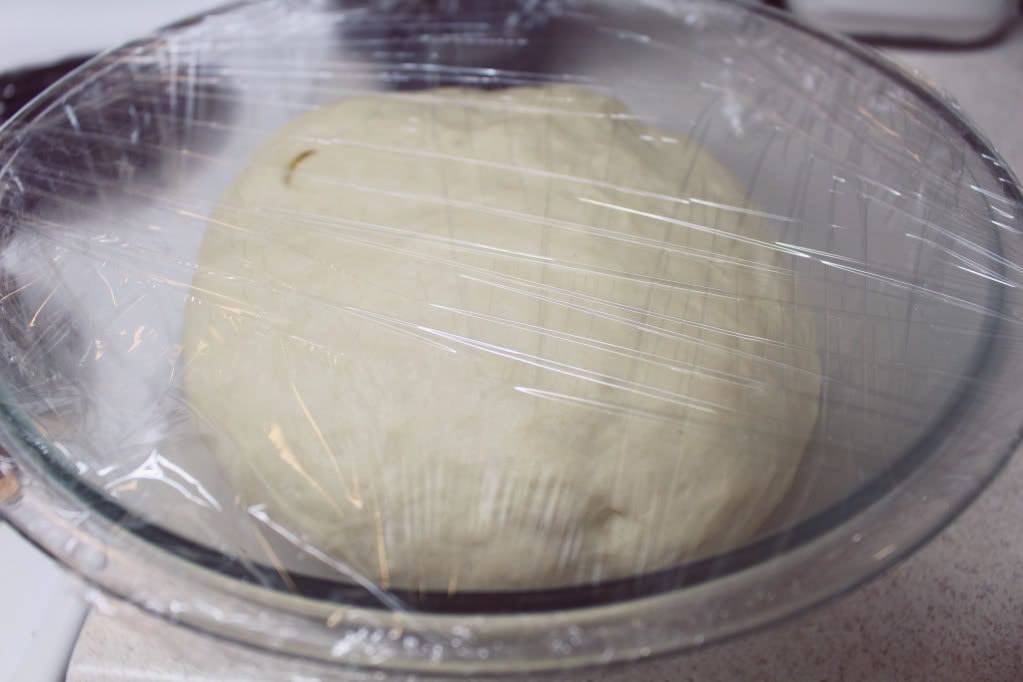
  5. Take the dough out onto a floured surface and knead until in a round smooth ball. Spray baking pam in a big glass bowl and let that baby rise for a good 1 and a half to 2 hours. Be patient!

The filling:

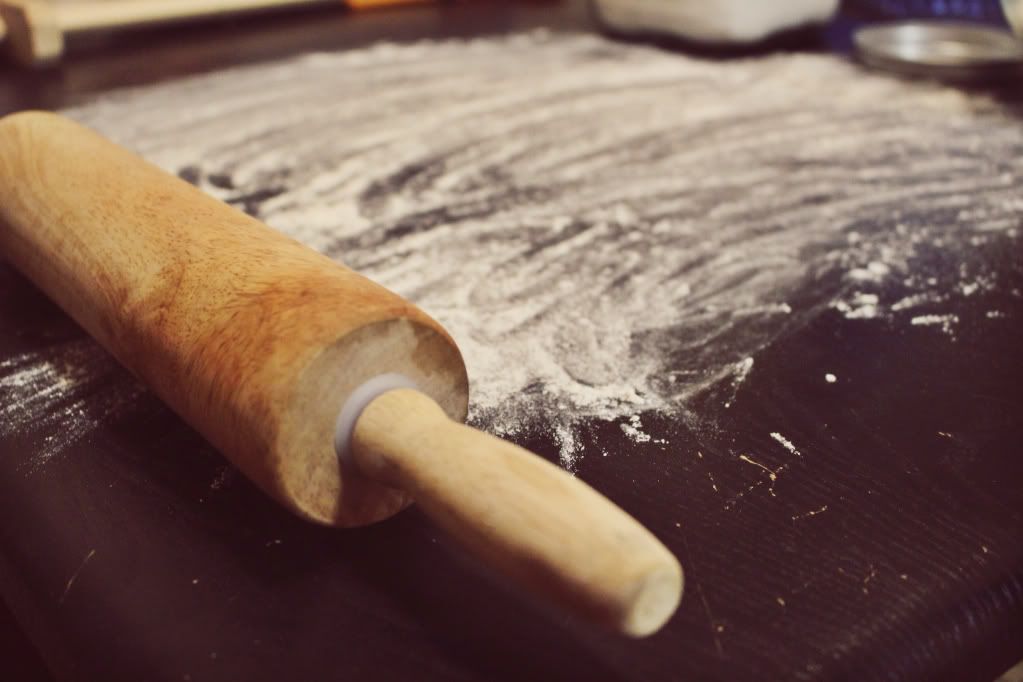
  1. Come back to your dough ball that should have tripled in size! Flour a large surface, for me that's my dining room table (thanks small apartments). Punch air bubbles out of your dough while it's still in the bowl then place it down and roll out until its roughly 20x30 inch rectangular type thing. Doesn't have to be perfect, just get a nice rectangle.
  2. Now with the back of a metal spoon take butter and spread it generously around on the rectangle. Leave a 1 inch strip of dough that's farthest away from you untouched. 
  3. In small bowl mix the cinnamon, brown sugar, and cornstarch. Sprinkle it all over the butter, don't be afraid to dump it all on there you will thank me later. Next, take your rolling pin and roll over the rectangle of dough across the sugar mixture and the butter. This helps mash it in perfectly.
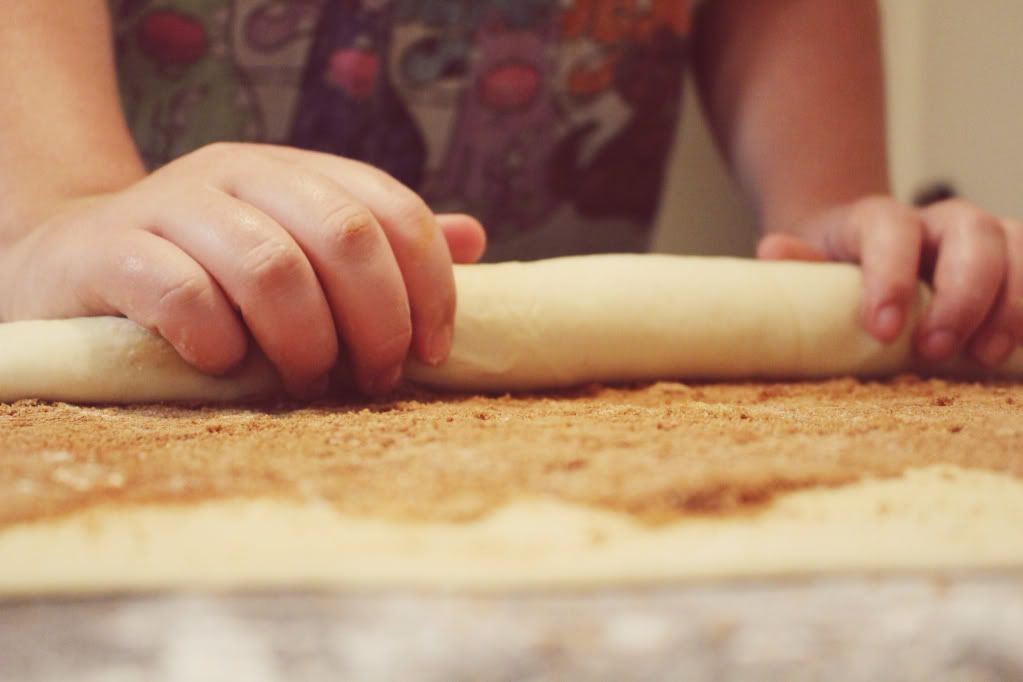
  4. Starting with the edge of the dough closest to you begin rolling up the yummyness into a log of some sort. Seal it with the untouched edge. 
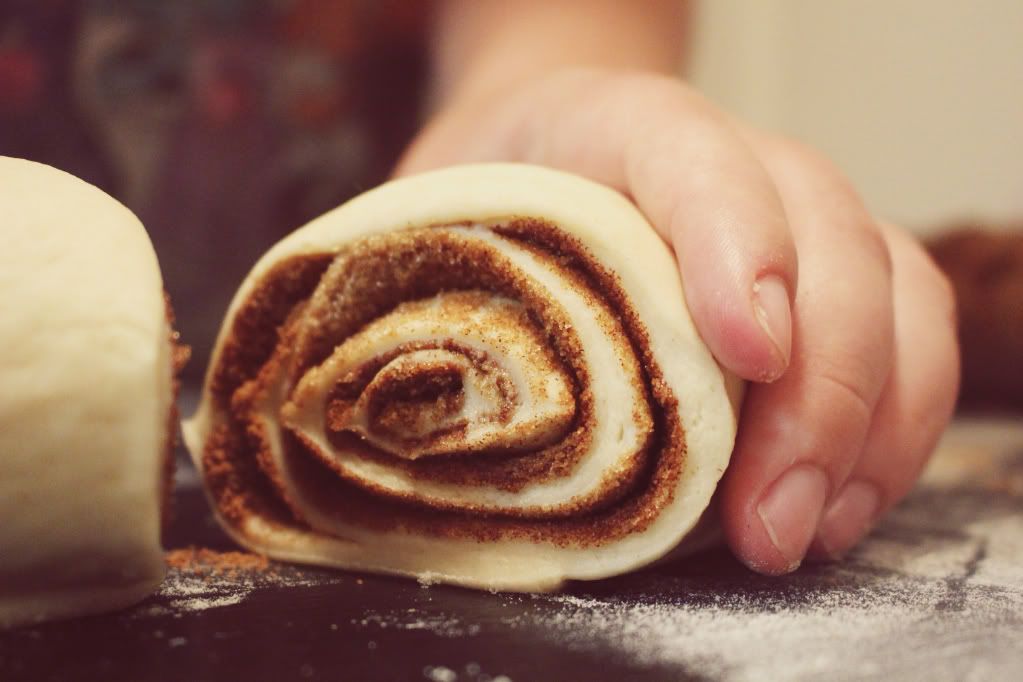
  5. Slice off the uneven sides and begin slicing into the log to make the rolls. You can make these as big or small as you want. I like making massive ones so I only make about 6-7 every time I use this recipe. 
  6. For the pan I use a spring form pan to really lock in the flavors and keep the filling from melting out. You can also use a glass baking pan. I also don't line mine with parchment, but you can if you want to be careful. I just use baking Pam and it does the job for me!
  7. Place all the rolls into your baking dish of choice and let sit with the oven preheating so the rolls with begin to rise even more. You want them to be almost hugging each other, that's how big they really get guys.
  8. One risen to your liking, bake in a 350 degree oven for 15-17 minutes and golden brown on the tops.

The cream cheese frosting (the most important part):

  1. While your rolls are baking away, get our your ingredients for the frosting. This is what really makes the Cinnamon bun sparkle or should I say shine?
  2. In your stand mixer fitted with the whisk attachment, beat the butter and cream cheese together until smooth and creamy. Add the vanilla and lemon juice, mix well. Pour in the powdered sugar gradually, not all at once. Mix mix mix and now you've got yourself a beautiful frosting to pour over these heavenly doosies. 
  3. Take your rolls out of the oven and pour the frosting over top. Let it melt into the creases for about 5 minutes. Then pour once more over top and serve!


Happy rolling and baking!
Monday, February 17, 2014

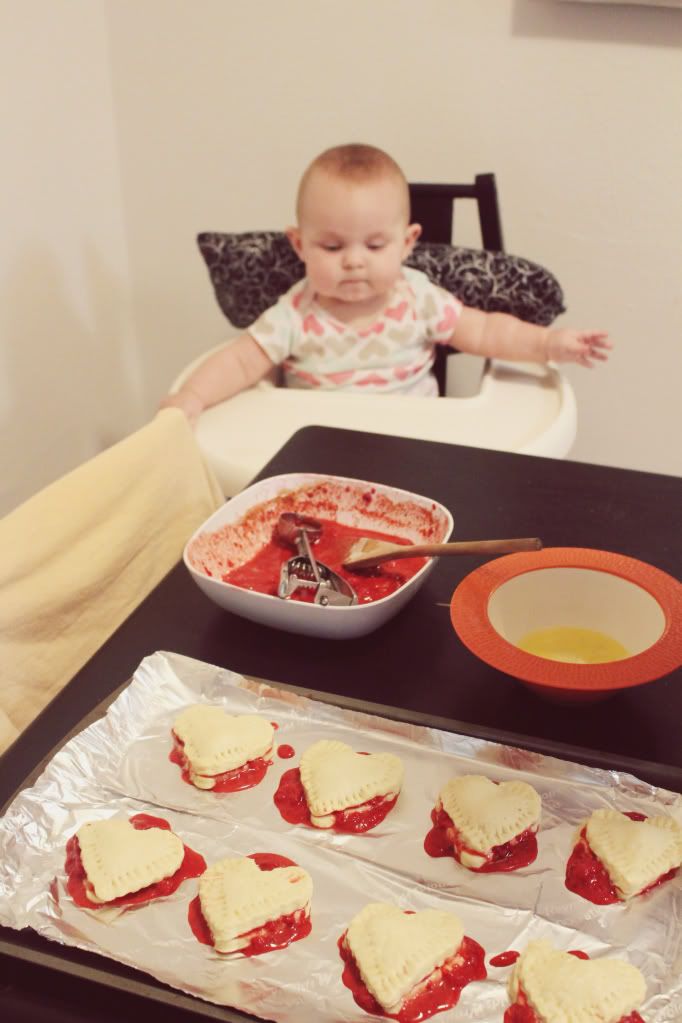
Tarty but Sweet Raspberry Heart shaped Hand Pies

Valentine's Day has never been a huge deal to Ryan and I as a couple. Our anniversary is 4 days before it because we couldn't wait 4 more days to have a "cutesy" anniversary date. That doesn't mean that we don't overload each other in the lovey holiday. I know everyone says that valentines day is lame and just an excuse to get fat off of too much chocolate and to feel loved for just one day. Well, I think all of that is crap, because I feel loved each and every day and we still spoil each other with too much chocolate and kisses. I mean, that's like saying if you already have enough stuff you don't technically "need" christmas gifts every single year. A holiday is a holiday for a reason, and why not celebrate one full day of just plain good old fashioned love?
Well that's what we did, in our own way of course. I decided I would bake Ryan something because all my heart goes into my baking and this time I mean it in the most literal way. 
Oozing Heart shaped raspberry hand pies....absolute heaven I tell you. But I think you might just have to see for yourself. Although Cupid has shut his doors for the year, that doesn't mean you can't bake these lovelies for any ol' day for your special somebody. I mean everyone wants raspberry pie goodness in the shape of a heart...right?
I also used my crumbly flaky pie crust recipe that I shared a few months back right here when I made caramel apple mini hand pies. It works wonders and it's probably the only pie crust recipe I will ever use because it's so simple. Now that your dough is ready to go, let's get started on that tarty, but sweet filling!

Raspberry Heart Shaped hand pies

Photobucket Pictures, Images and Photos

Make the dough here

Ingredients for the filling:

  • About 2 cups frozen raspberries
  • 4 tablespoons of sugar
  • 1 teaspoon cinnamon
  • 1 teaspoon nutmeg
  • A squeeze of half a lemon
  • 1 1/2 teaspoon lemon zest
  • 2 tablespoons cornstarch
  • A pinch of salt
  • Egg wash for coating the crust (1 egg + 1 tablespoon of water)
  • Sanding sugar (I used red and white colored sugar)
  • Cutesy adorable heart shaped cookie cutters
Photobucket Pictures, Images and Photos
Photobucket Pictures, Images and Photos Photobucket Pictures, Images and Photos Photobucket Pictures, Images and Photos Photobucket Pictures, Images and Photos

Making the filling:

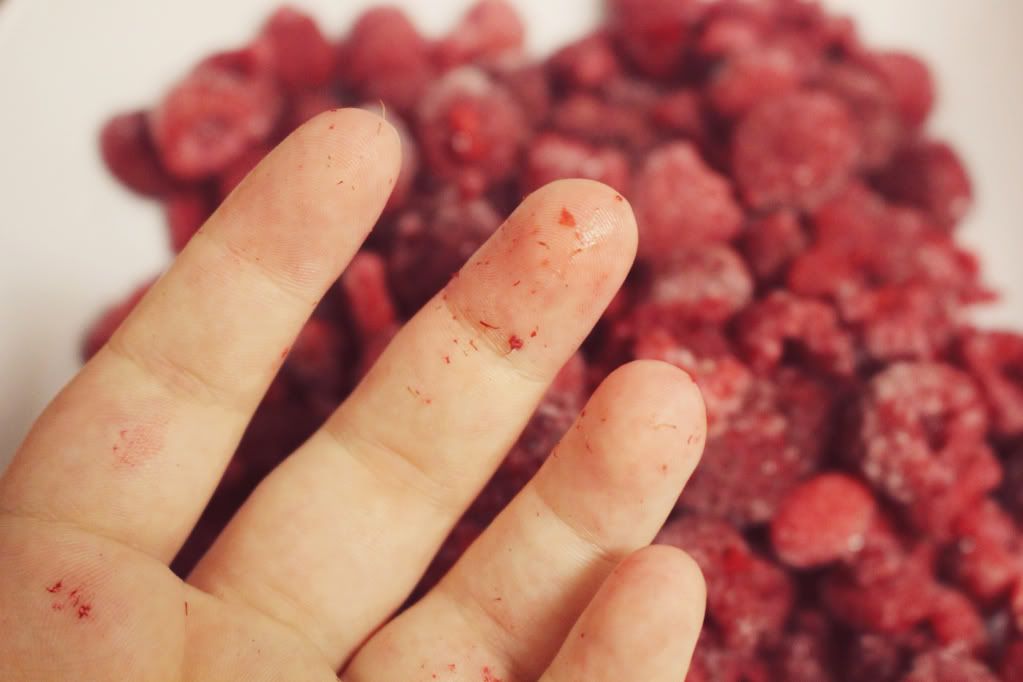
  1. Thaw out the raspberries pretty good before starting. Then drain them well and rinse a tiny bit.
  2. Pour the raspberries, sugar, cinnamon, nutmeg, salt and cornstarch into a small bowl. Crush the raspberries but not fully so it stays chunky as well. 
  3. Grate your lemon and cut it in half and squeeze the juice out of it into your raspberry mixture. Set bowl aside.
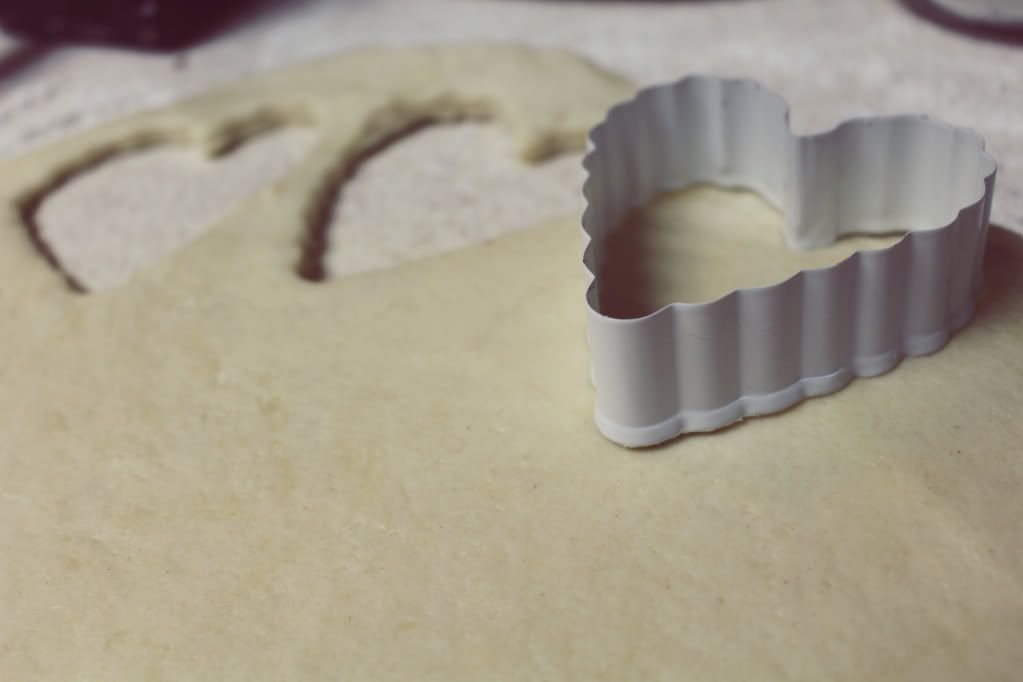
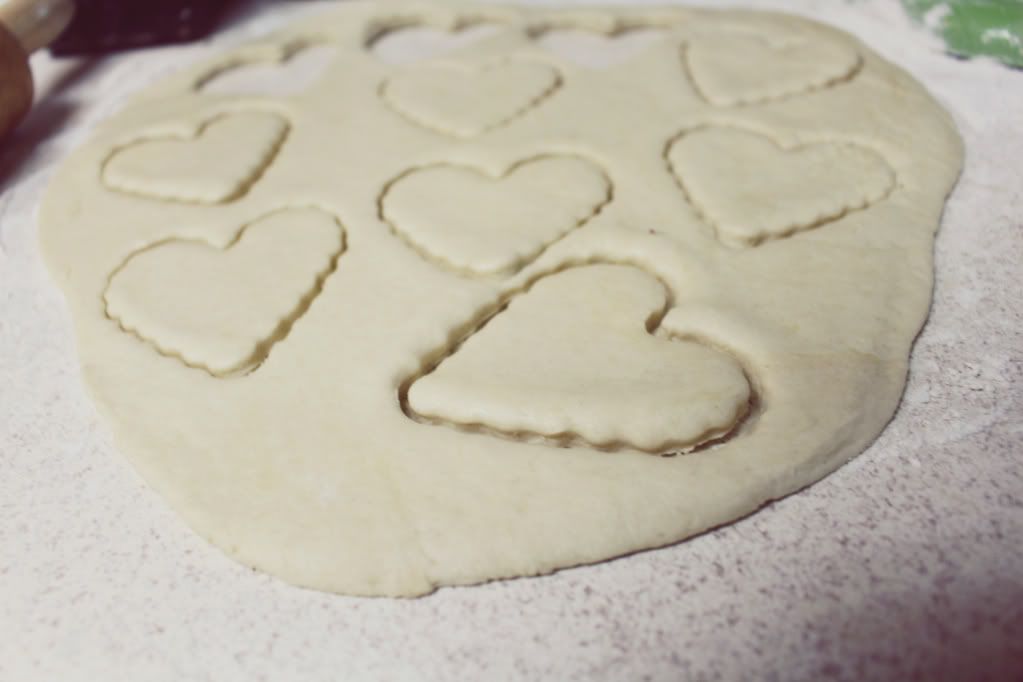
  4. Now that your dough has set and been rolled out, take your heart shaped cookie cutters and make as many hearts as your little heart desires, but make sure it's an even number so you have a top and bottom for each hand pie.
  5. Lay your hearts onto a cookie sheet lined with parchment paper and scoop a little bit of filling onto each one, it's okay if they ooze out a little. Now place your heart lids on top of each heart.
  6. With a fork press around the sides just pinching everything in place.
  7. Make the egg wash and brush a little onto each heart. Now take a knife and make slits into the center to let em' breathe. Sprinkle a little sanding sugar on top to make them shine and sparkle.
  8. Place your hearts in a preheated 425 degree oven and play the waiting game for about 20-30 minutes or until they are golden brown on the tops, but not too brown!
  9. Take them out and serve with ice cream or whipped cream whichever you prefer and give your heart shaped goodness to the one you love the most. No matter what day it may be.
Happy Hearty Baking!

Thursday, February 13, 2014

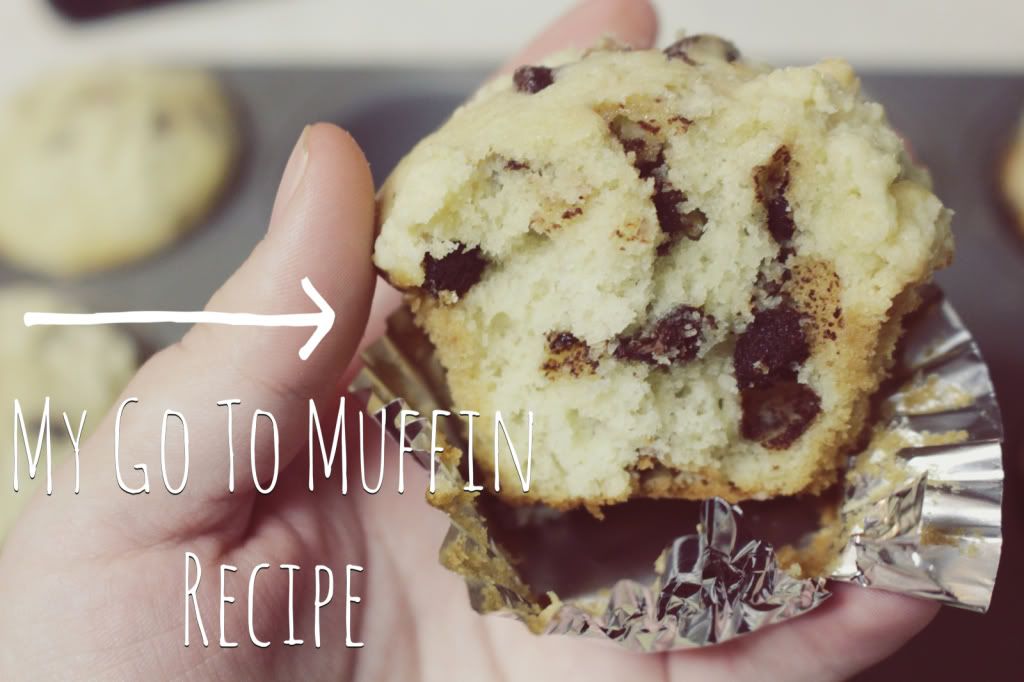
My Go To Muffin Recipe

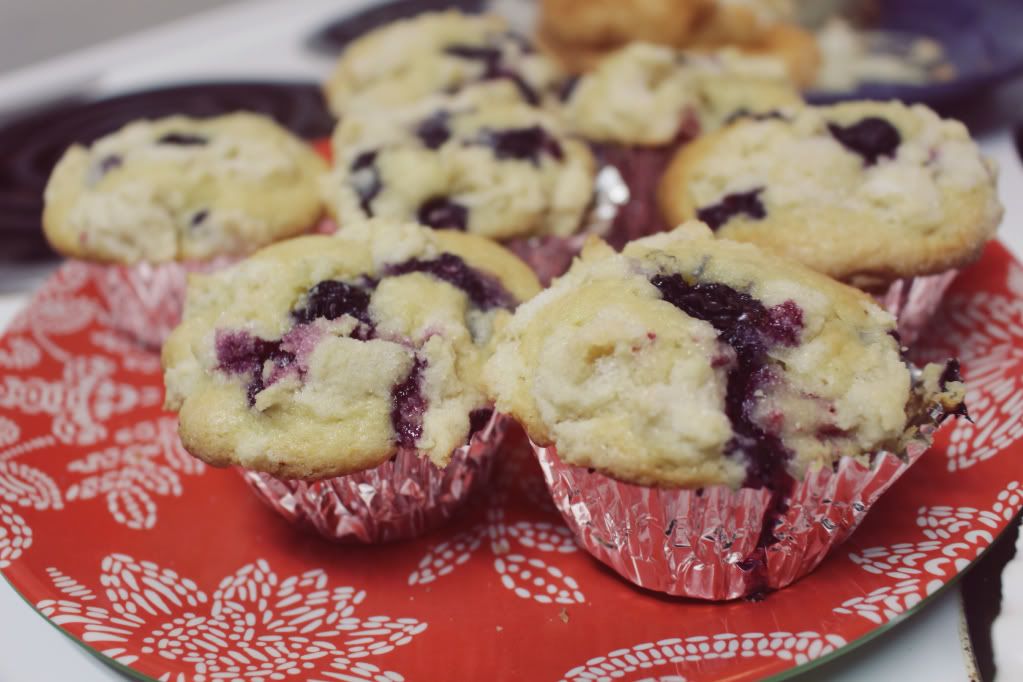
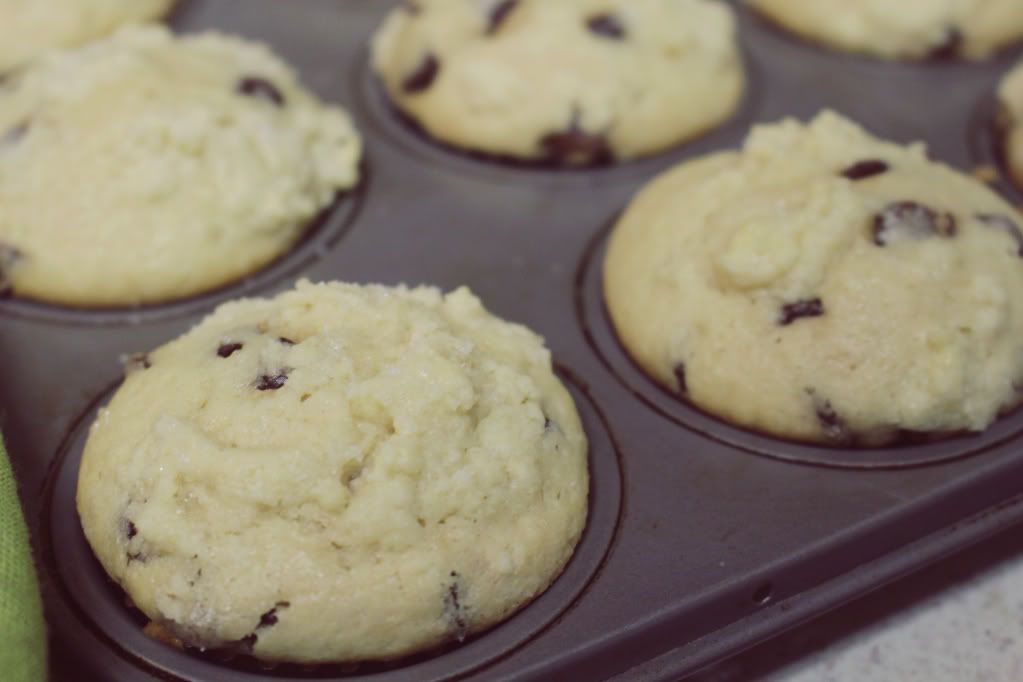
The other night my friend Stephanie and I thought that our painting night wouldn't be complete without a nice big bunch of homemade blueberry muffins. A few months back we were actually both in this same situation trying to find the perfect blueberry muffin recipe, so it was pinterest to the rescue! Thanks to Joy the Baker we finally we came up with the most mouthwatering blueberry muffins we have ever tasted, and with a few pats on the back we felt accomplished. So the other night we brought forth the sacred recipe and decided to get creative. We added some raspberries into the mix. Which was absolute genius I must say. While my house became infused with blueberry raspberry goodness we started conjuring up all these other elements that could get thrown into these muffins. Cranberry orange, strawberry, lemon poppy seed...the options are endless. Today I went out of the box a teeny bit and threw in some chocolate chips. One of the best decisions I've ever had. It's like bye bye fruity goodness, hello chocolatey goodness. So it's a fact, this muffin is the all around muffin, whether you wanna go super sweet, fruity, savory...this muffin has got your back! Want the recipe? Well of course you do, and please please embed this thing in your head because it is THE go to muffin for any occasion.
Photobucket Pictures, Images and Photos

For the Muffins:

  • 7 tablespoons unsalted butter
  • 1/3 cup milk
  • 1 large egg
  • 1 egg yolk
  • 1 teaspoon vanilla extract
  • 1 1/2 cups all purpose flour
  • 3/4 cups sugar
  • 1 1/2 teaspoons baking powder
  • 3/4 teaspoon salt
  • About 2 cups of whatever fruit or munchie you would love to add (blueberries, raspberries, lemon zest, cranberries, chocolate chips etc. GET CRAZY)

For the oh so crumbly topping:

  • 3 tablespoons cold unsalted butter
  • 1/2 cup flour
  • 3 1/2 tablespoons sugar
Photobucket Pictures, Images and Photos

Photobucket Pictures, Images and Photos

Instructions:

  1. Preheat your oven to 375 degrees and line your muffin tin.
  2. Melt the 7 tablespoons of butter in a small saucepan over medium heat. When it's completely melted down wait for it to get a golden brown color, but do not burn it. Remember keep that baby on medium heat. Slow and steady. Once you see little speckles in the butter, like it's sizzling take it off the heat.
  3. While that's doing it's thing combine the milk, egg, egg yolk and vanilla in your stand mixer or medium sized bowl. Whisk it up a bit, but not too much just to combine.
  4. Next, add the browned butter to the milk mixture, whisk a little and set to the side.
  5. In a small bowl mix the flour, sugar, baking powder and salt.
  6. If you're using your stand mixer keep it on the lowest setting and slowly pour your flour mixture into the milk and butter mixture. After about a minute stop mixing. (Do the same with a bowl and spoon). 
  7. Now the fun part, add in your mix ins! Just make sure that if you're using a fruit to gently fold them in to keep them in tact! But a little blueberry juice running down the top is decadent.
  8. Pour your muffin batter into each liner about 2/3 of the way full.

Making the crumbly topping:

  1. Place all the topping ingredients in a small bowl and with a fork or your hands scrunch it all up so it becomes kind of like a crumbly clay like texture. 
  2. Now sprinkle it bit by bit on each muffin and I always sprinkle a little bit of additional sugar on top of each muffin.


Happy Muffin Baking!

Wednesday, February 5, 2014

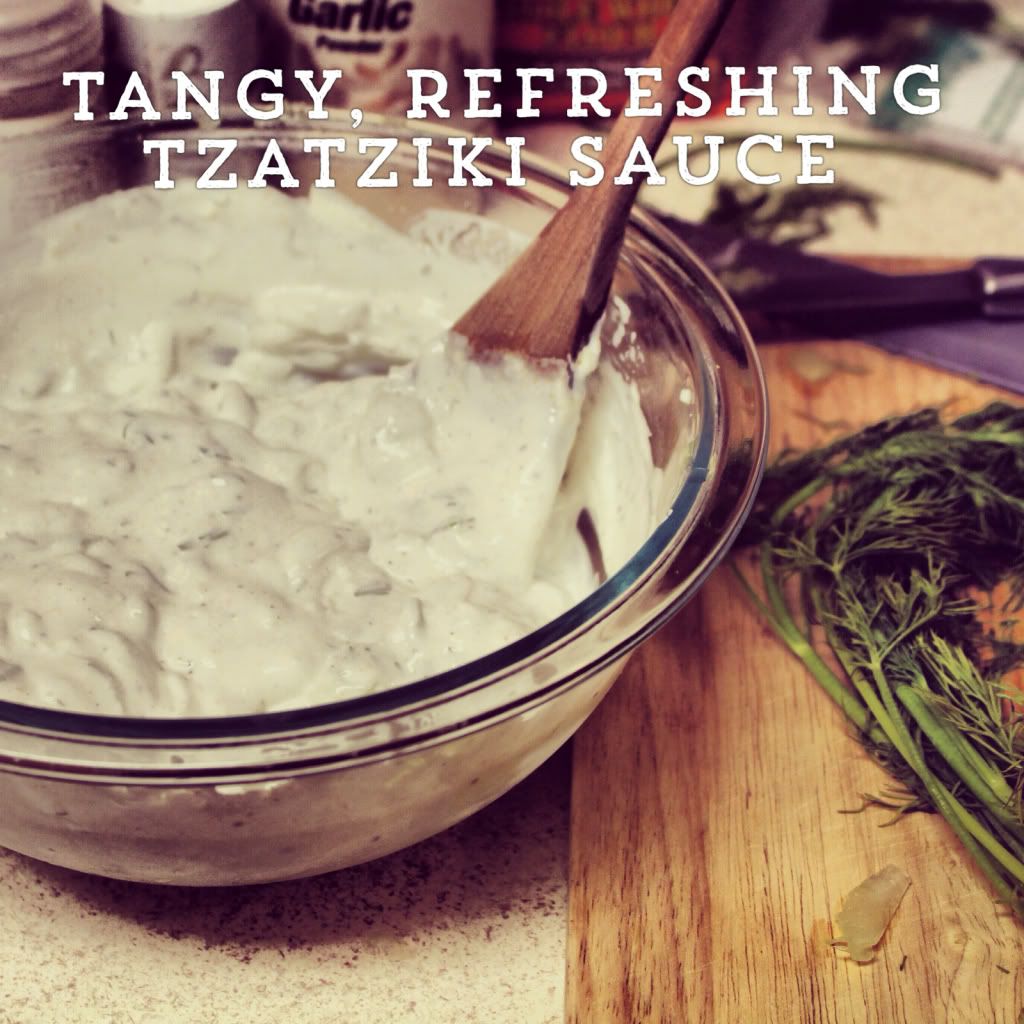
Tzatziki

The other day while grocery shopping I was searching high and low for a container of tzatziki sauce. Ryan even hunted down an employee to guide us to some and he had no idea what the stuff was! Yes, it's a very strange sounding item, but it's one of the greatest dip creations invented.
Well, sadly I never found the lovely stuff so yesterday I decided I would make some of my own. Take that grocery stores! Anyway this sauce/dip is fantastic with just about anything including atop of my homemade Greek pizza I threw together last night. Which is also what inspired me to make some of this nifty stuff on my own. And let me tell you I will never pick up a store bought container again. Photobucket Pictures, Images and Photos

Ingredients:

  • About 1 cup and a half of plain yogurt (I used Greek to make it super dooper thick)
  • 3/4 cup sour cream
  • 1 large cucumber, peeled, shredded, and thoroughly squeezed of moisture
  • 1 1/2 tablespoon garlic powder
  • A few pinches of salt and pepper 
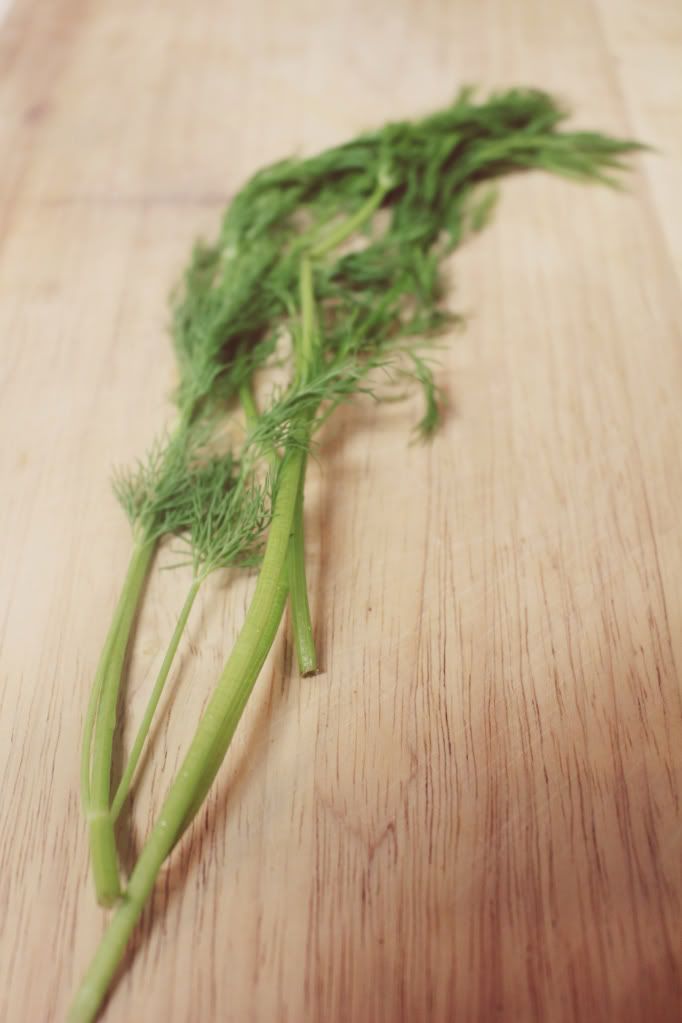
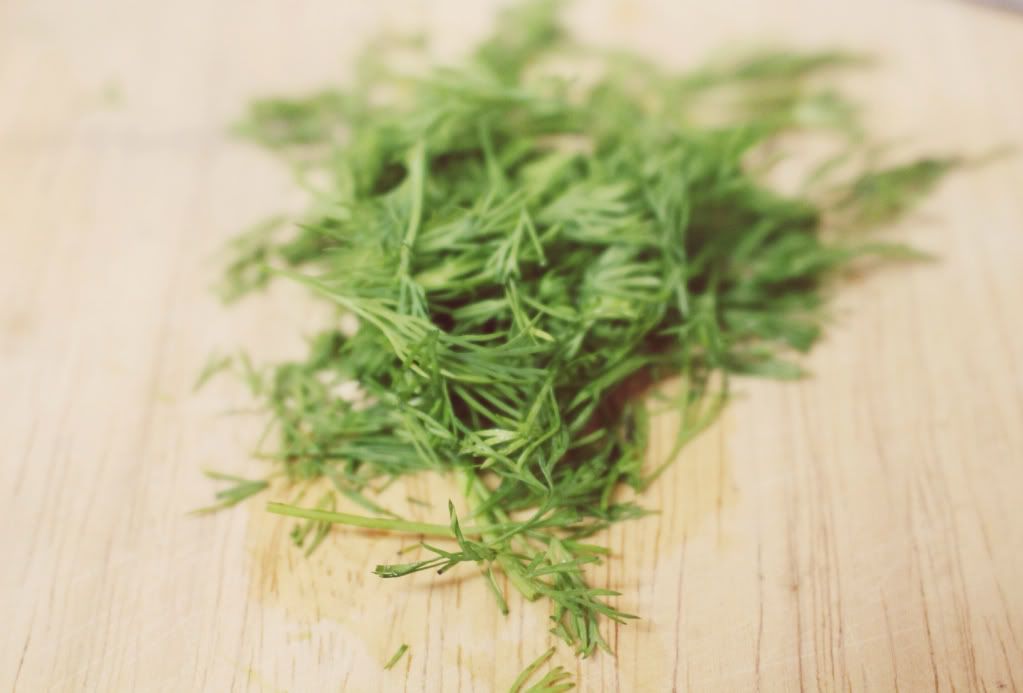
  • 1 tablespoon chopped fresh dill
  • 1 1/2 teaspoon cumin
  • Squeeze of half of a lemon
Photobucket Pictures, Images and Photos Photobucket Pictures, Images and Photos Photobucket Pictures, Images and Photos Photobucket Pictures, Images and Photos

Instructions:

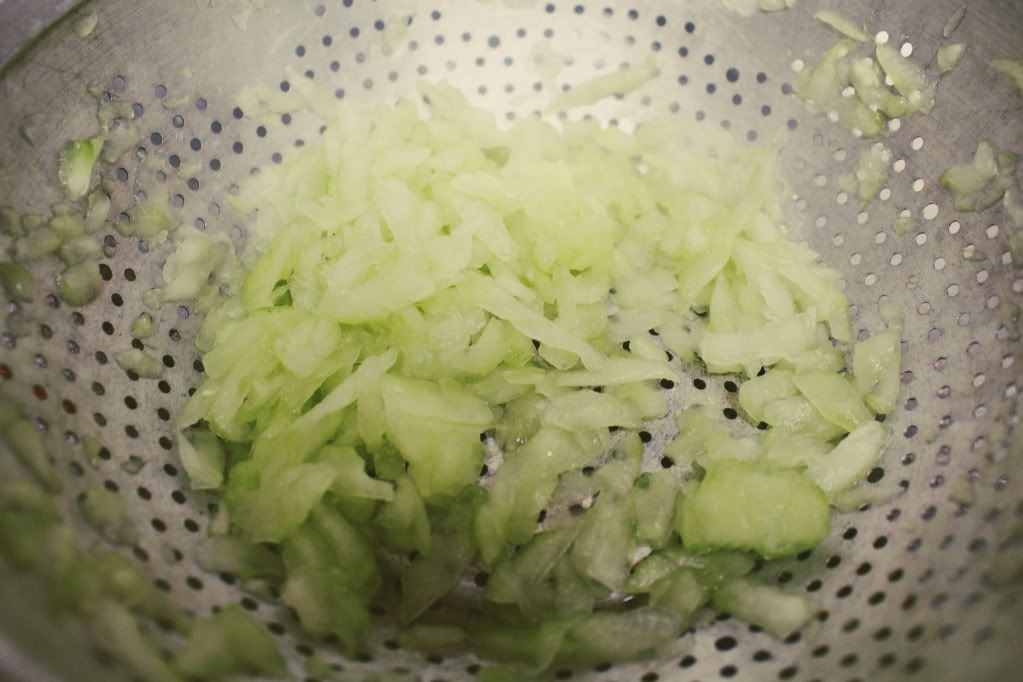
  1. The first very very important thing you need to do is peel your cucumber and shred it up. We all know that cucumbers are chock full of water and when making tzatziki we must get rid of as much of that moisture as possible so our dip doesn't get super watery. So after shredding, throw your cucumber pieces in a colander and with your hands squeeze, squeeze and squeeze. Do this for a few minutes, then let them sit for about 30 minutes in the sink to drain.
  2. While that's doing it's thing, grab a medium sized bowl and combine the yogurt, sour cream, all the dry seasonings and squeeze the lemon. 
  3. On the side chop up some dill and add that to mixture. Now sit and marvel at your masterpiece of a dip come together (maybe even sneak a finger dip...or two).
  4. After thirty minutes is up check on your cucumbers shreds. Do the same thing you did before with your hands, squeeze squeeze and squeeze. 
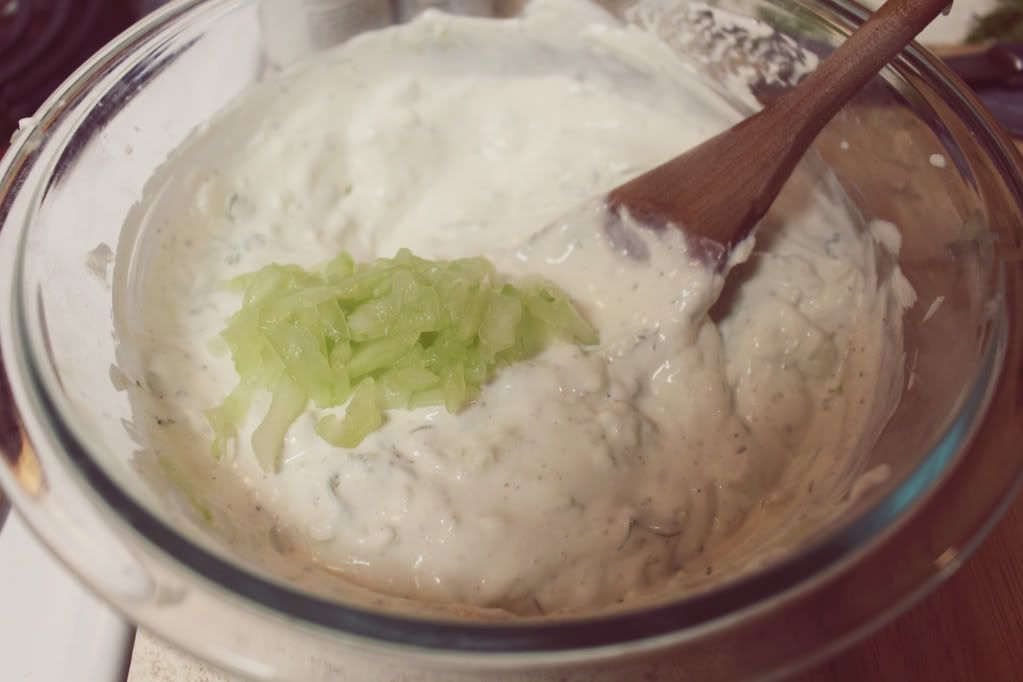
  5. Now after that mini workout, add the cucumber shreds to your dip. Mix it all up and enjoy on anything you can think of!
Happy Cooking and Happy Dipping!

Thursday, January 16, 2014

Nostalgic Chewy Sugar Cookies

When I was little I used to get dragged to Publix with my mom on her weekly shopping trips. What made it much more tolerable were the free cookies that I got to enjoy while aimlessly walking through the store for what seemed like eternity. One of my favorites had to be of been the sugar cookies with these little rainbow bead sprinkles. It always dyed my fingers with little rsinbow explosions and the cookie was so soft and chewy. The perfect recipe to keep me quiet and satisfied as my mom shopped. I still haven't uncovered Publix's top secret recipe book, which is a shame. I did find a way to make a very similar chewy, mouthwatering sugar cookie that makes me feel like that kid begging my mom to push the shopping cart.
Image and video hosting by TinyPic

Ingredients:

  • 1 cup (2 sticks) butter, softened
  • 1 1/2 cup sugar
  • 1 egg
  • 2 1/4 cups flour
  • 1/2 teaspoon baking powder
  • 1/2 teaspoon salt
  • 1 teaspoon vanilla
  • about 1/4 cup of sanding sugar, the bigger crystals (for rolling)

How to make them:

  1. Preheat your oven to 350 degrees and line your cookie sheets with parchment paper.
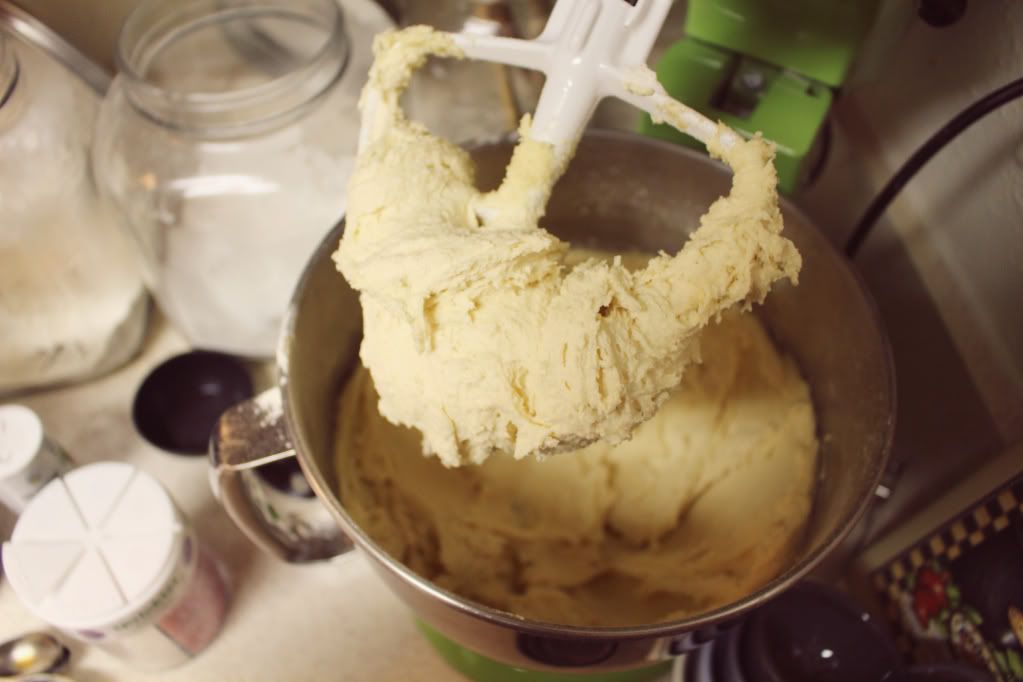
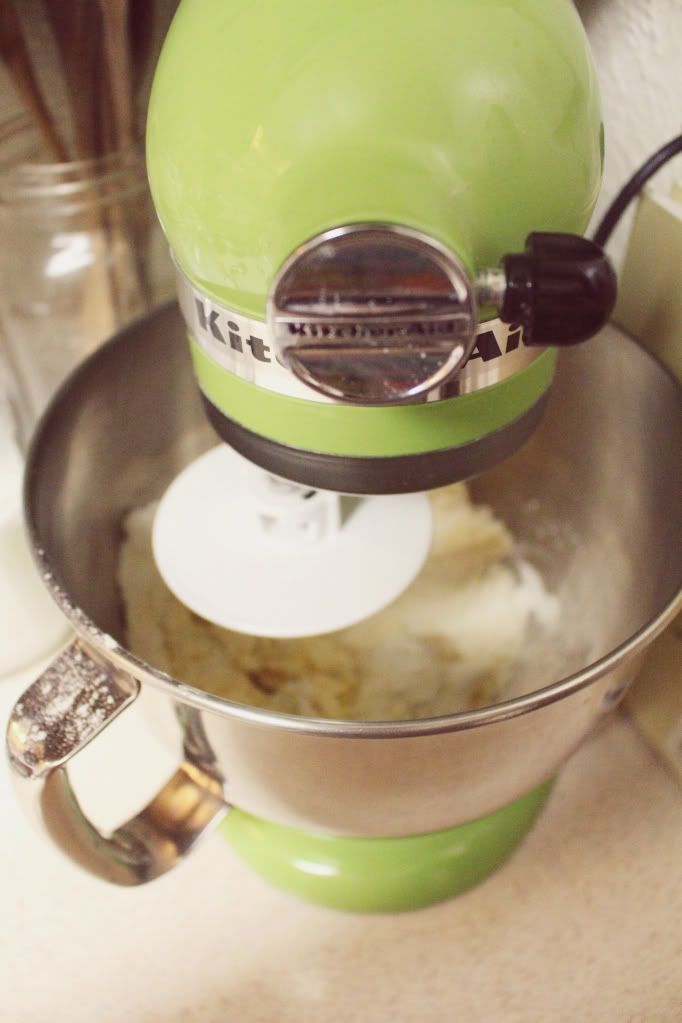
  2. Cream together your butter and sugar in your stand mixer for about 3 minutes. You want it to look light and fluffy. Now add your egg and mix until combined thoroughly. 
  3. In a separate bowl, sift your flour, baking powder and salt (yes, I'm a sifting Nazi when it comes to cookie baking). With your stand mixer on low, slowly add in your dry ingredients and then your vanilla. Kick up your mixer a tad until your dough looks so puffy and fluffy that you could just lay in it.
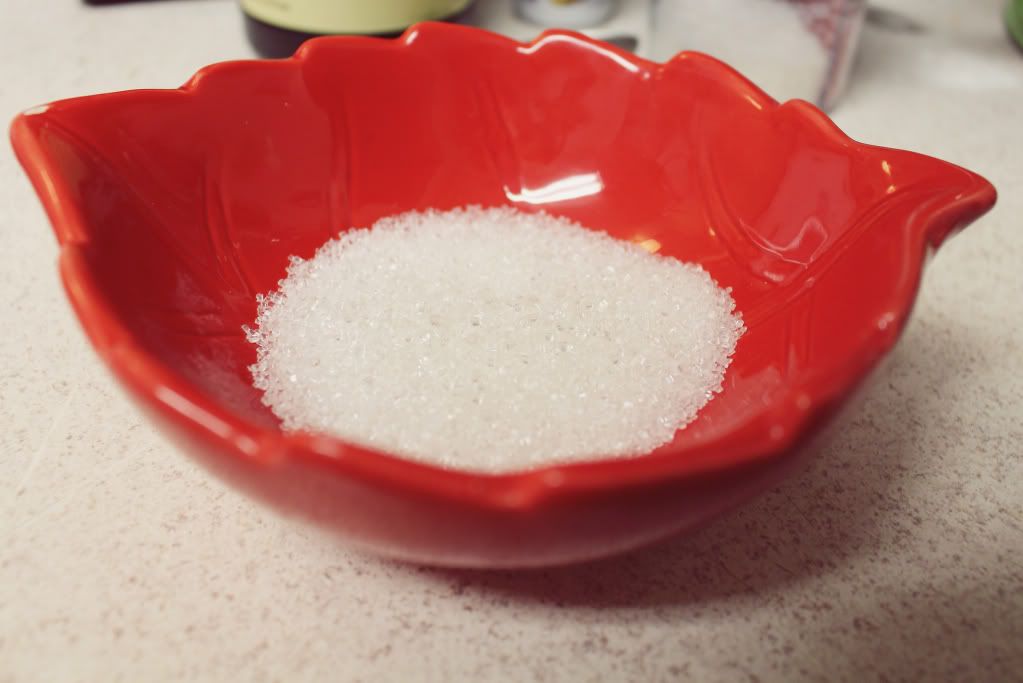
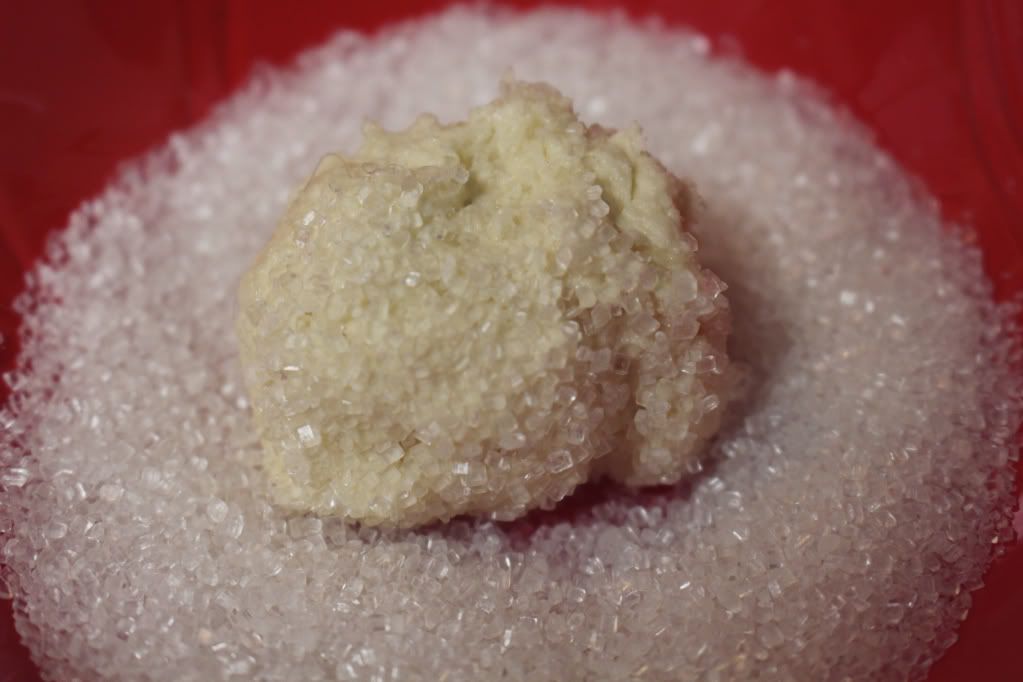
  4. Now the fun part, take your oh so fluffy dough and spoon some out on your hand and form a ball. In a small bowl pour your sanding sugar (or whatever you may like to add that extra loveliness to your cookies). Take your rolled cookie dough and roll it around.
  5. Place your rolled sugar balls onto the sheet and lightly press down. Bake in the oven for about 10 minutes. A little longer, if you want a little more crunch in your cookie.

Photobucket Pictures, Images and Photos Photobucket Pictures, Images and Photos Photobucket Pictures, Images and Photos
Photobucket Pictures, Images and PhotosPhotobucket Pictures, Images and Photos
Next time, I will definitely pick up a bottle of those rainbow bead sprinkles so I can fill myself with nostalgia from my childhood. You can pretty much use any type of sprinkle you would like to really pretty these cookies up. Maybe some heart shaped sprinkles for your Valentine next month? Or even blending up some food coloring with your dough to make multi-colored sugar cookies. The ideas are endless because although these babies are so plain, they can be unique in every possible way if you get creative.
Enjoy and Happy Baking!

Sunday, January 5, 2014

Mini Caramel Apple Pies

Photobucket Pictures, Images and Photos Our winter has finally arrived...somewhat. We still have the ability to keep the air off completely and not have to turn the heat on, which is a high five to our power bill. So even though fall and all the holidays have passed I couldn't resist baking up some mini apple pies that fit perfectly in the palm of my hand and in my tummy. Today I'm sharing this tummy warming recipe with you guys! I was so very afraid of pie making until I finally surpassed my fear in November and made these little cuties. Someday I'll brave the mastery of making a large pie, but until then I have these treasures that hit the spot. Here's how you make your own little apple pie cuties:

You will need:

For the dough


  • 2 cups all purpose flour
  • 1/2 teaspoon salt
  • 1/2 teaspoon baking powder
  • 1 cup (2 sticks) unsalted cold butter 
  • 1/2 cup cold sour cream

 For the filling

  • About 2 cups of diced (teeny pieces) and peeled Granny Smith apples 
  • 2 teaspoons fresh lemon juice
  • 1/2 teaspoon cinnamon ( I always add a tad more because well why not?)
  • 1/4 cup granulated sugar
  • 2 teaspoons all purpose flour
  • 6-8 store bought chewy caramel candies, diced (also teeny pieces)
  • Large flake sea salt (optional)
  • Egg wash (1 egg lightly whisked with a tablespoon of water)
  • Crystal sanding sugar, the thick and shiny stuff.

Photobucket Pictures, Images and Photos Photobucket Pictures, Images and Photos Photobucket Pictures, Images and Photos Photobucket Pictures, Images and Photos Photobucket Pictures, Images and Photos Photobucket Pictures, Images and Photos Photobucket Pictures, Images and Photos

Making the dough:

1. Add flour, salt, and baking powder to the bowl of your stand mixer with the dough hook attachment.

2. Combine the cubed butter slowly as the hook kneads the dough. You want the dough to start feeling and looking like wet sand. Then with a spoon stir in the sour cream until the fully combined. Turn the dough out onto a floured surface and knead a bit with your hands, adding bits of flour as you go.

3. Once the dough is no longer sticky, roll out the dough so its roughly becomes an 8x10 square. Sprinkle flour over the top, flip it over and do the same to the other side. Fold the dough into thirds and place in the fridge for 30 minutes. Now time for the filing my favorite part!

Making the filling:

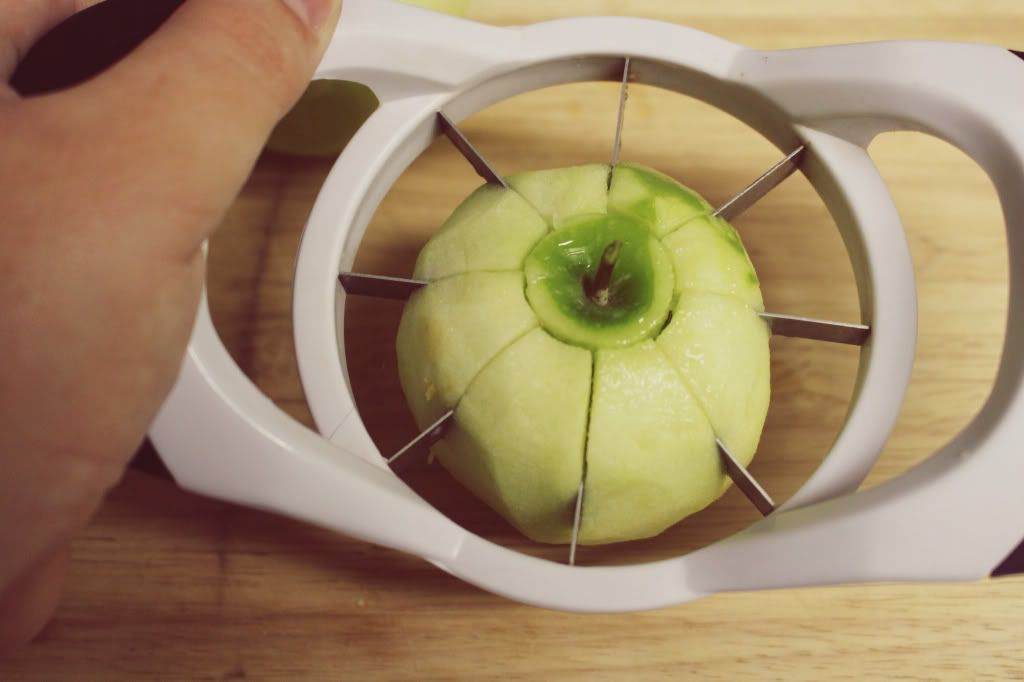
1. Peel and Chop your granny smiths. (I use my apple corer to make life easier after I peel) You want the chunks of apple to be itsy bitsy.

2. Grab a small bowl and throw in the apple chunks, lemon juice, cinnamon, sugar and flour. Give it a few stirs and breathe in the aroma of soon to be apple pie.

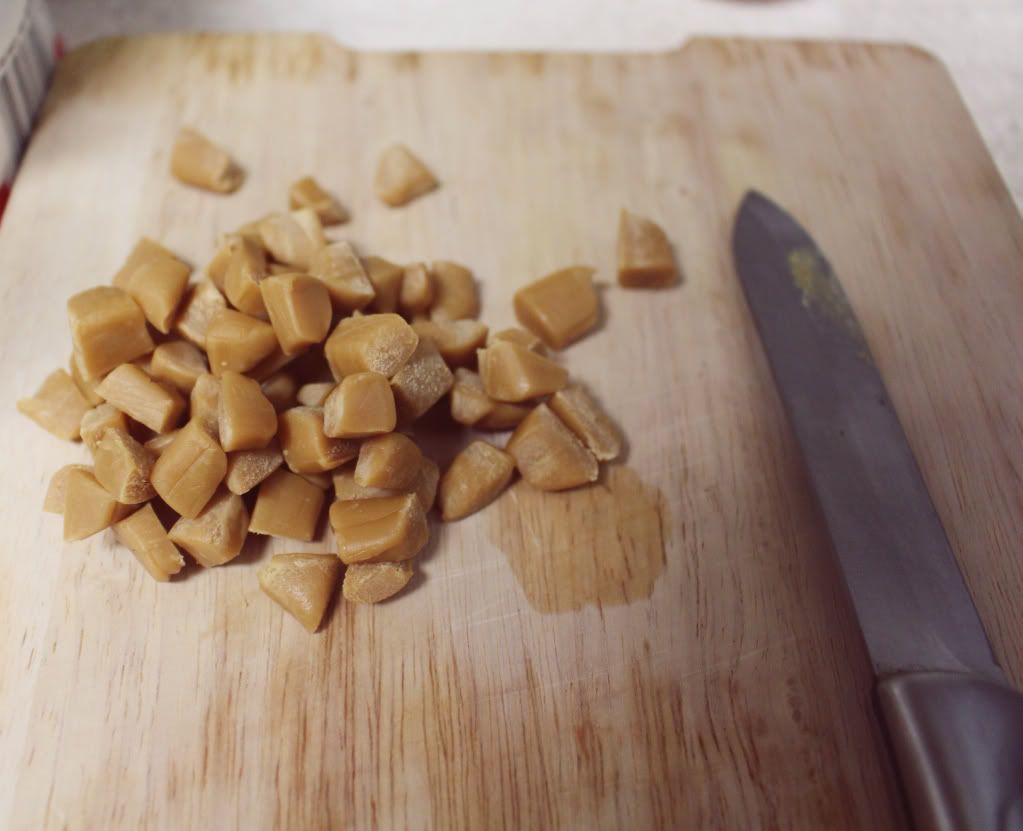
3. Finely chop up your caramels and whisk up your egg wash and set both aside.

Assembly:

1. Preheat your oven to a whopping 425 degrees.

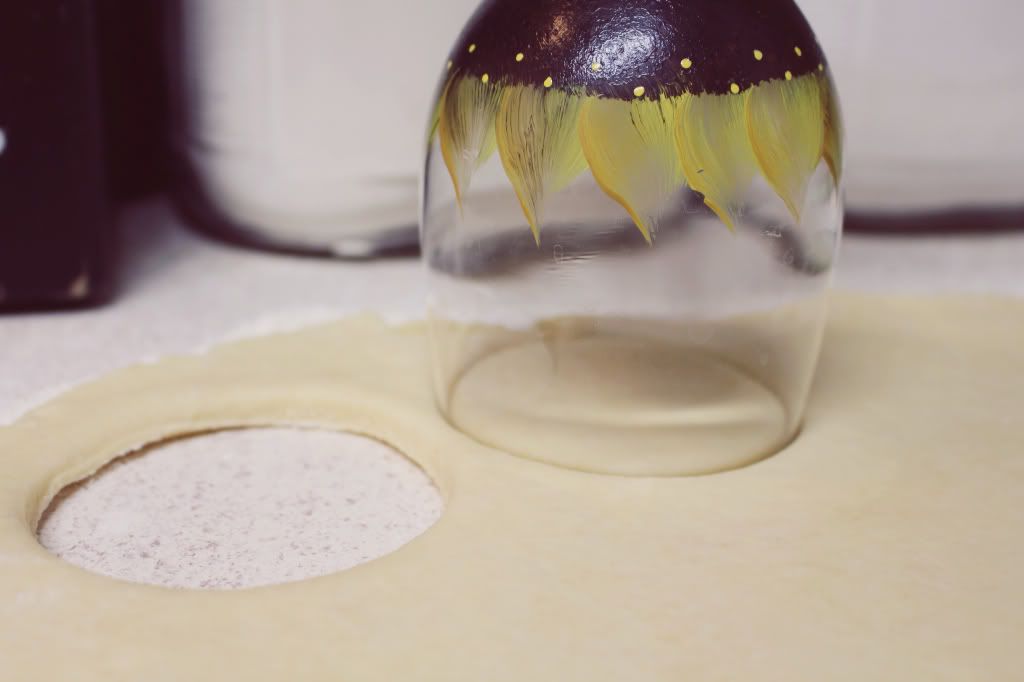
2. Take your folded dough out of the fridge and lay it on your floured surface once again. This time you're going to roll it out into a big 14x14 rectangle or until its thin, but not paper thin. Take a circle cutter of your choice, I used a wine glass. You just don't want your circles to be too small. Cut out as many circles as possible until you run out. Make sure you have an even number though because you need the top and bottoms circles of the pies.

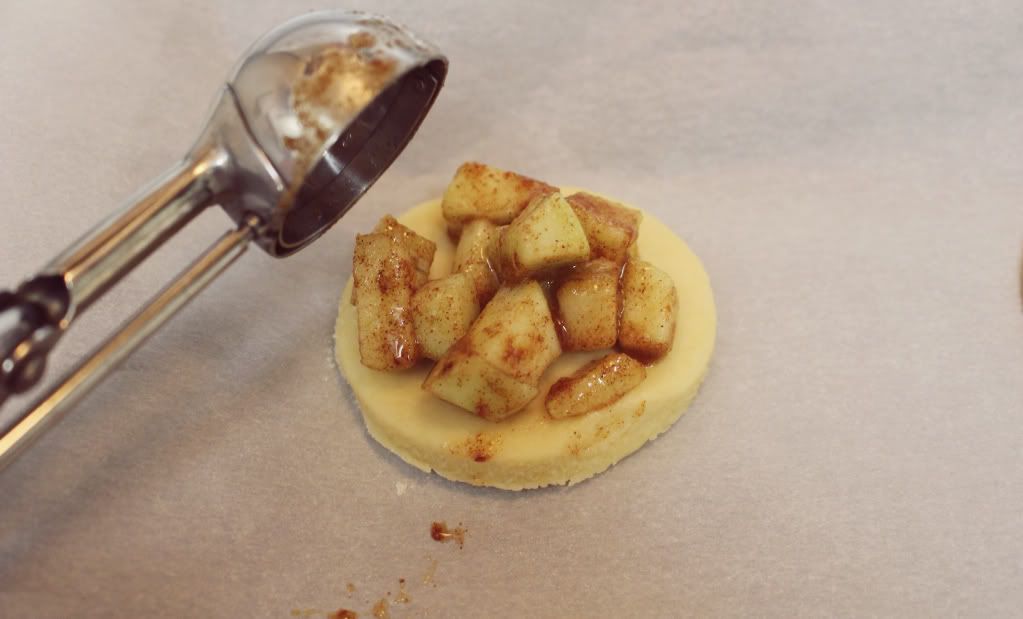
3. Use parchment paper on a cookie sheet of your choice. Place six of the circles on the sheet. Next scoop some yummy apple filling onto each round. Sprinkle caramel bits onto the filling.

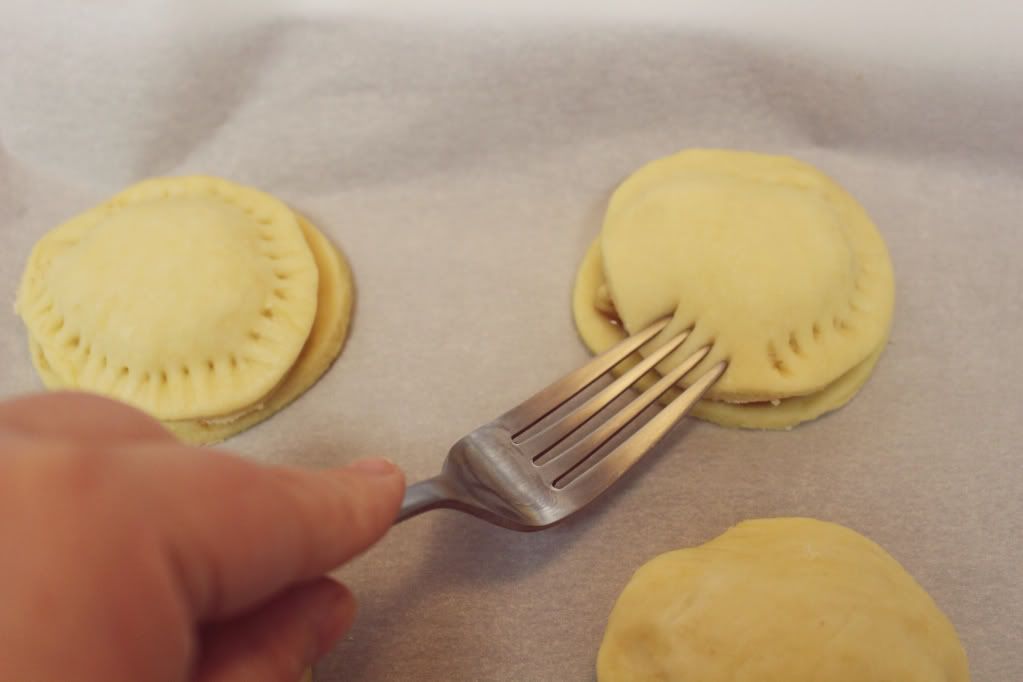
4. Grab your apple pie lids and place on top of each. Press each one all the way around with a fork to make a really pretty edge and to also seal it up. Make slits in the top with a knife and brush on your egg wash. Garnish with crystal sugar on top. 

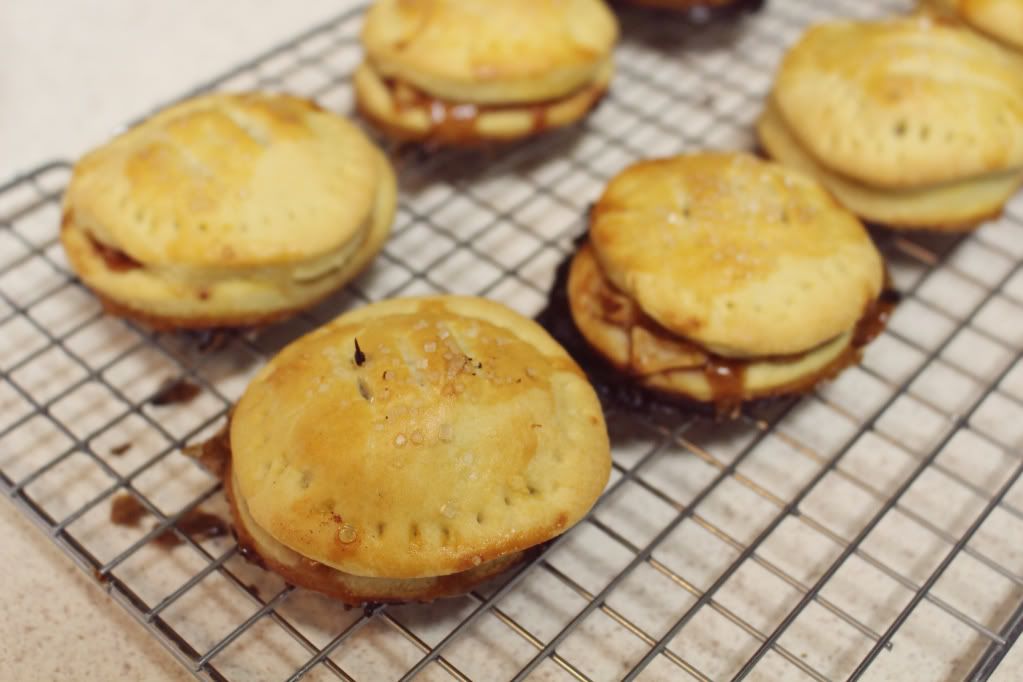
5. Bake for about 15-20 minutes or until golden brown. Allow the pies to rest before enjoying!

(Note: Using the stand mixer isn't necessary. You can simply knead this dough easily with your hands and come out with a just as tasty result!)
Happy Baking!